
Tenant-Level Clients
Allow customers to authenticate API requests to your application using tenant-level OAuth2 clients.
Tenant-level clients are created under a tenant within your application. Currently, only Machine-to-Machine (M2M) clients support tenant-level creation. These M2M clients authenticate by using the client_credentials grant to call the Wristband Token Endpoint directly.
Tenant-level M2M clients enable your customers to acquire access tokens for your application's APIs. When a request is made, your application verifies these tokens to authenticate the tenant client. Because these are confidential clients, they feature a unique client ID and secret that your customer must store securely.
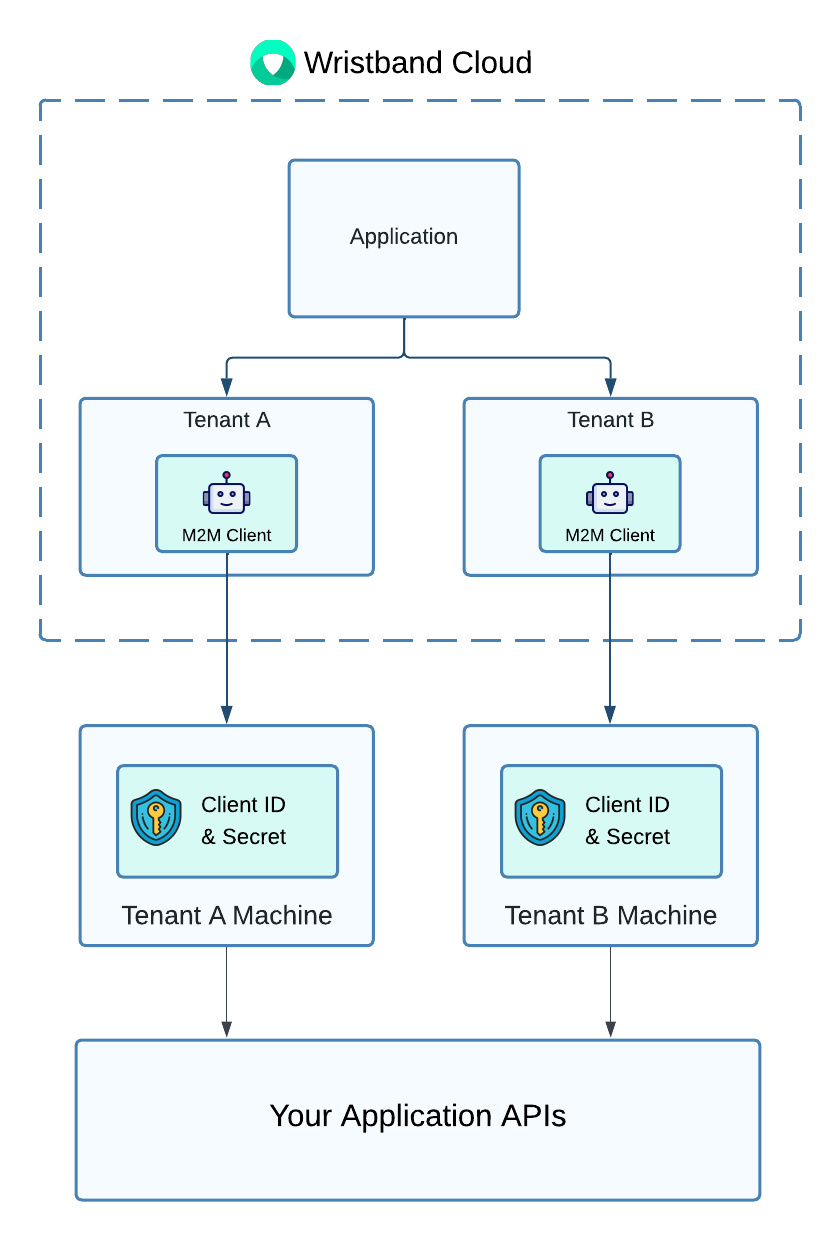
Figure 1: Illustration demonstrating how tenant machines can use tenant-level M2M clients to retrieve access tokens to call your application's APIs.
Managing Tenant Clients With Wristband's Dashboard
Manage your tenants' clients directly from the Wristband dashboard. The sections below highlight the core client management features available to you.
Adding a Client
Create an M2M client for your customer by following these steps:
- Open the Tenant View for your customer's tenant.
- Click OAuth2 Clients in the left navigation menu.
- Enter a name for the client and click Create Client.
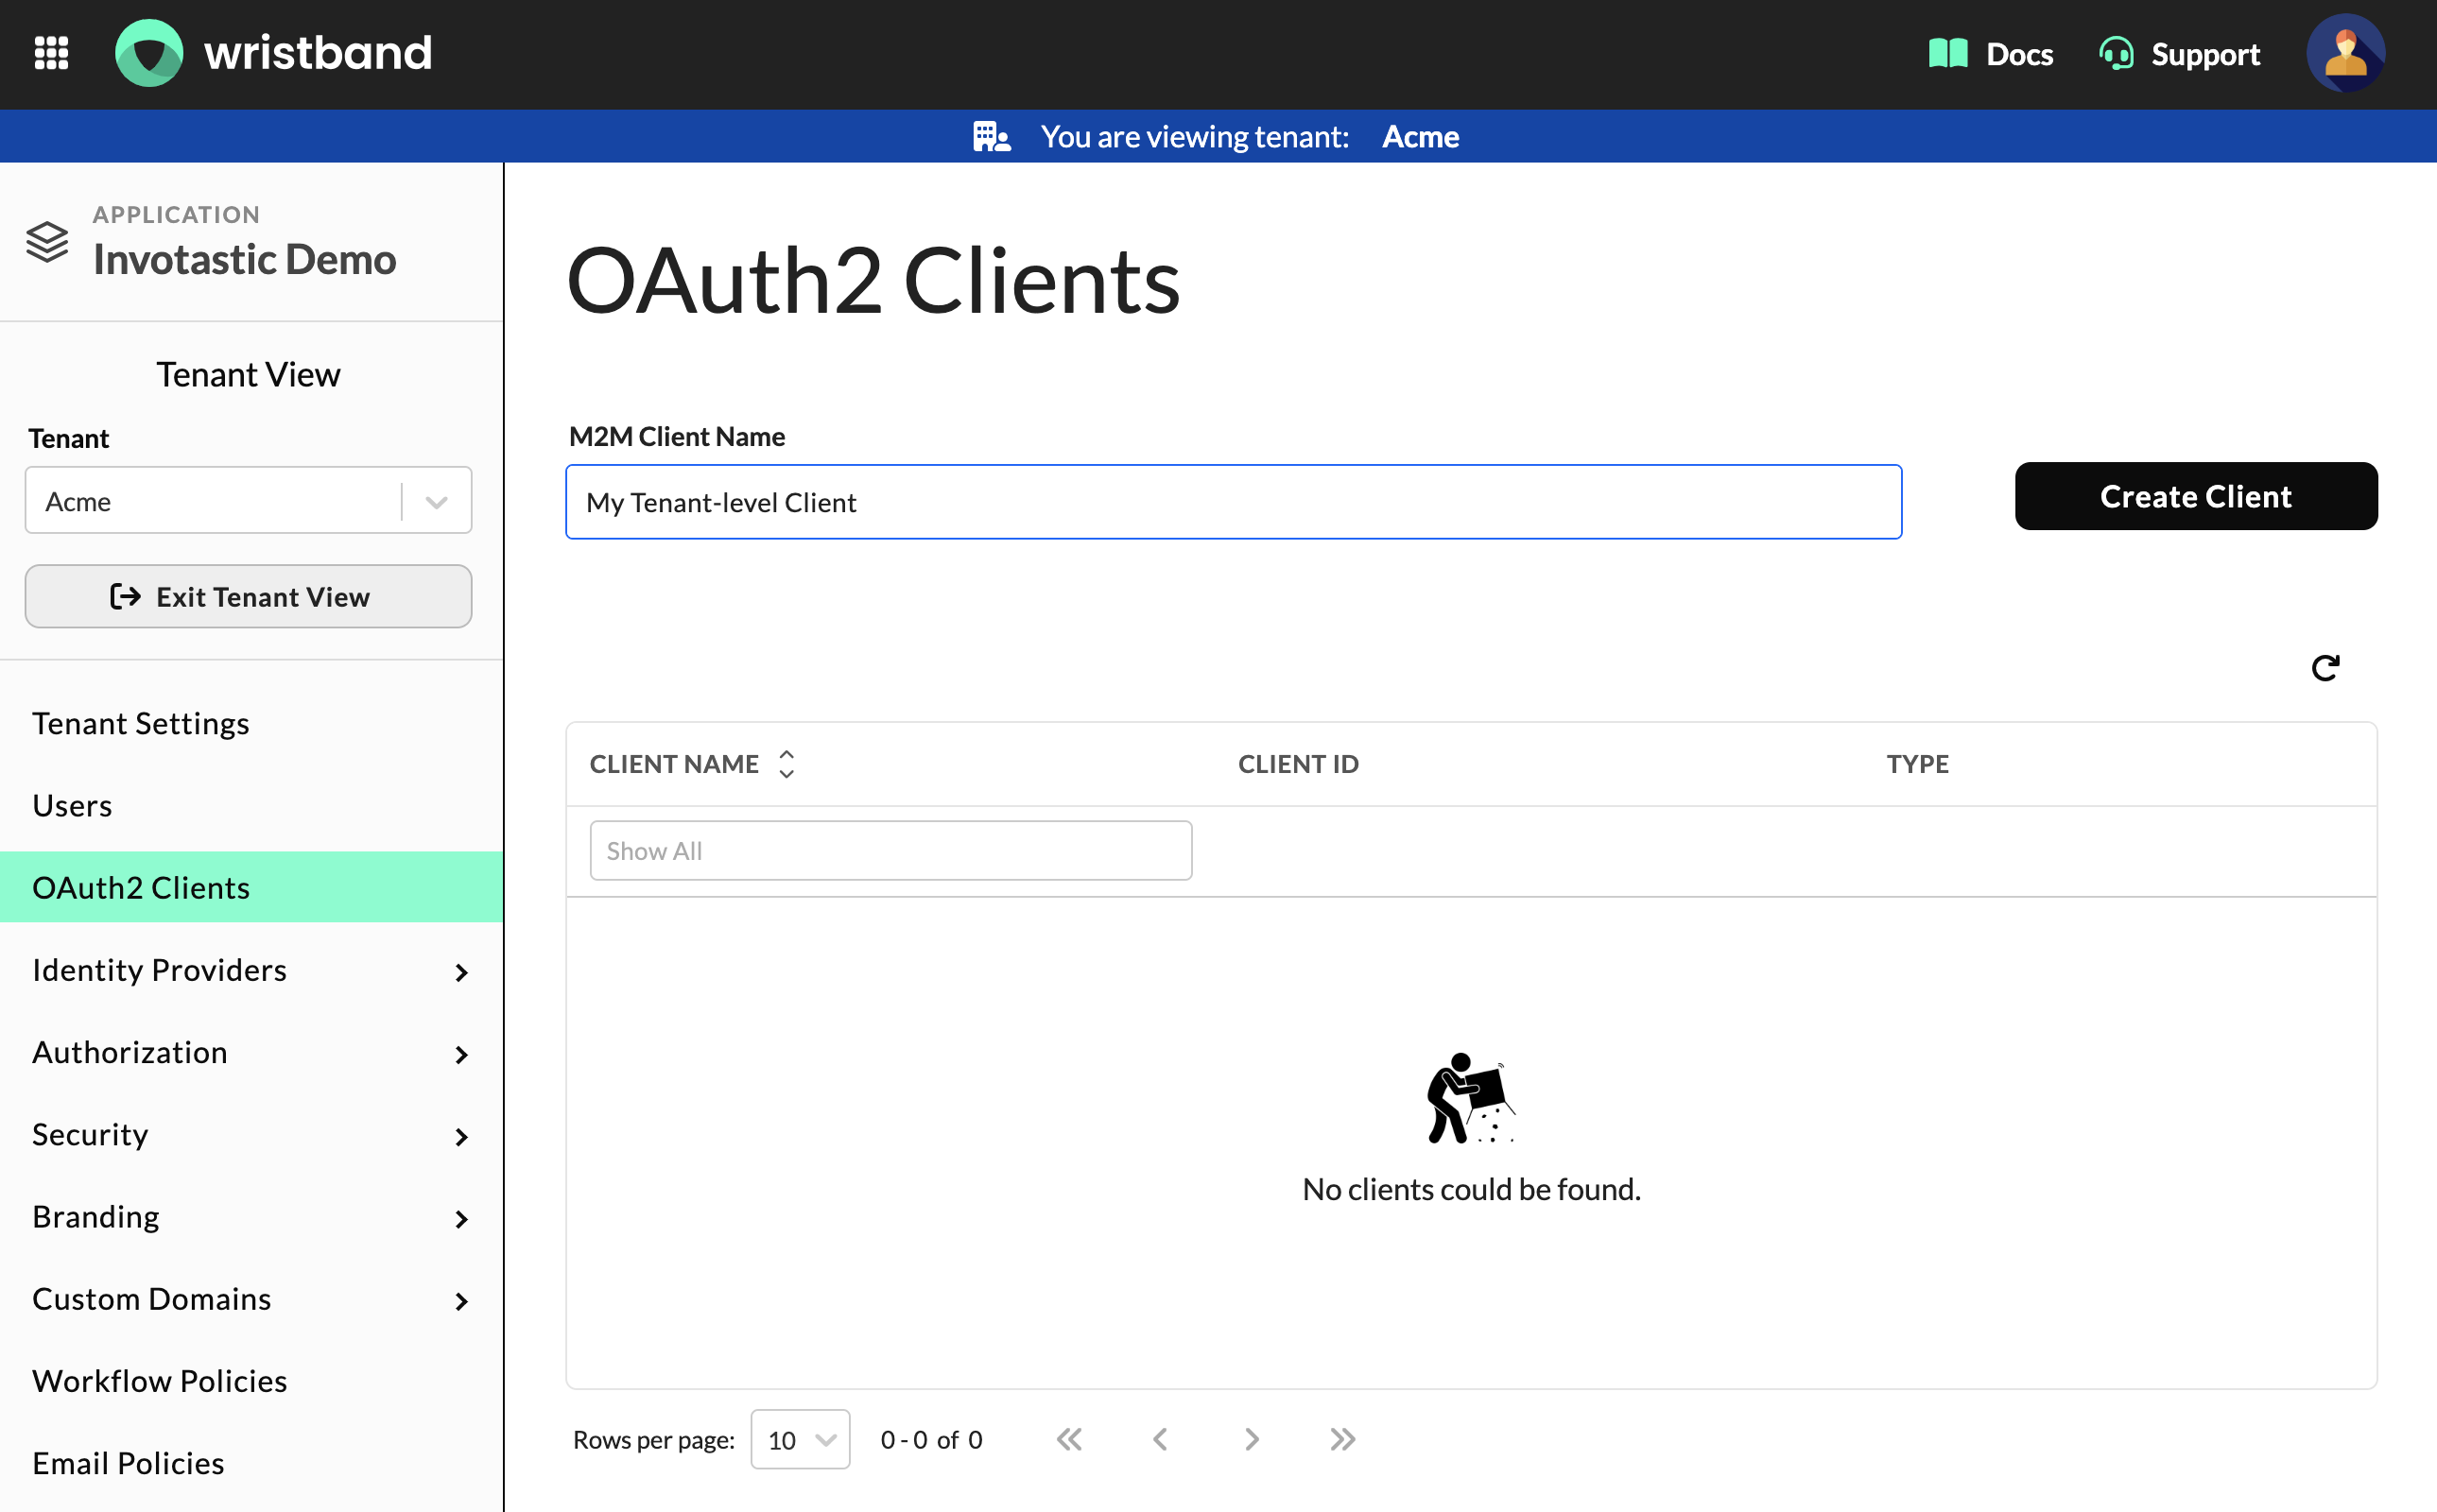
Figure 2: OAuth2 Clients page in Tenant View showing the M2M Client Name field and Create Client button.
Once the client is created, the dashboard will display the clientId and clientSecret. Because Wristband only stores a hashed version of the secret, you must record the plaintext secret now, as it will not be shown again. Ensure you share both values with your customer using a secure channel.
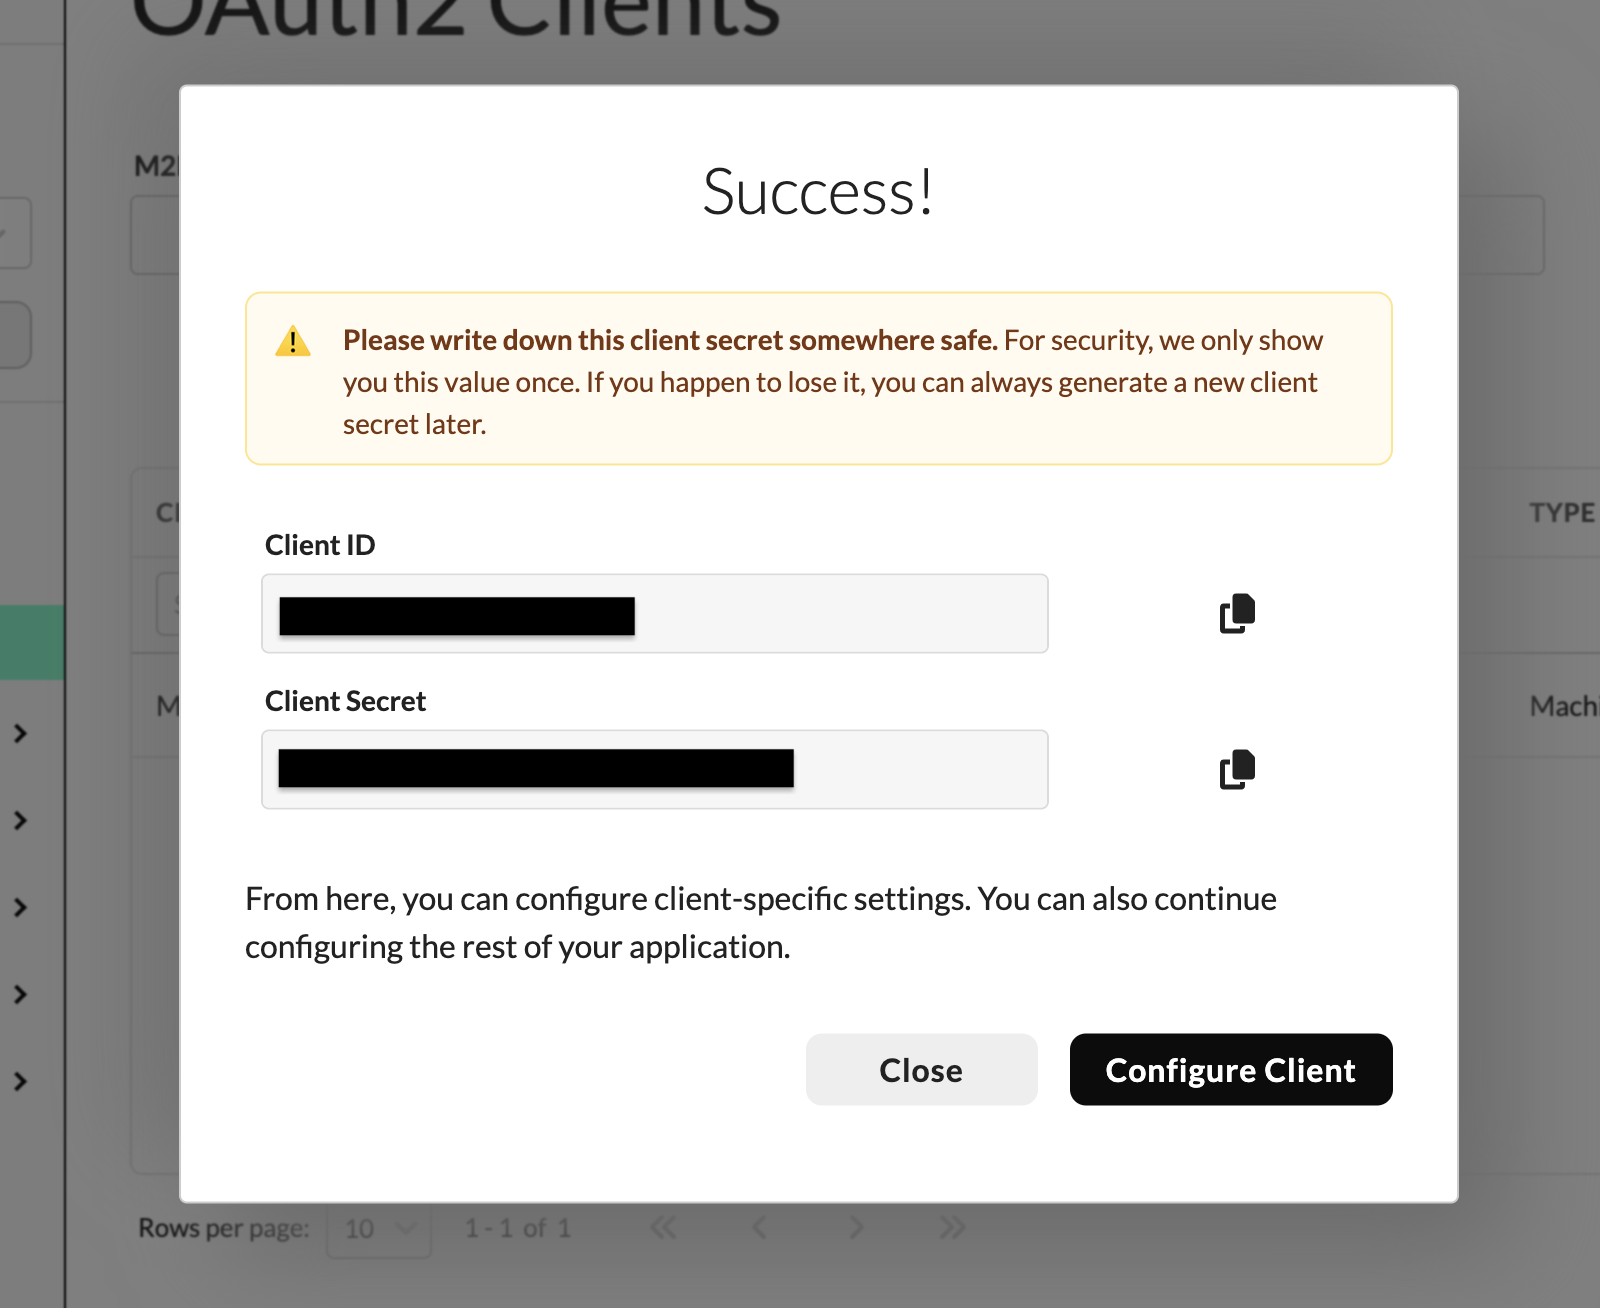
Figure 3: Success dialog displaying the newly created client's Client ID and Client Secret.
Editing an Existing Client
To update an existing tenant client:
- Open the Tenant View for your customer's tenant.
- Click OAuth2 Clients in the left navigation menu.
- Select the client you want to update from the clients table.
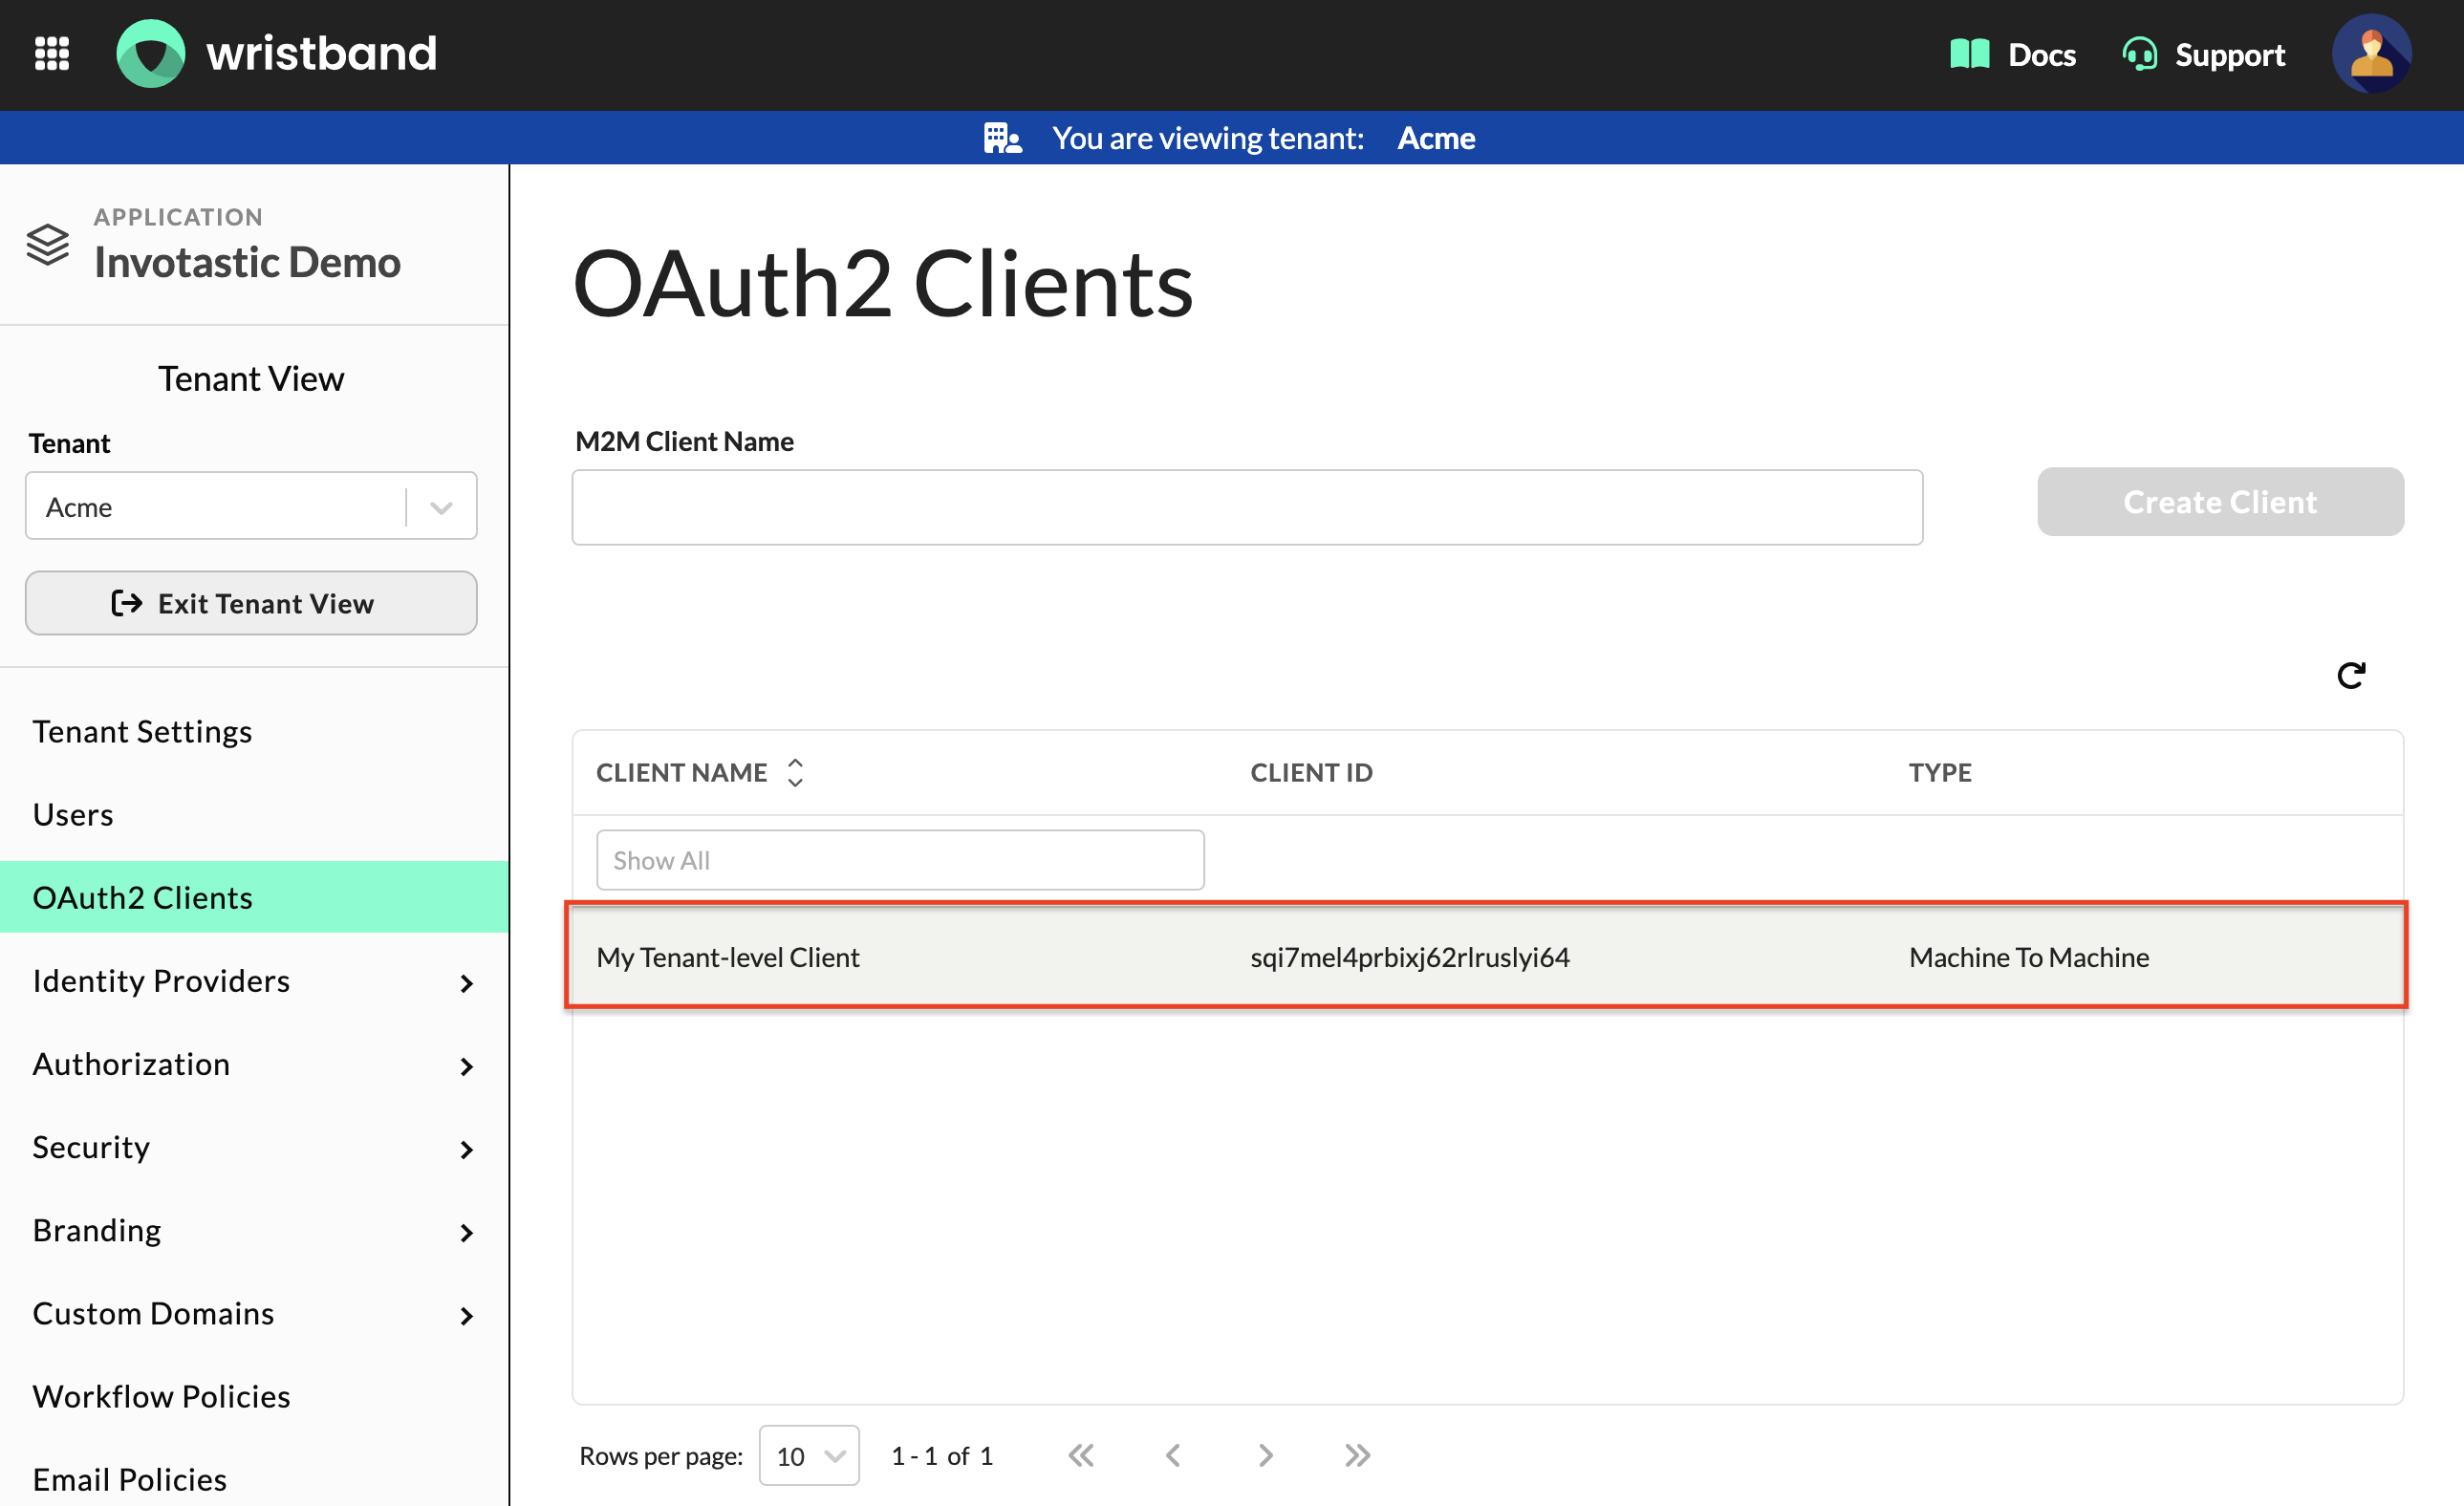
Figure 4: OAuth2 Clients table in Tenant View showing a list of clients to select for editing.
Configuring Client Settings
Use this section to update the client's Name and Description. Because tenant-level M2M clients do not feature a user login flow, they exclude Redirect URIs and Advanced Settings configurations.
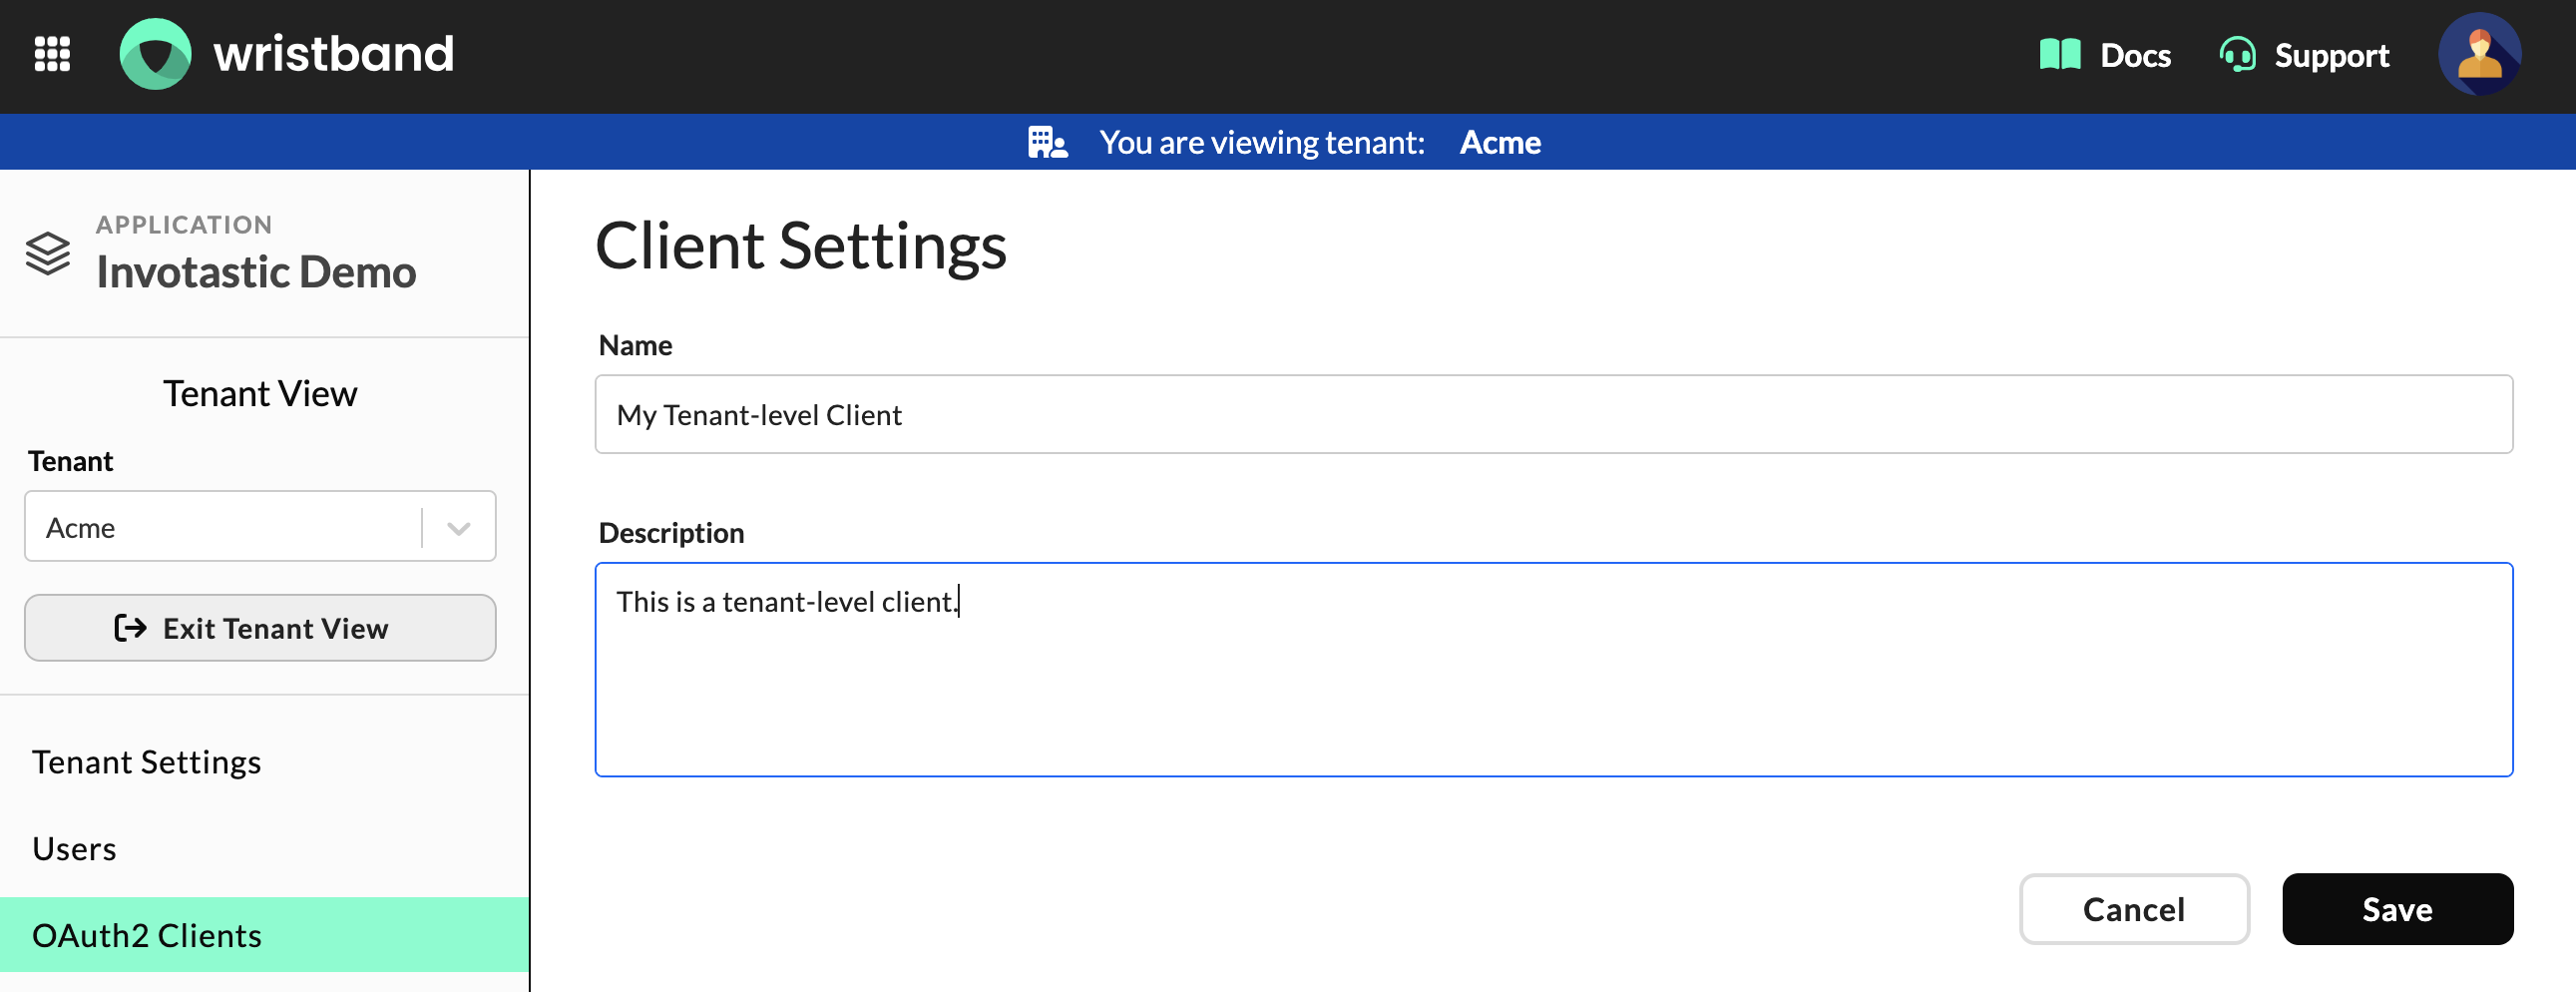
Figure 5: Client Settings section on the Edit Client page for a tenant-level M2M client showing Name and Description fields.
Configuring JWT Settings
Scroll down to the JWT Settings section to configure how long access tokens remain valid. Because M2M clients do not use ID tokens or refresh tokens, you can only modify the Access Token Expiration.
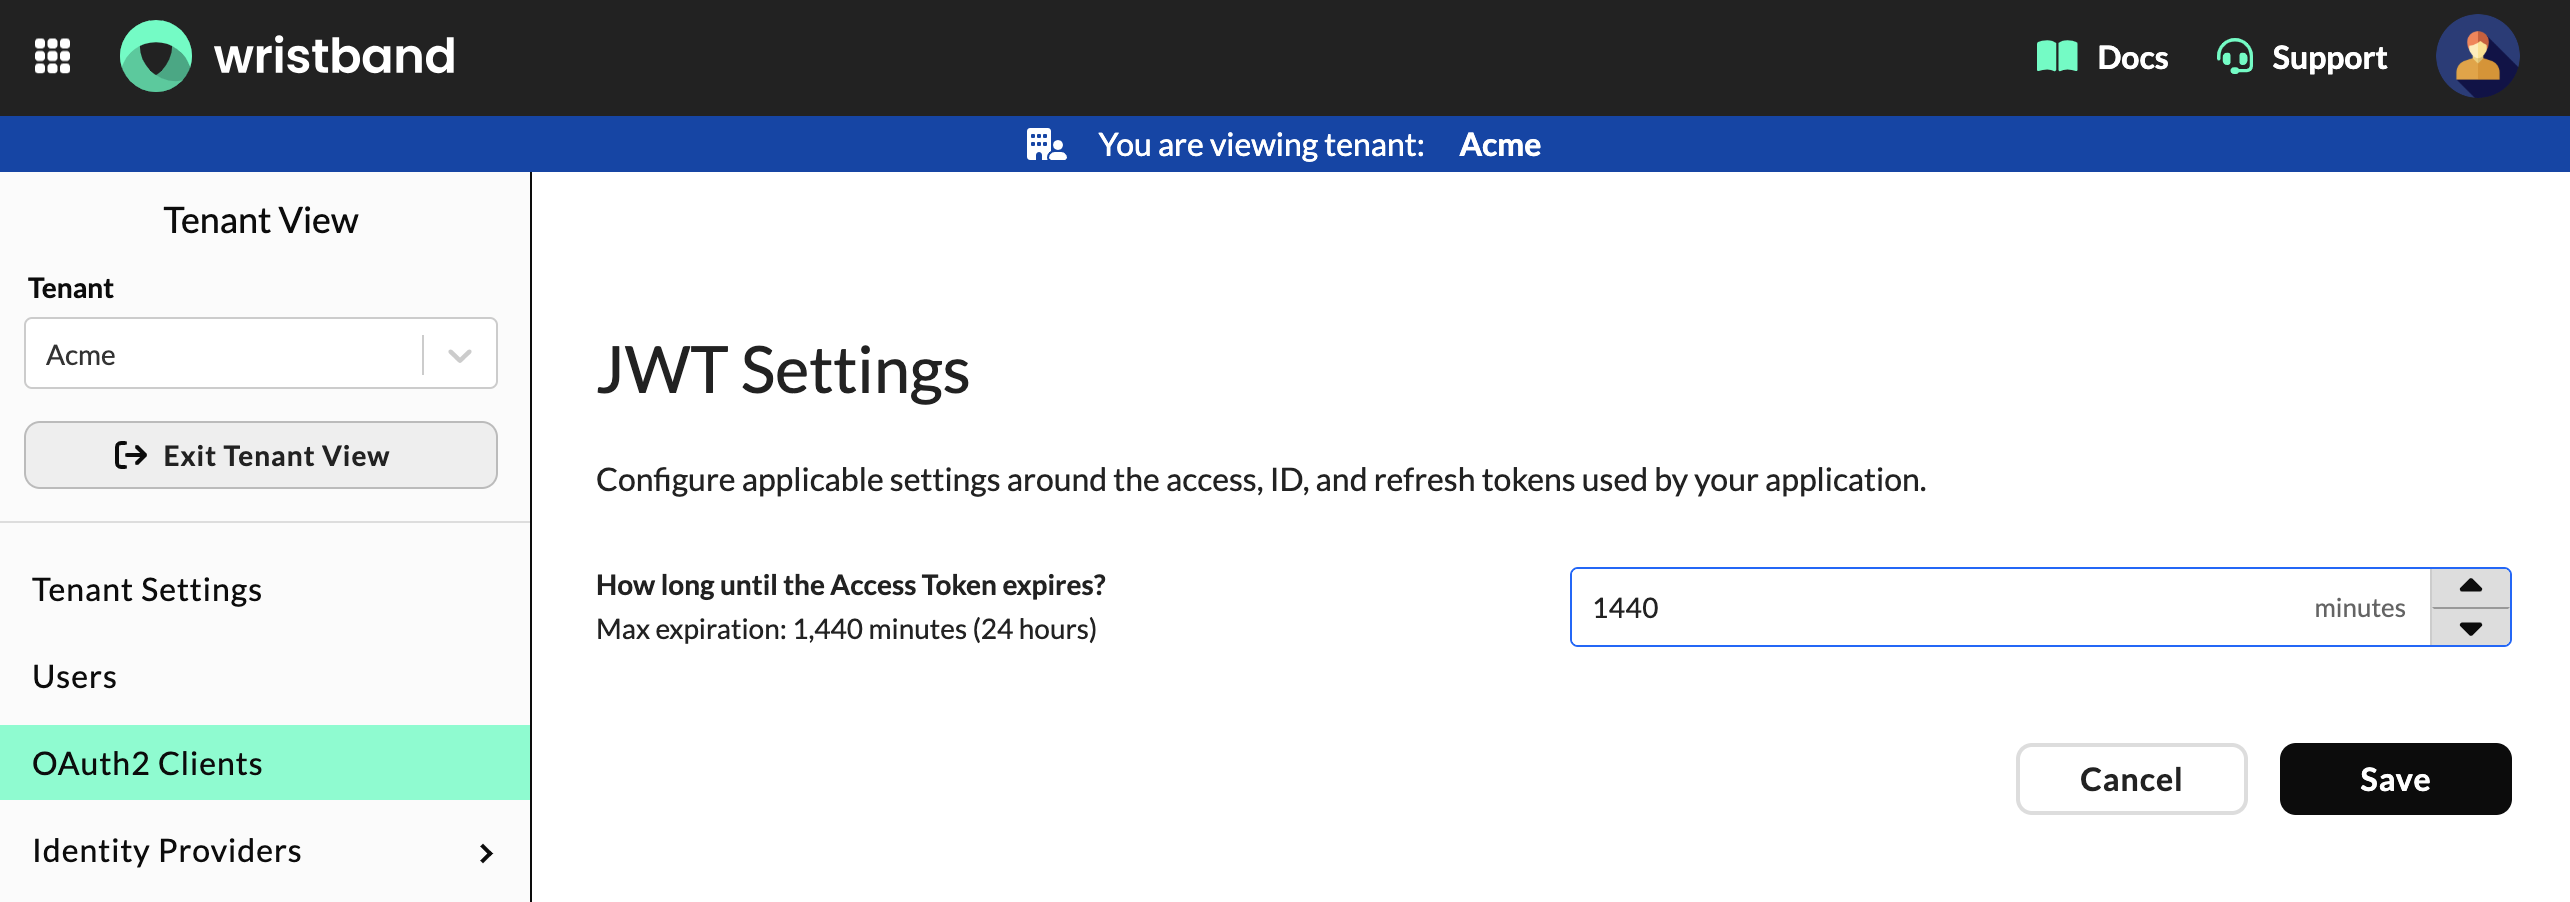
Figure 6: JWT Settings section on the Edit Client page for a tenant-level M2M client showing only the Access Token Expiration field.
Assigning Roles to a Client
Scroll down to the Roles section to manage the client's permissions. Use the multi-select dropdown to add or remove roles assigned to the client.
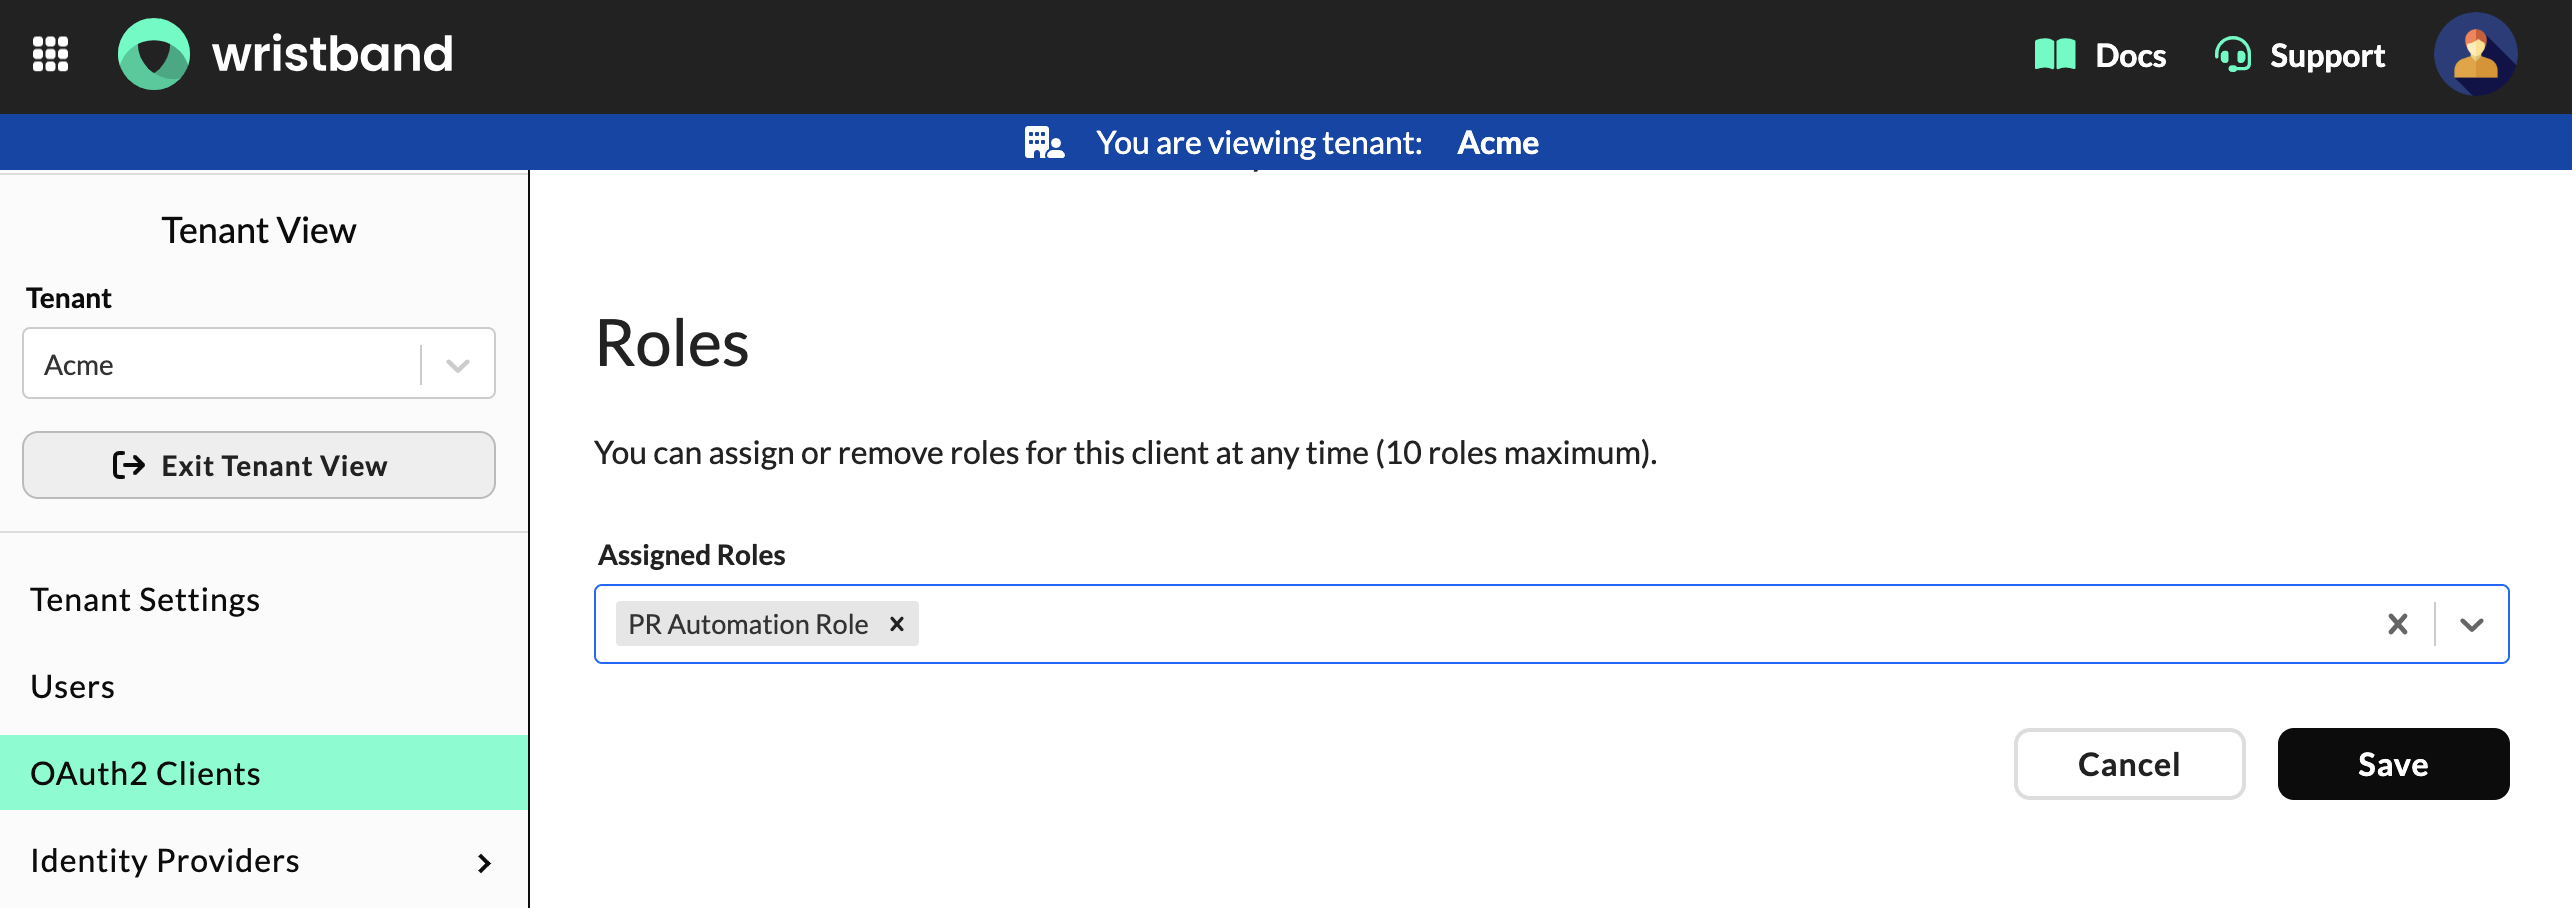
Figure 7: Roles section on the Edit Client page for a tenant-level M2M client showing the Assigned Roles multi-select dropdown.
Validating a Client's Secret
To check if a client secret value is still valid:
- Scroll down to the Client Secret Settings section.
- Enter your secret value into the input field.
- Click Validate.
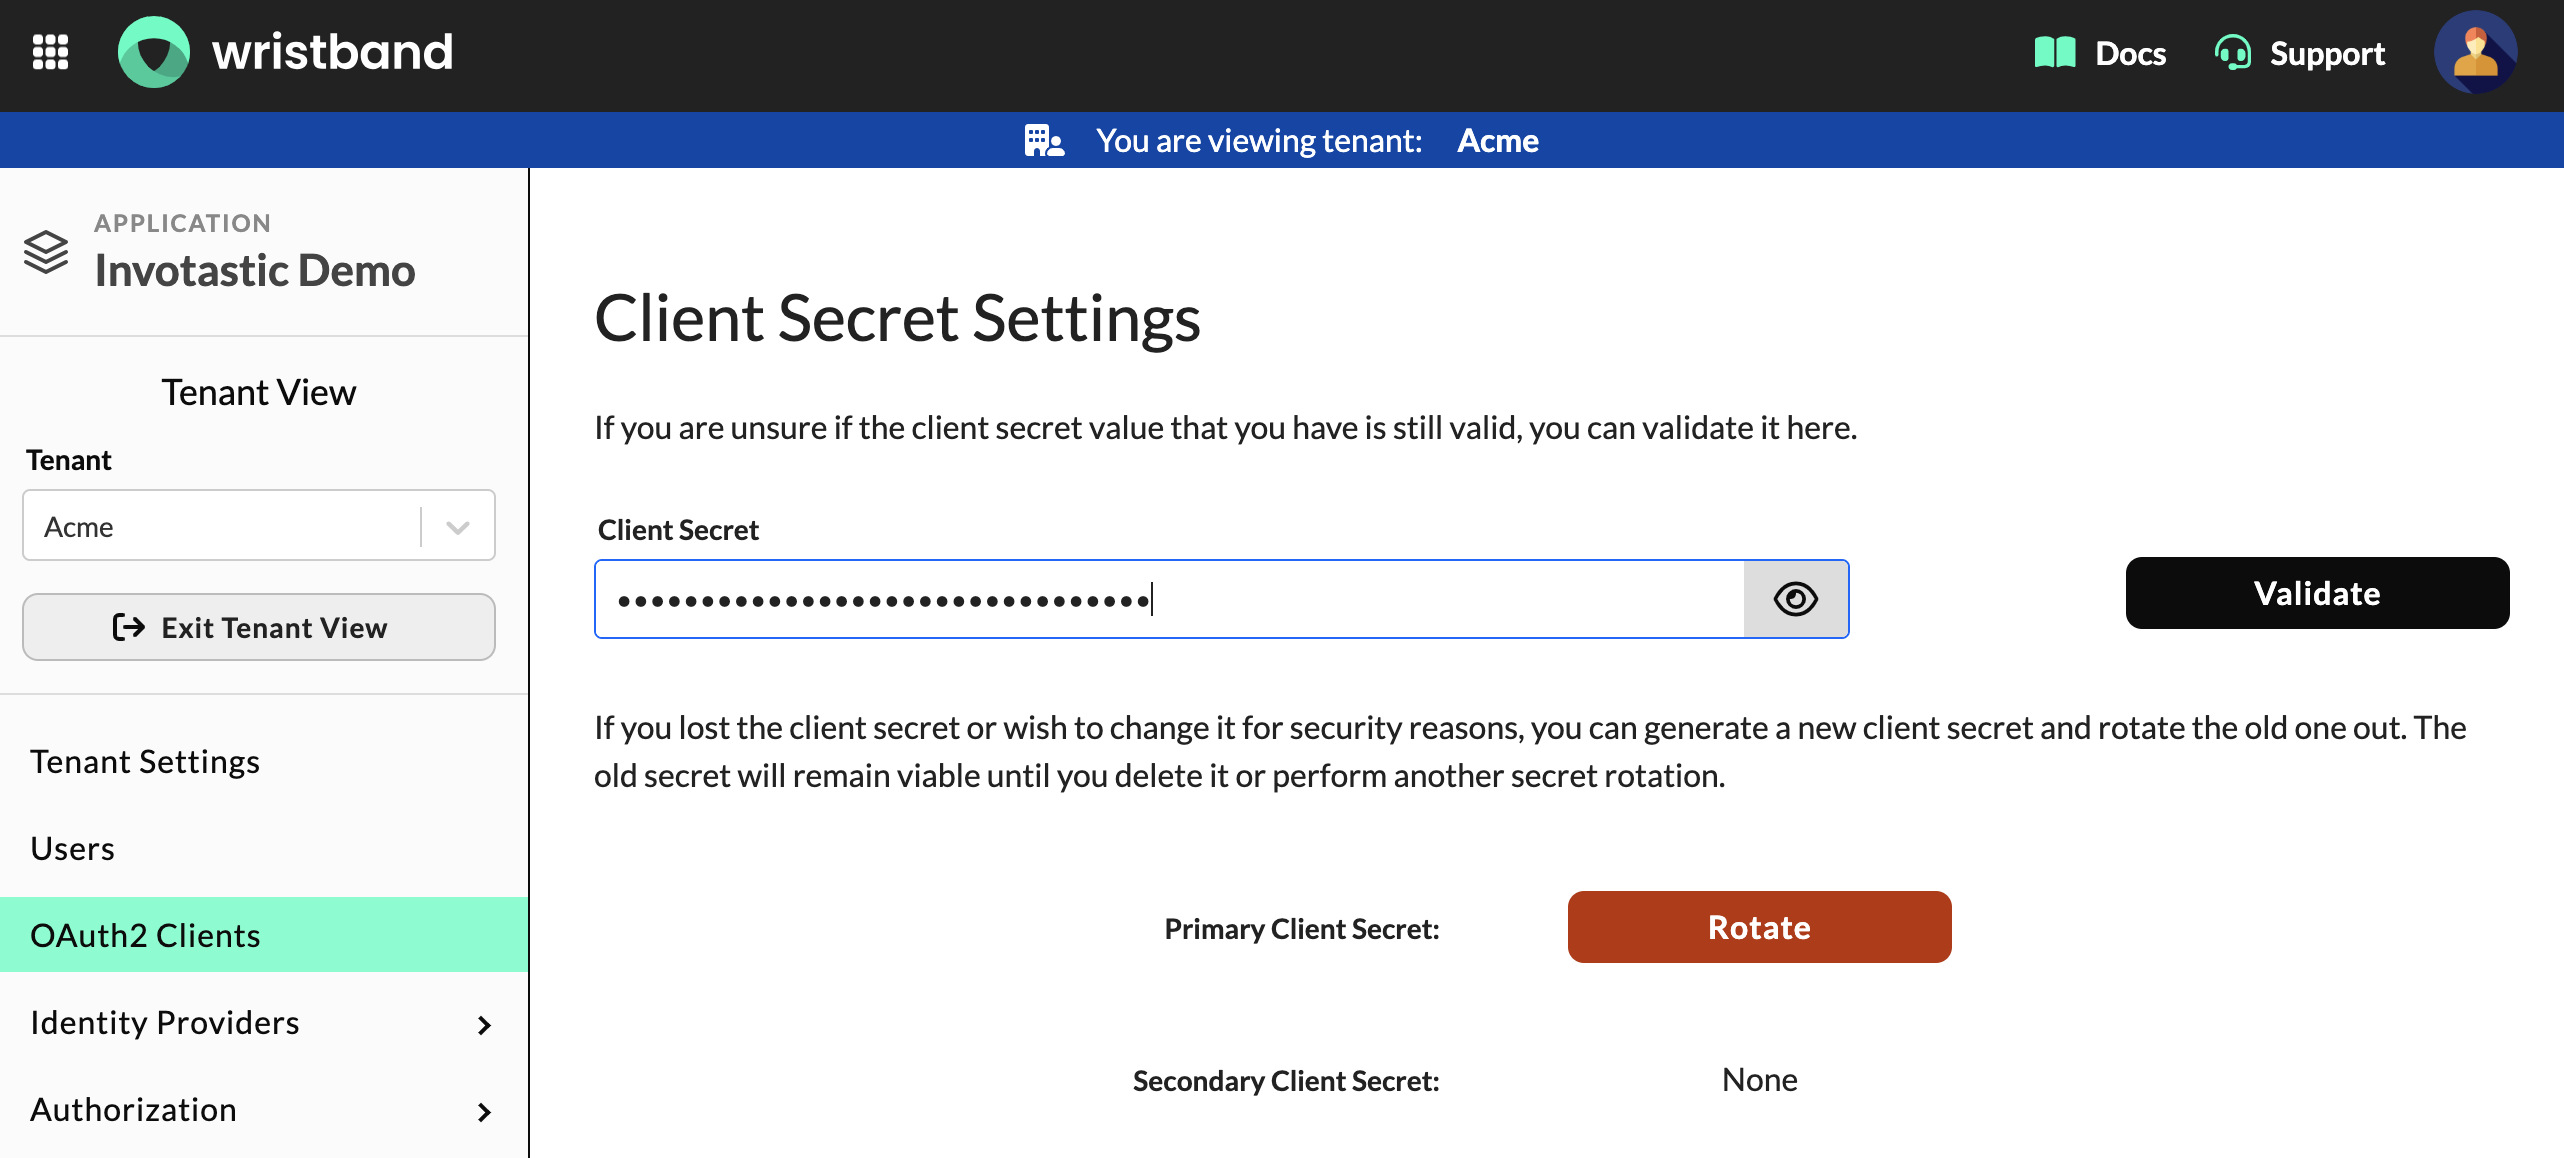
Figure 8: Client Secret Settings section on the Edit Client page for a tenant-level M2M client showing the Client Secret field and Validate button.
Rotating a Client's Secret
To rotate a secret from the dashboard:
- Scroll down to the Client Secret Settings section.
- Click Rotate next to the Primary Client Secret.
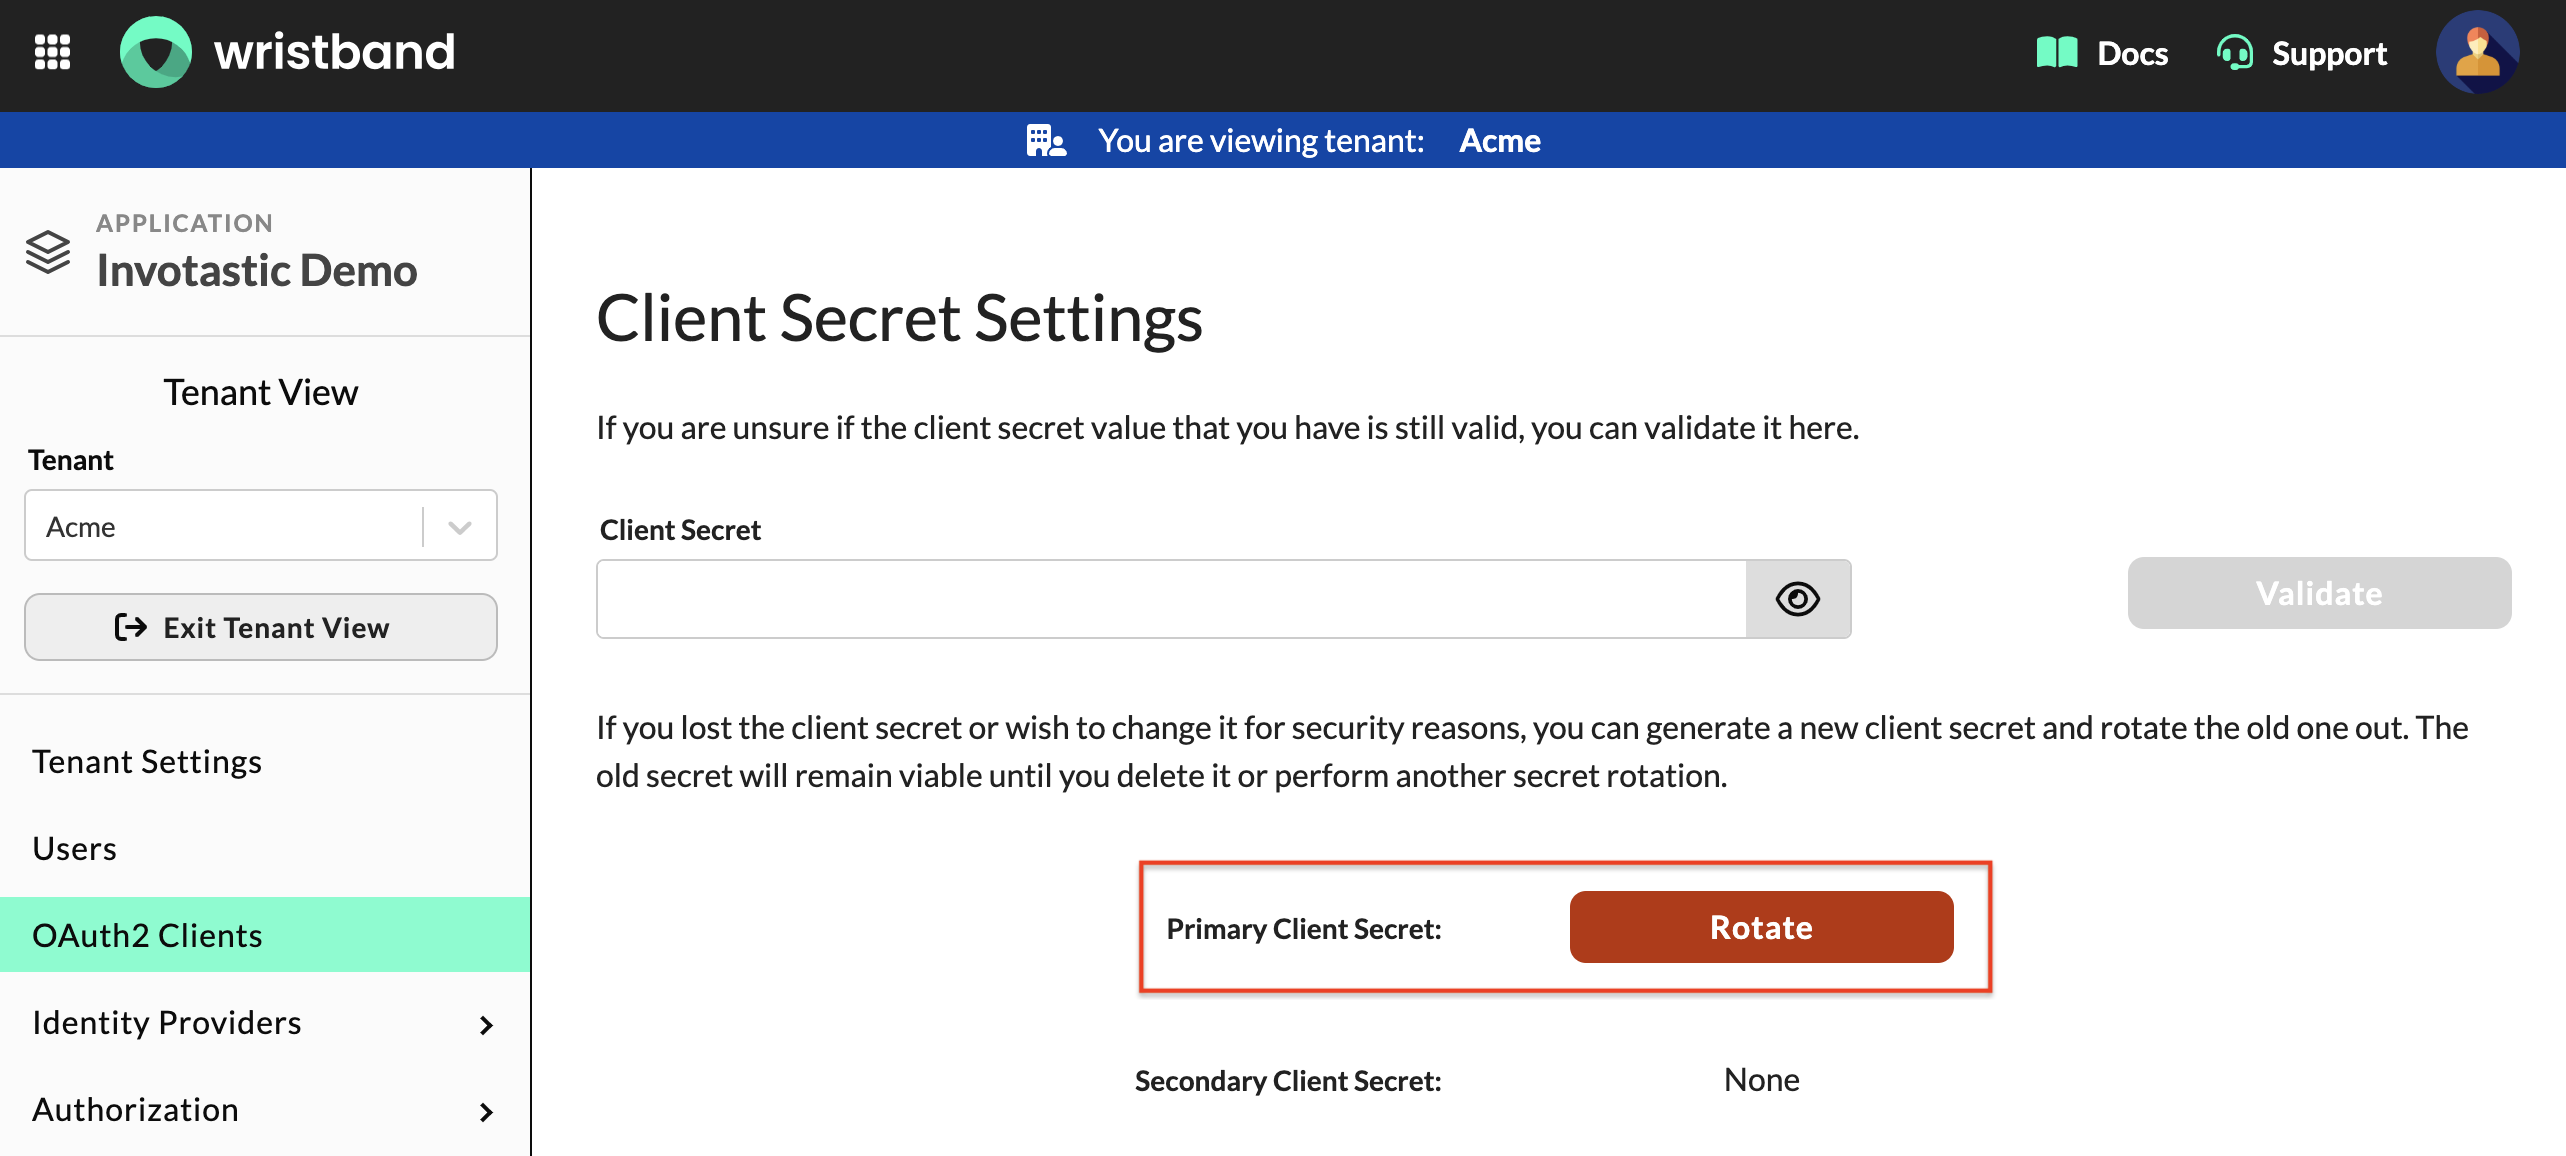
Figure 9: Client Secret Settings section on the Edit Client page for a tenant-level M2M client showing the Rotate button for the Primary Client Secret.
After confirming, the new client secret will be displayed. Because it will not be shown again, you must record the secret securely at this time.
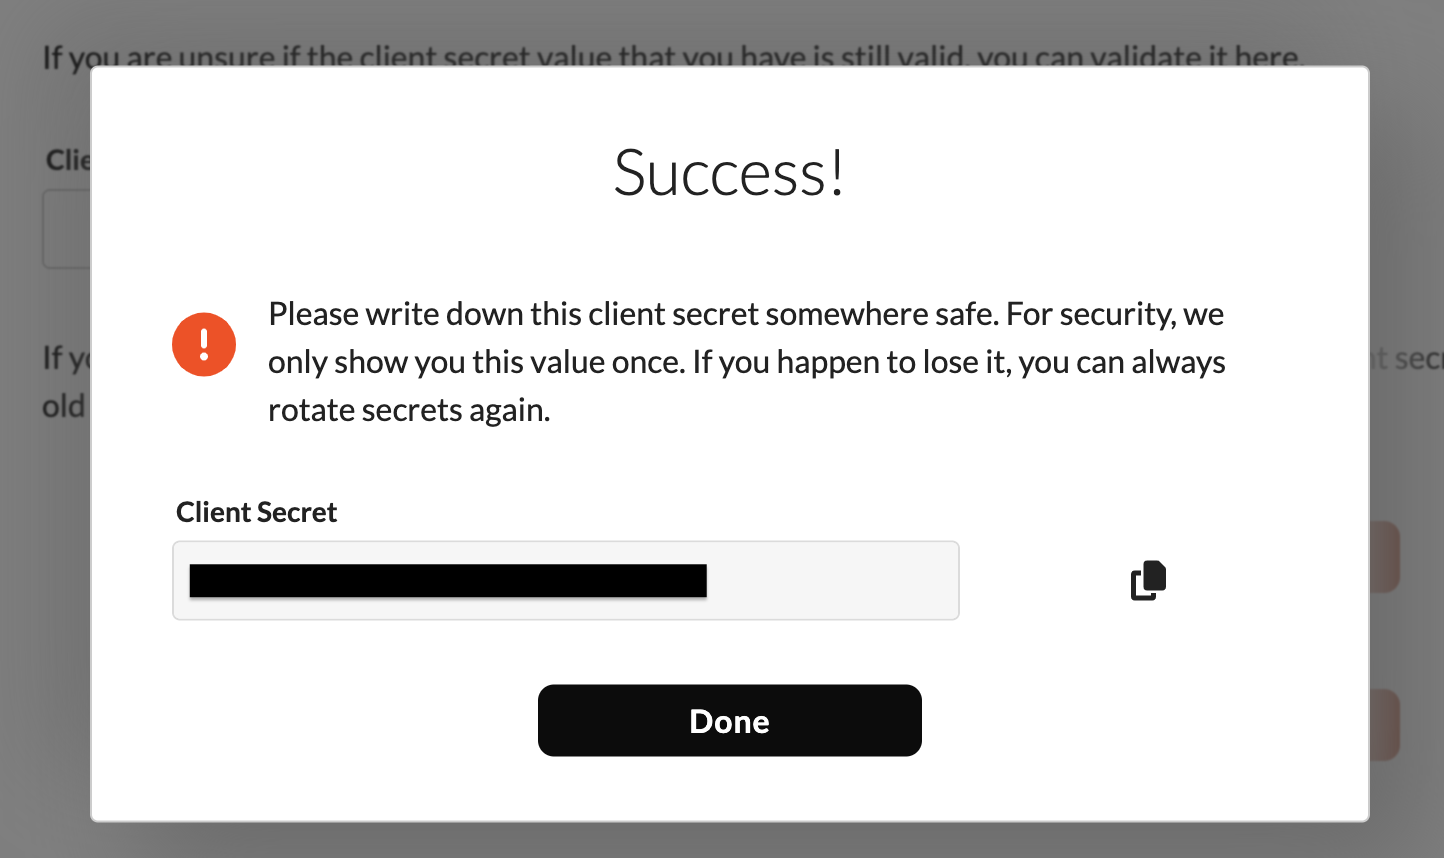
Figure 10: Success dialog showing the new client secret after rotation.
Rotating secrets replaces the current primary secret with a new one. To prevent downtime, Wristband supports zero-downtime secret rolling:
- Primary Secret: A brand new secret is generated and becomes the primary secret.
- Secondary Secret: The old primary secret becomes the secondary secret. Both secrets remain valid for authentication.
- Secret Deletion: If a secondary secret already existed, it is permanently deleted.
Once you have deployed the new secret to your systems, you can permanently remove the old secondary secret by clicking Delete next to the Secondary Client Secret.
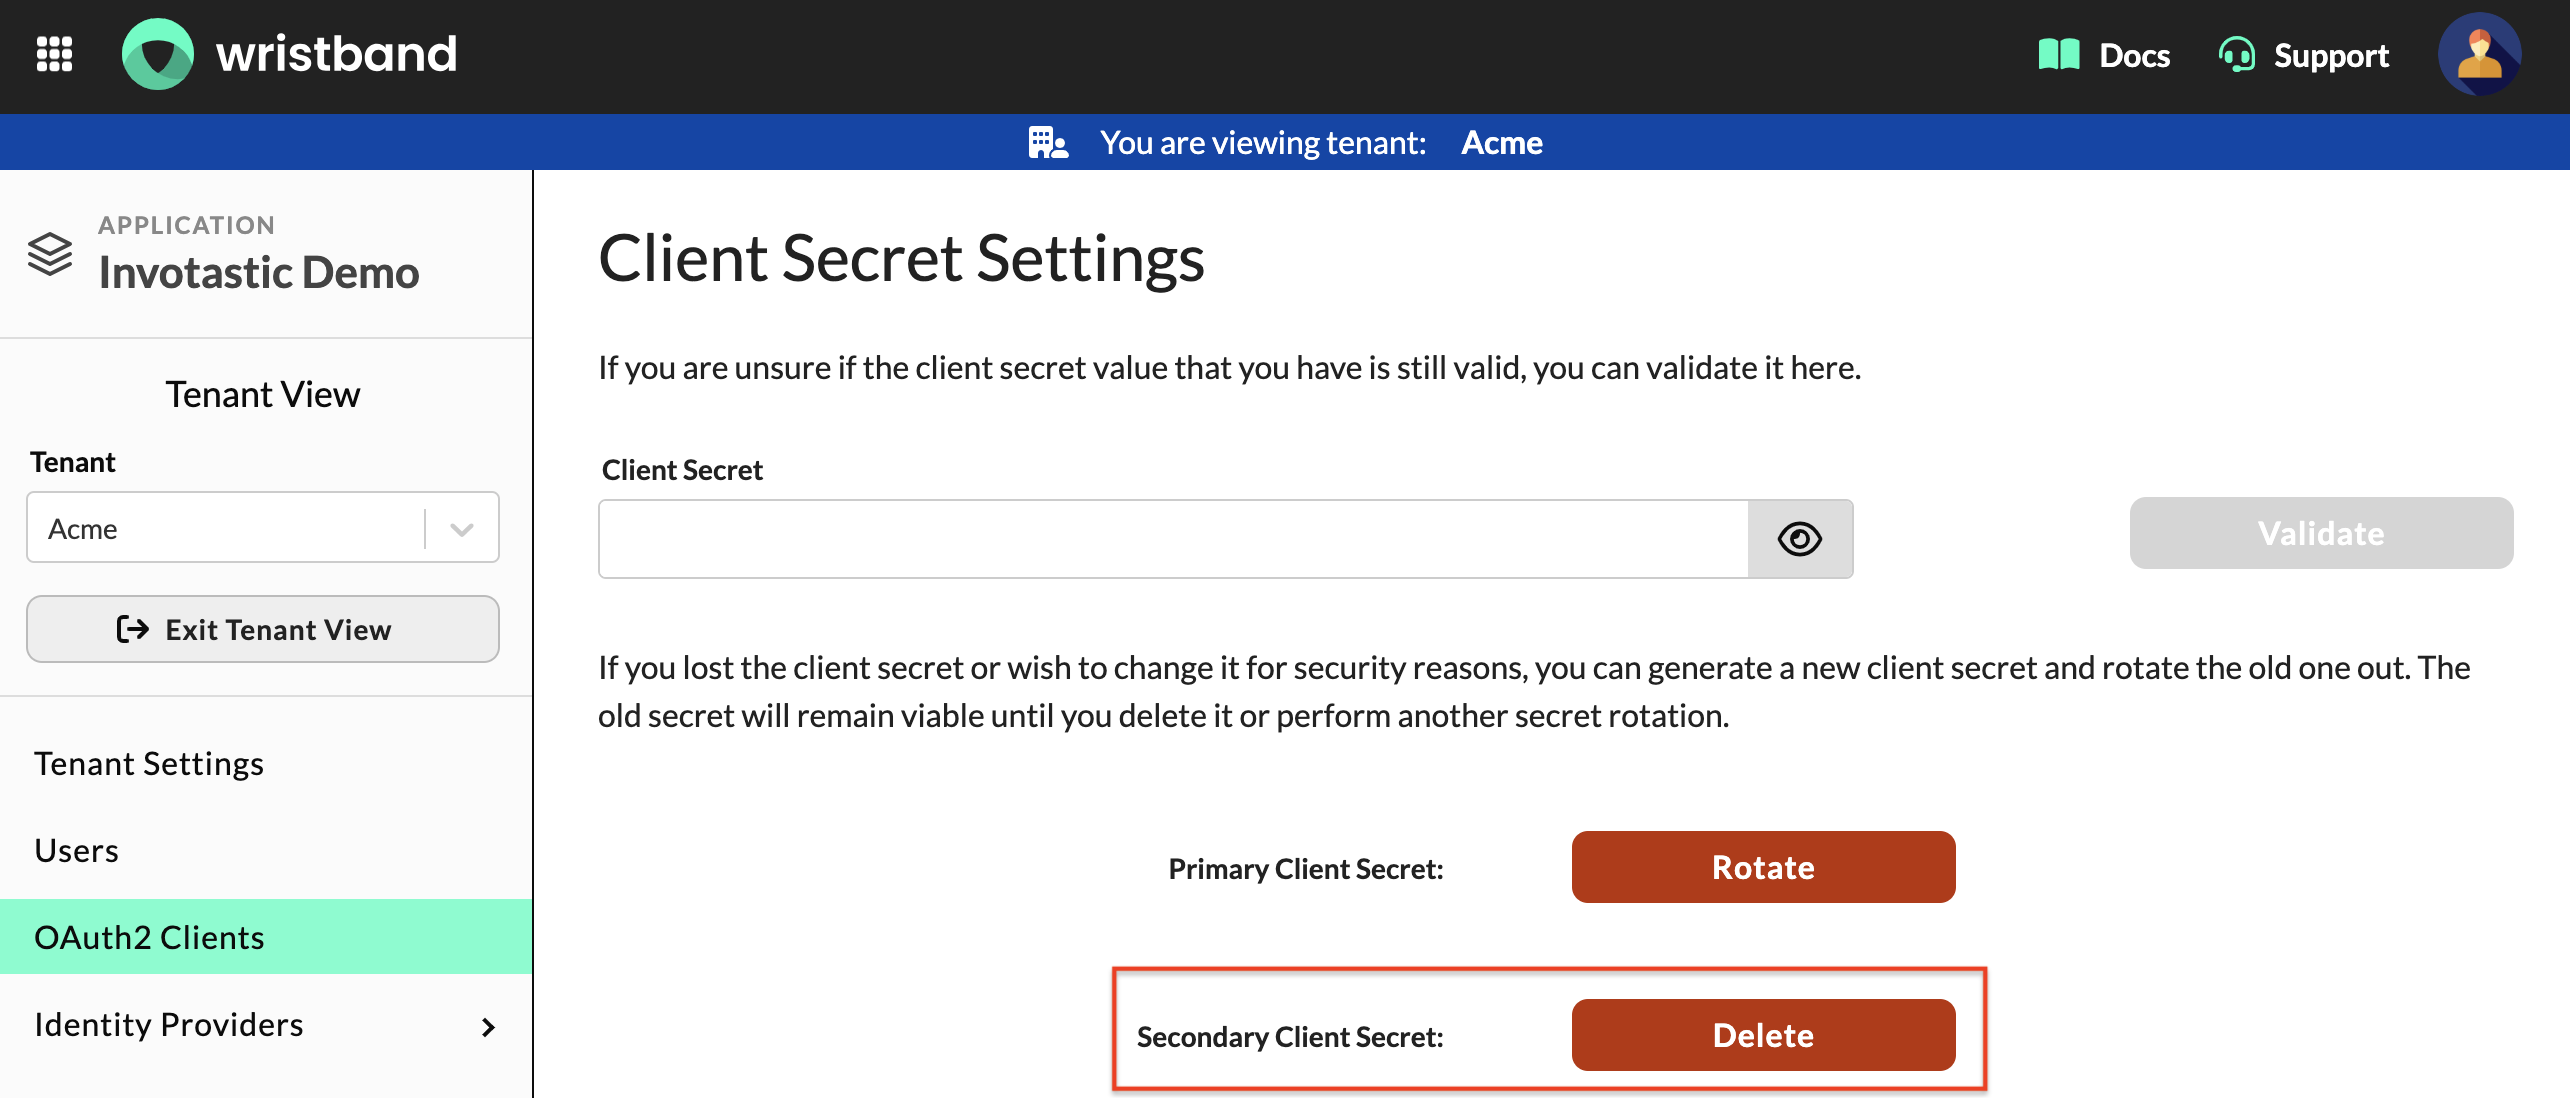
Figure 11: Client Secret Settings section on the Edit Client page for a tenant-level M2M client showing the Delete button for the Secondary Client Secret.
Deleting a secondary secret is permanent and irreversible. The secret immediately stops working for client authentication. Ensure it is no longer in use before deleting it.
Deleting the Client
To permanently remove a client from the dashboard:
- Scroll to the bottom of the Edit Client page to the Delete This Client section.
- Click Delete.
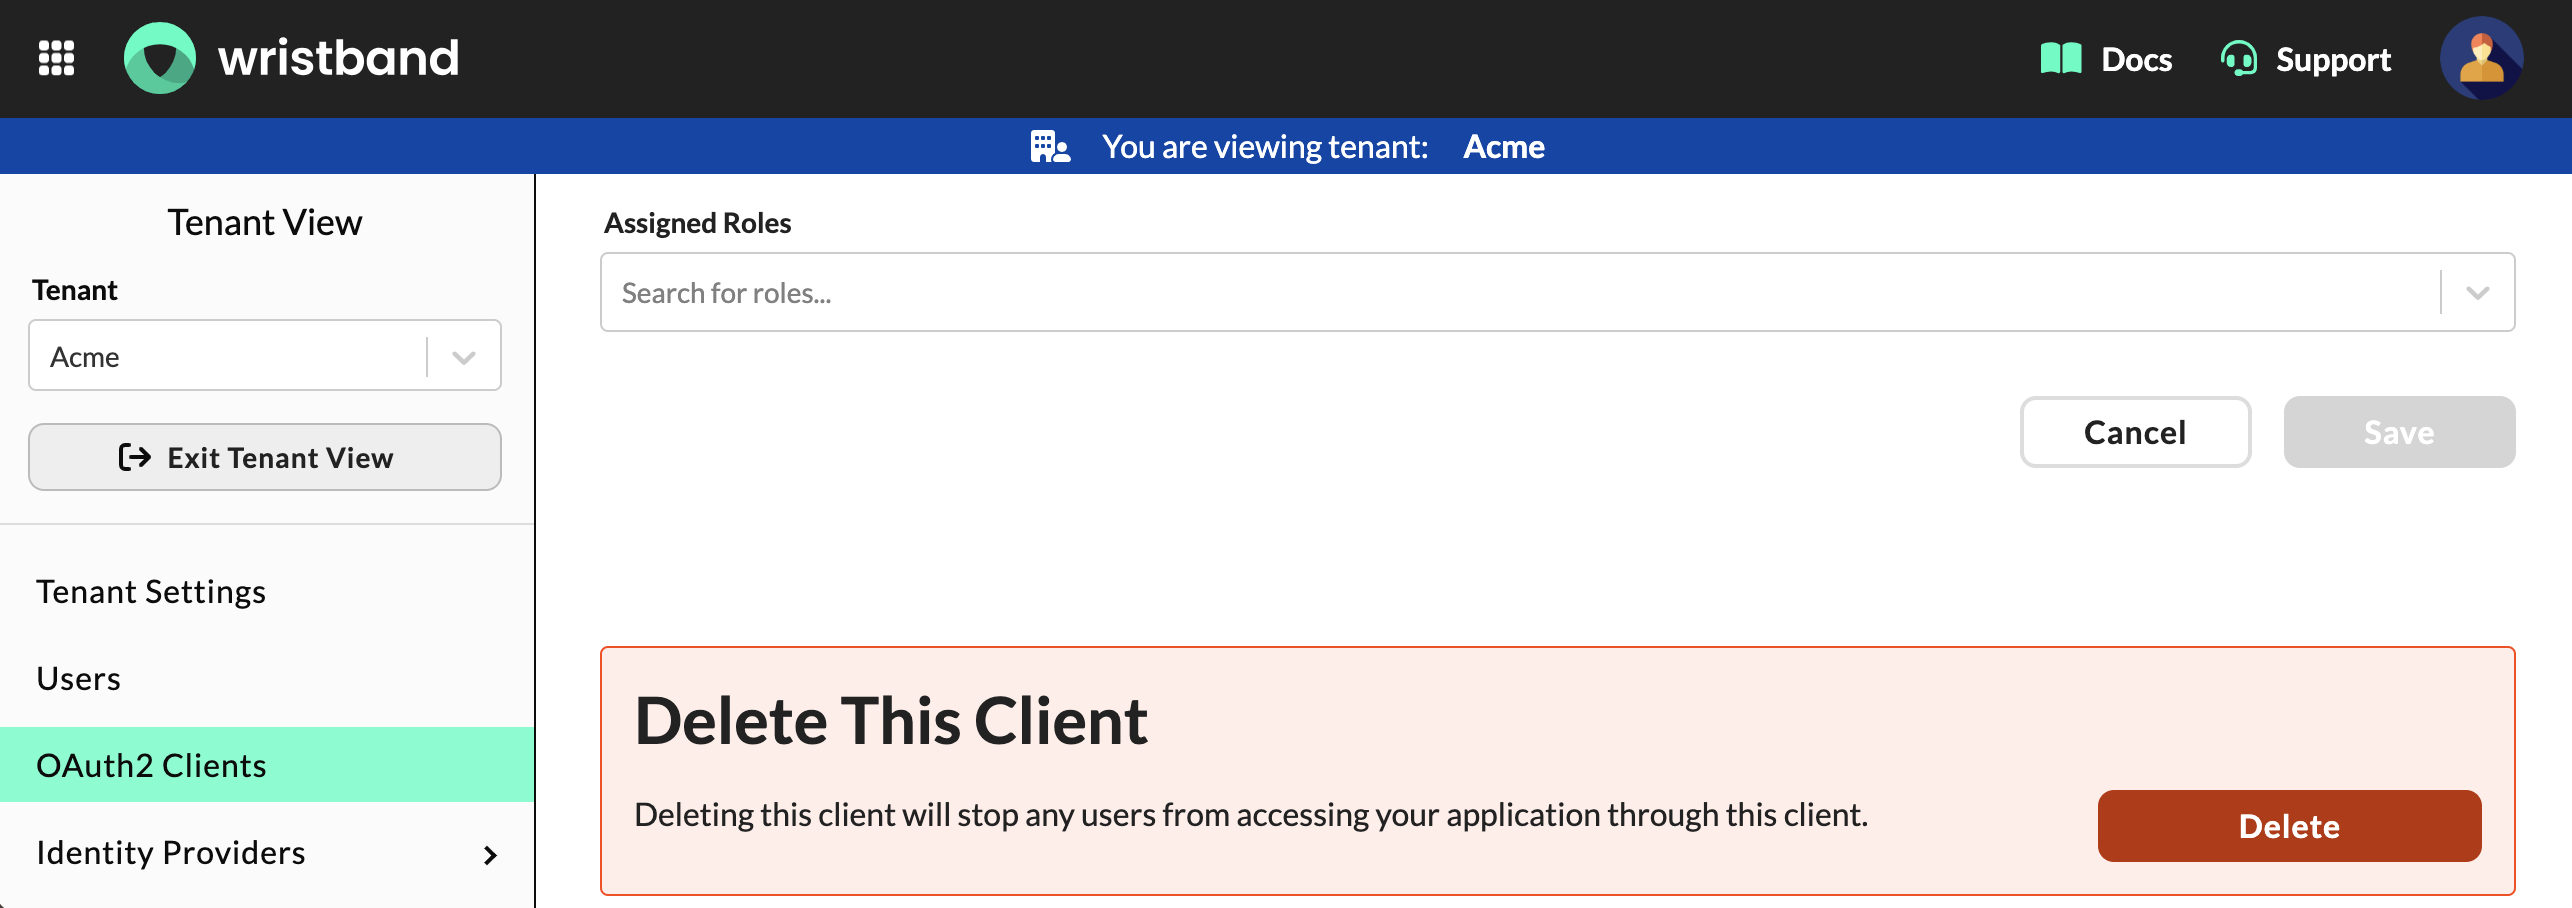
Figure 12: Delete This Client section on the Edit Client page for a tenant-level M2M client with a warning and Delete button.
To permanently remove a client from the dashboard:
- Scroll to the bottom of the Edit Client page to the Delete This Client section.
- Click Delete.
Once deleted, the client can no longer be used to issue new access tokens.
Generating Access Tokens
To test calling Wristband APIs manually using tools like cURL or Postman, you can generate a token directly from the dashboard:
- Scroll down to the Generate Access Tokens section on the Edit Client page.
- Paste in your client secret.
- Click New Token.
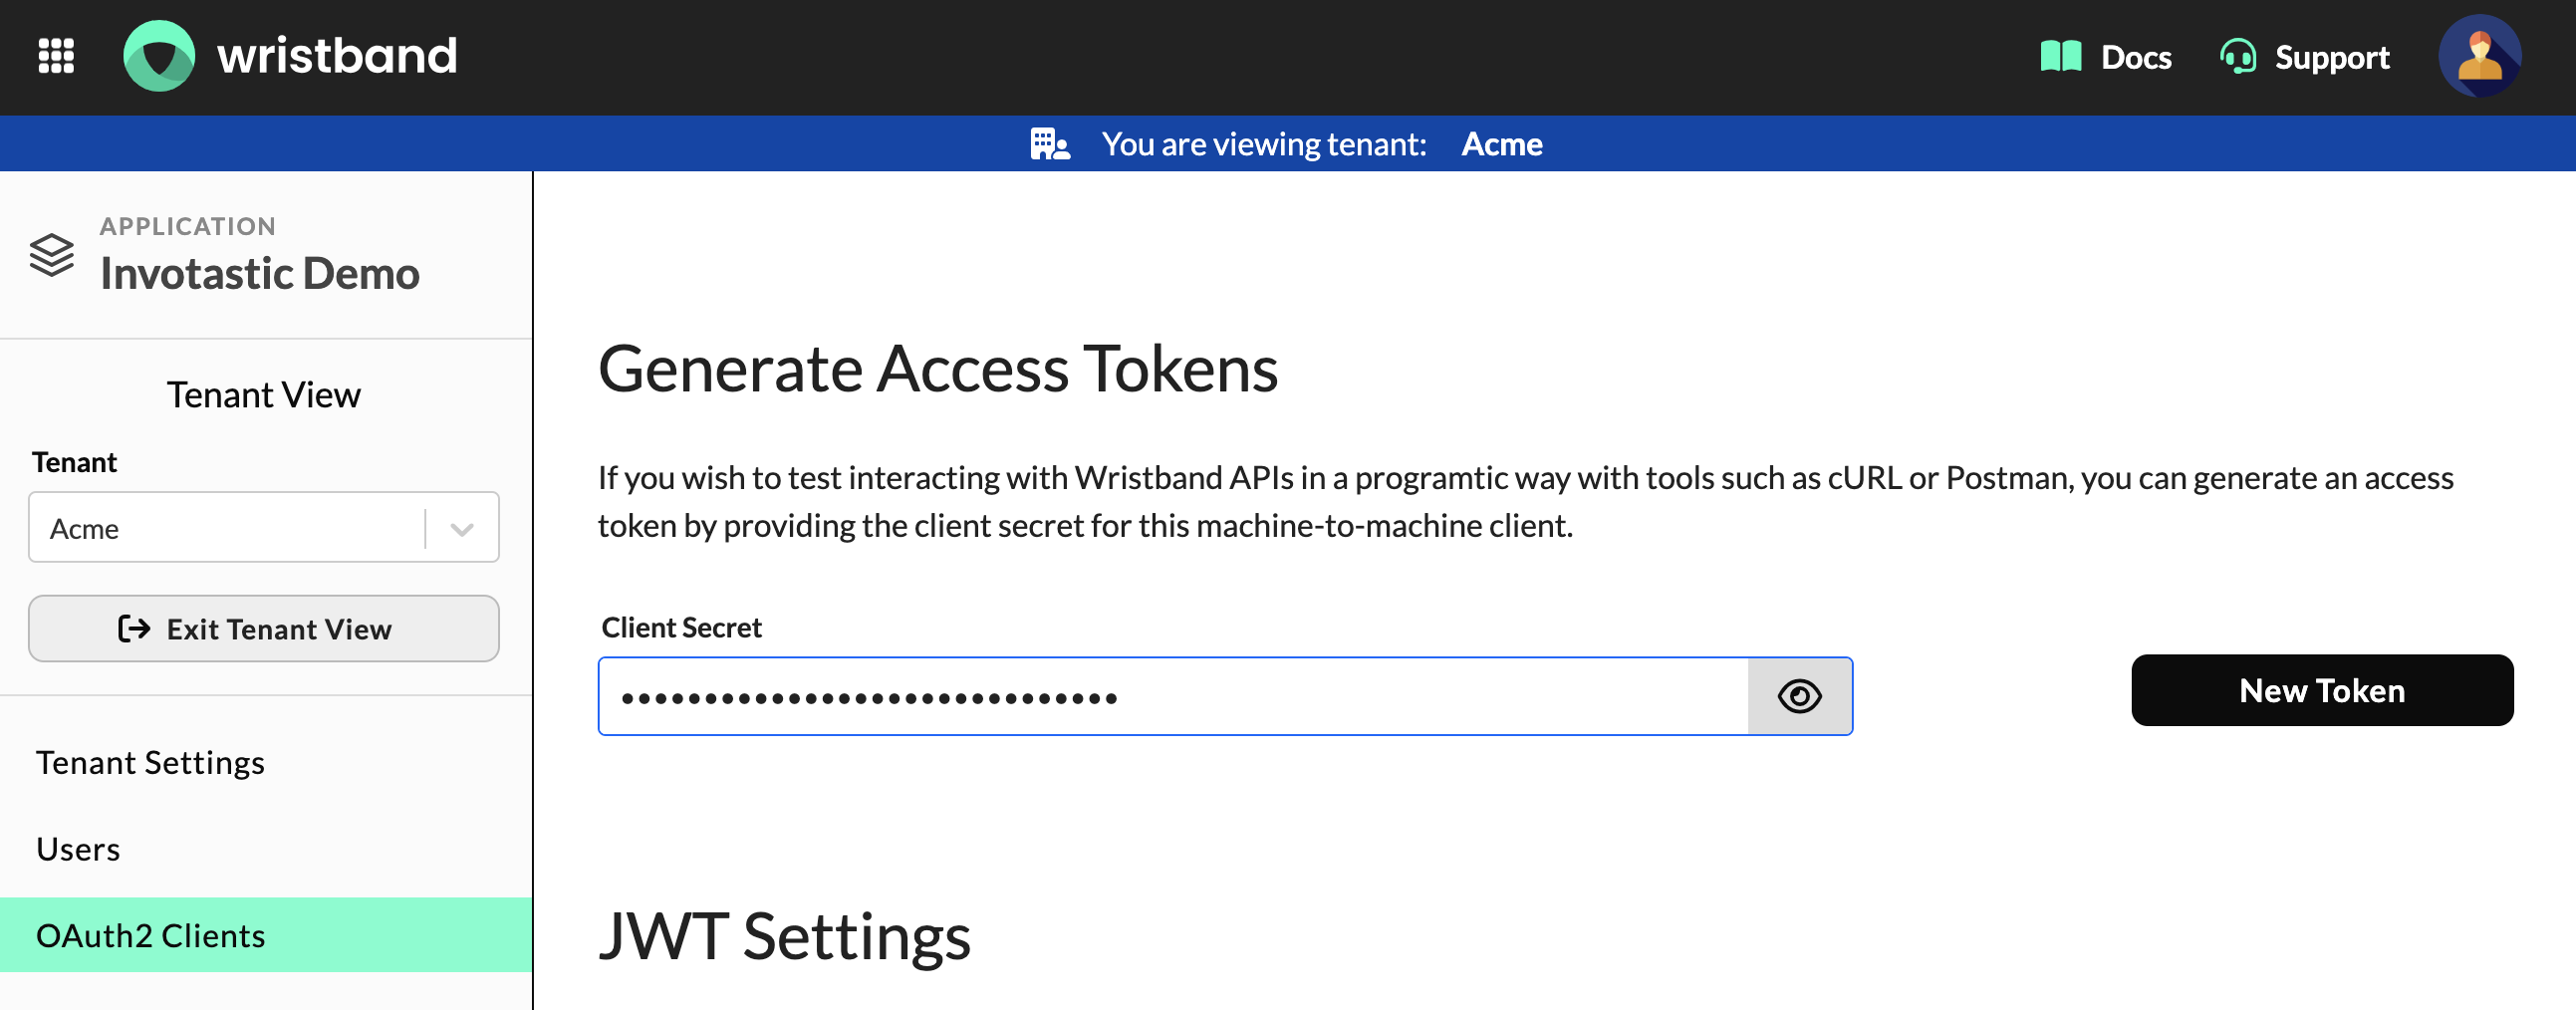
Figure 13: Generate Access Tokens section on the Edit Client page for a tenant-level M2M client showing the Client Secret field and New Token button.
Once generated, the access token will be displayed. Because it will not be shown again, ensure you copy it to a secure location immediately.
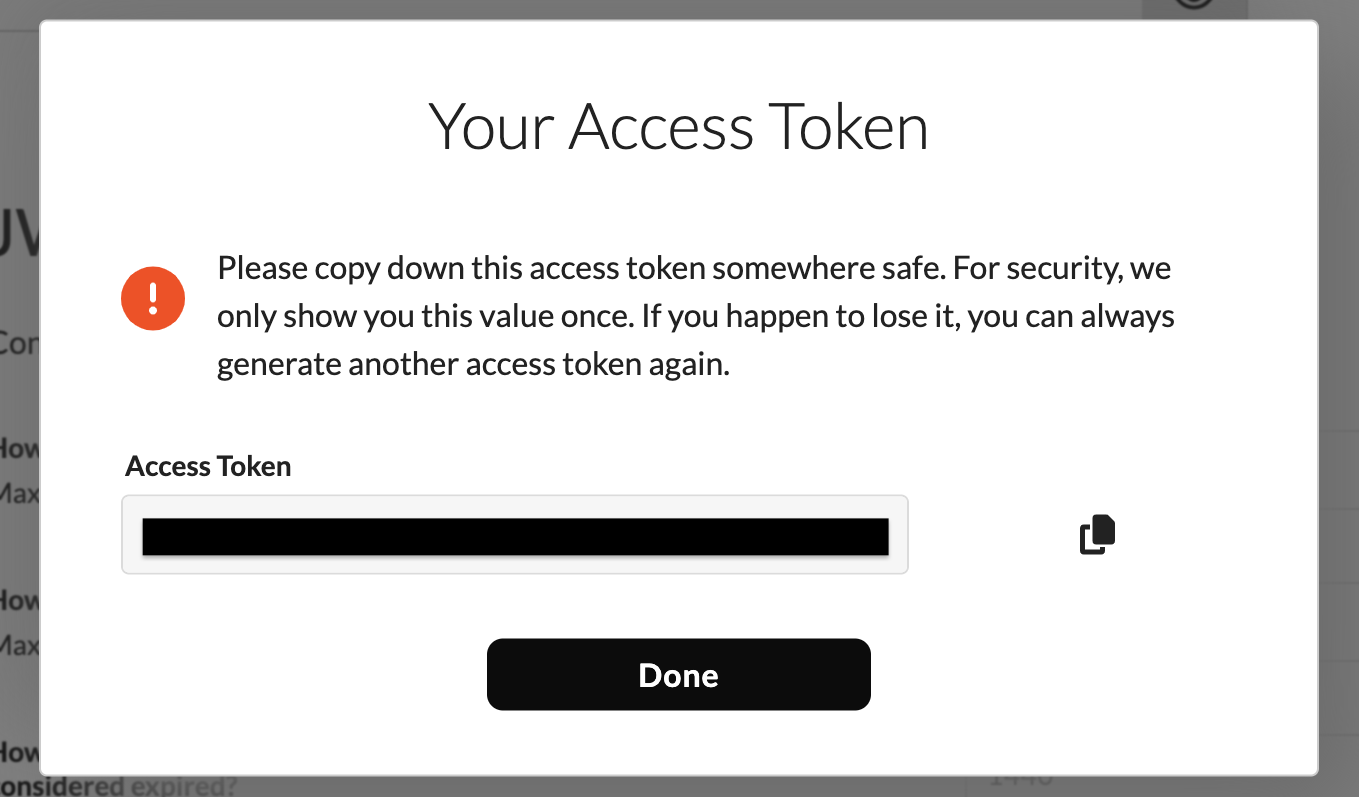
Figure 14: Your Access Token success dialog displaying the generated access token.
Updated about 1 month ago