User Activation Workflow
Activate a provisioned user's account before granting them access to your application.
The User Activation Workflow ensures the legitimacy of users before granting them access to your application. It involves Wristband sending a transactional email to the user's email address containing an action link. When clicked, the link directs the user to a page where they complete activation using a unique one-time Email Authorization Code, finalizing the process through the Activate User API. Upon completion, the user's status is set to ACTIVE.
Workflow Policies
The User Activation Workflow is triggered from the following workflows when the Verification Step workflow policy is set to Activation Email Workflow in the Signup Workflow Policies:
- Wristband IdP Signup
- External IdP Signup, if the email address synced from the external IdP is not verified
Recovering from Expired Activation
When a user completes signup with the Activation Email Workflow configured, they must complete activation within the expiration window set in the User Activation Email Policy. Until they do, they remain in either the PENDING_INVITE_ACTIVATION or PENDING_SIGNUP_ACTIVATION status depending on the triggering workflow.
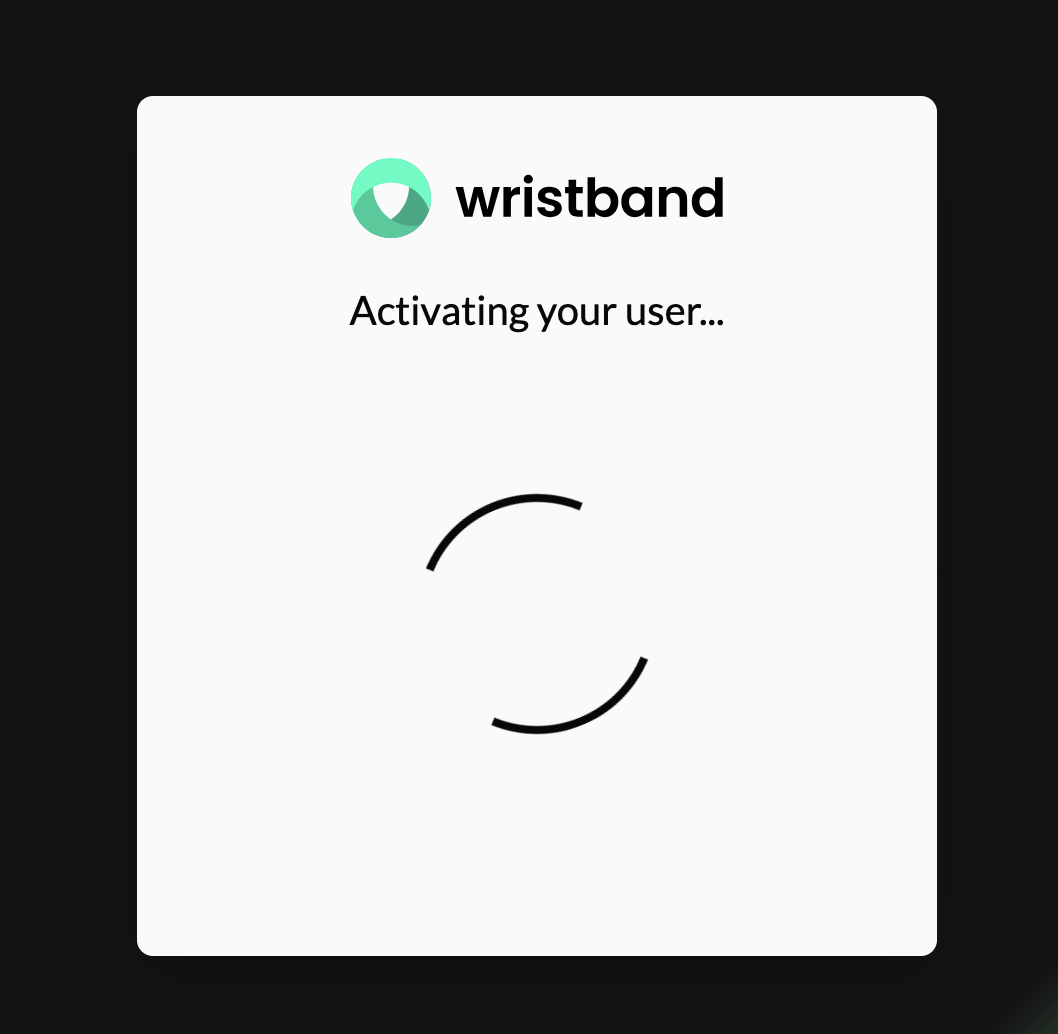
Wristband-hosted User Activation Page shown after clicking the action link in the activation email.
If the activation link or code expires before the user completes activation, they can initiate the signup workflow again using the same email address (and tenant name for application-level signups). Wristband will send a fresh activation email without re-provisioning the user or tenant.
You can also send activation emails directly to users from the Wristband Dashboard via the Edit User Page.
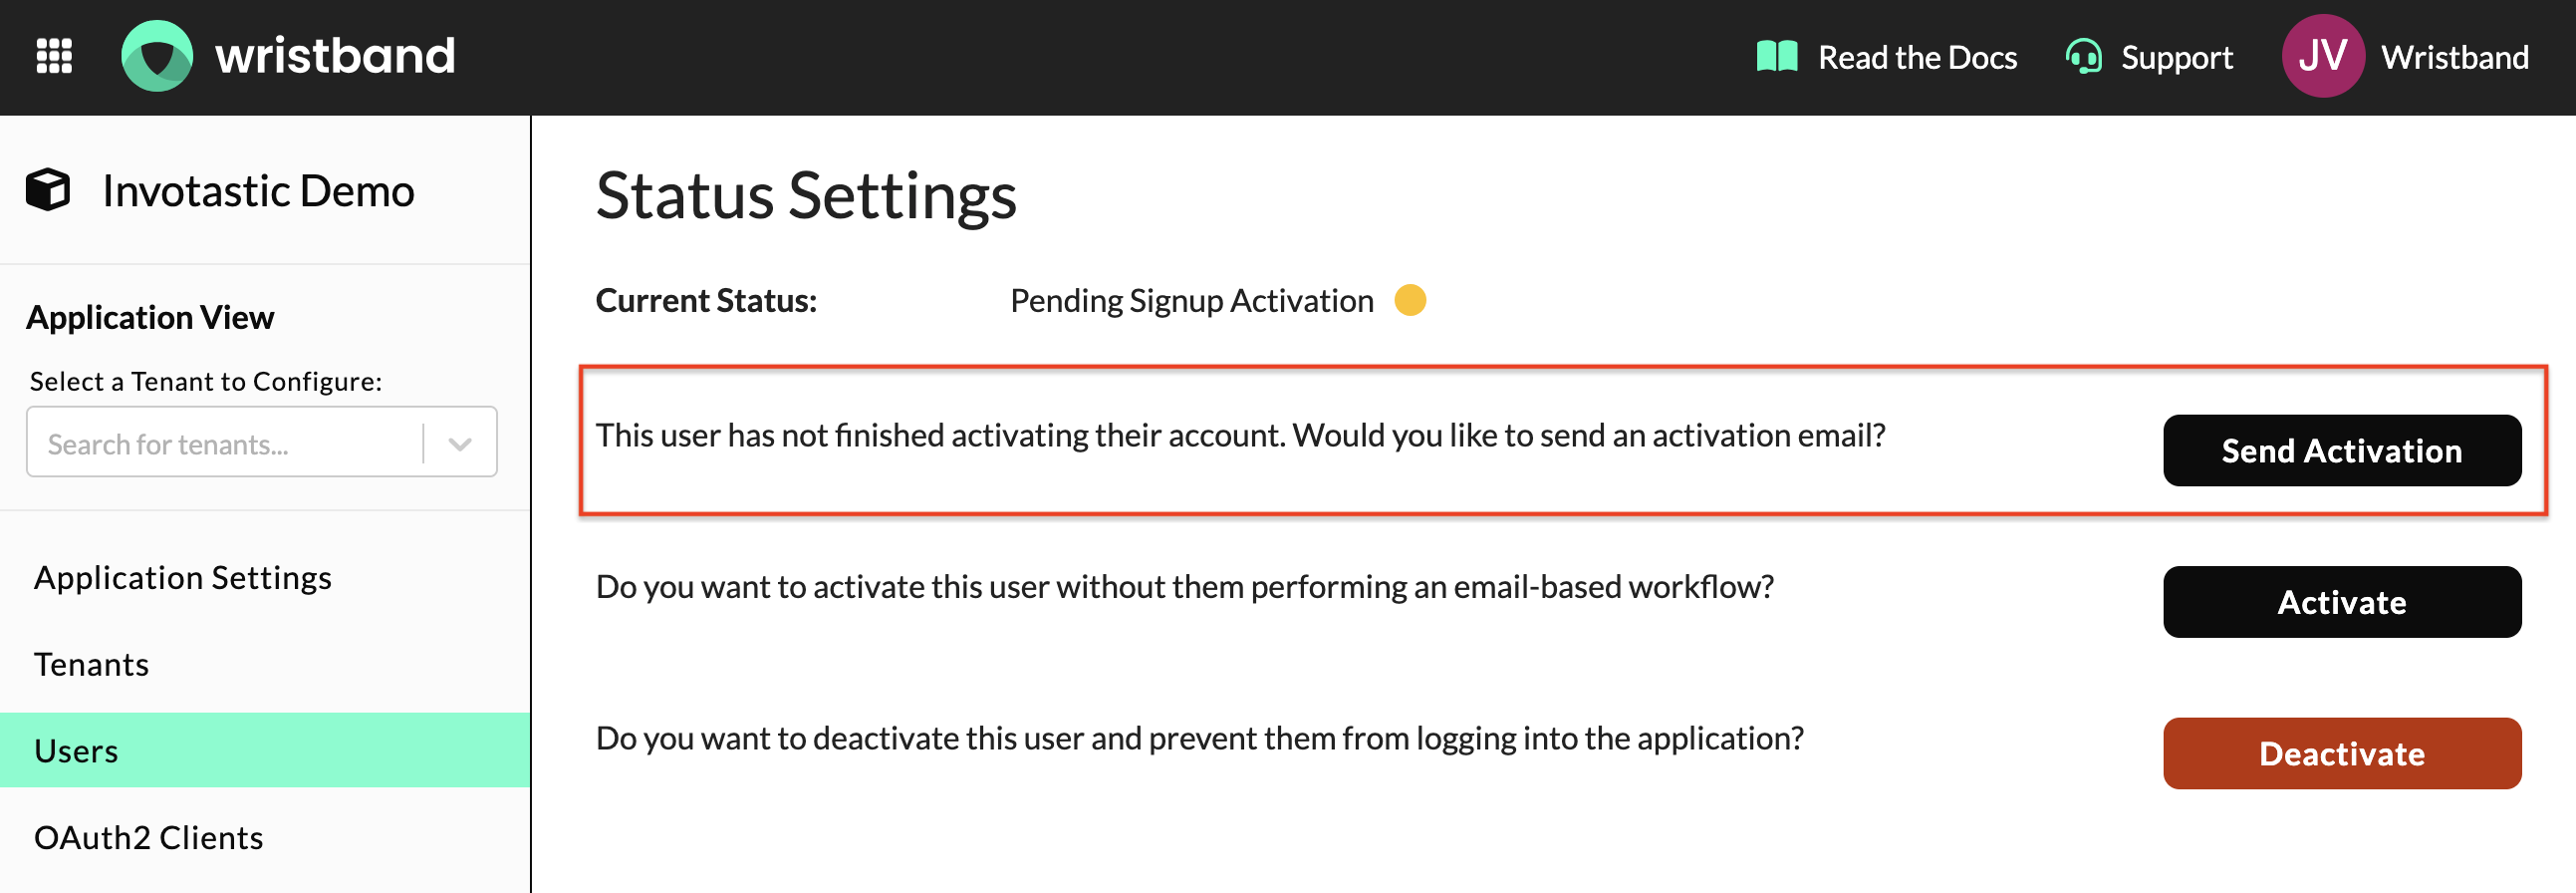
User Status Settings on the Edit User page showing the Send Activation button for a user that's pending activation.
Updated 3 months ago