Change Email Workflow
Allow users to update their email address through a verified confirmation flow.
The Change Email Workflow requires the user to verify their new email address before the change takes effect. Depending on the identity provider the user is provisioned with and the auth factor enabled, the method of verification differs. In all cases, the user receives an Email Change Notification to their current email address as a security measure, and an Email Change Completed email to their new address upon success.
Workflow Policies
The Change Email Workflow Policy controls behavior at the end of the change email flow. Change Email Workflow Policies are configured under Workflow Policies in the Application View of the Wristband Dashboard. Individual tenants can also override this application-level setting.
- Custom Redirect URL: When set, users are redirected to this URL after successfully completing the change email workflow. Supports the
{tenant_name}placeholder for tenant subdomains.
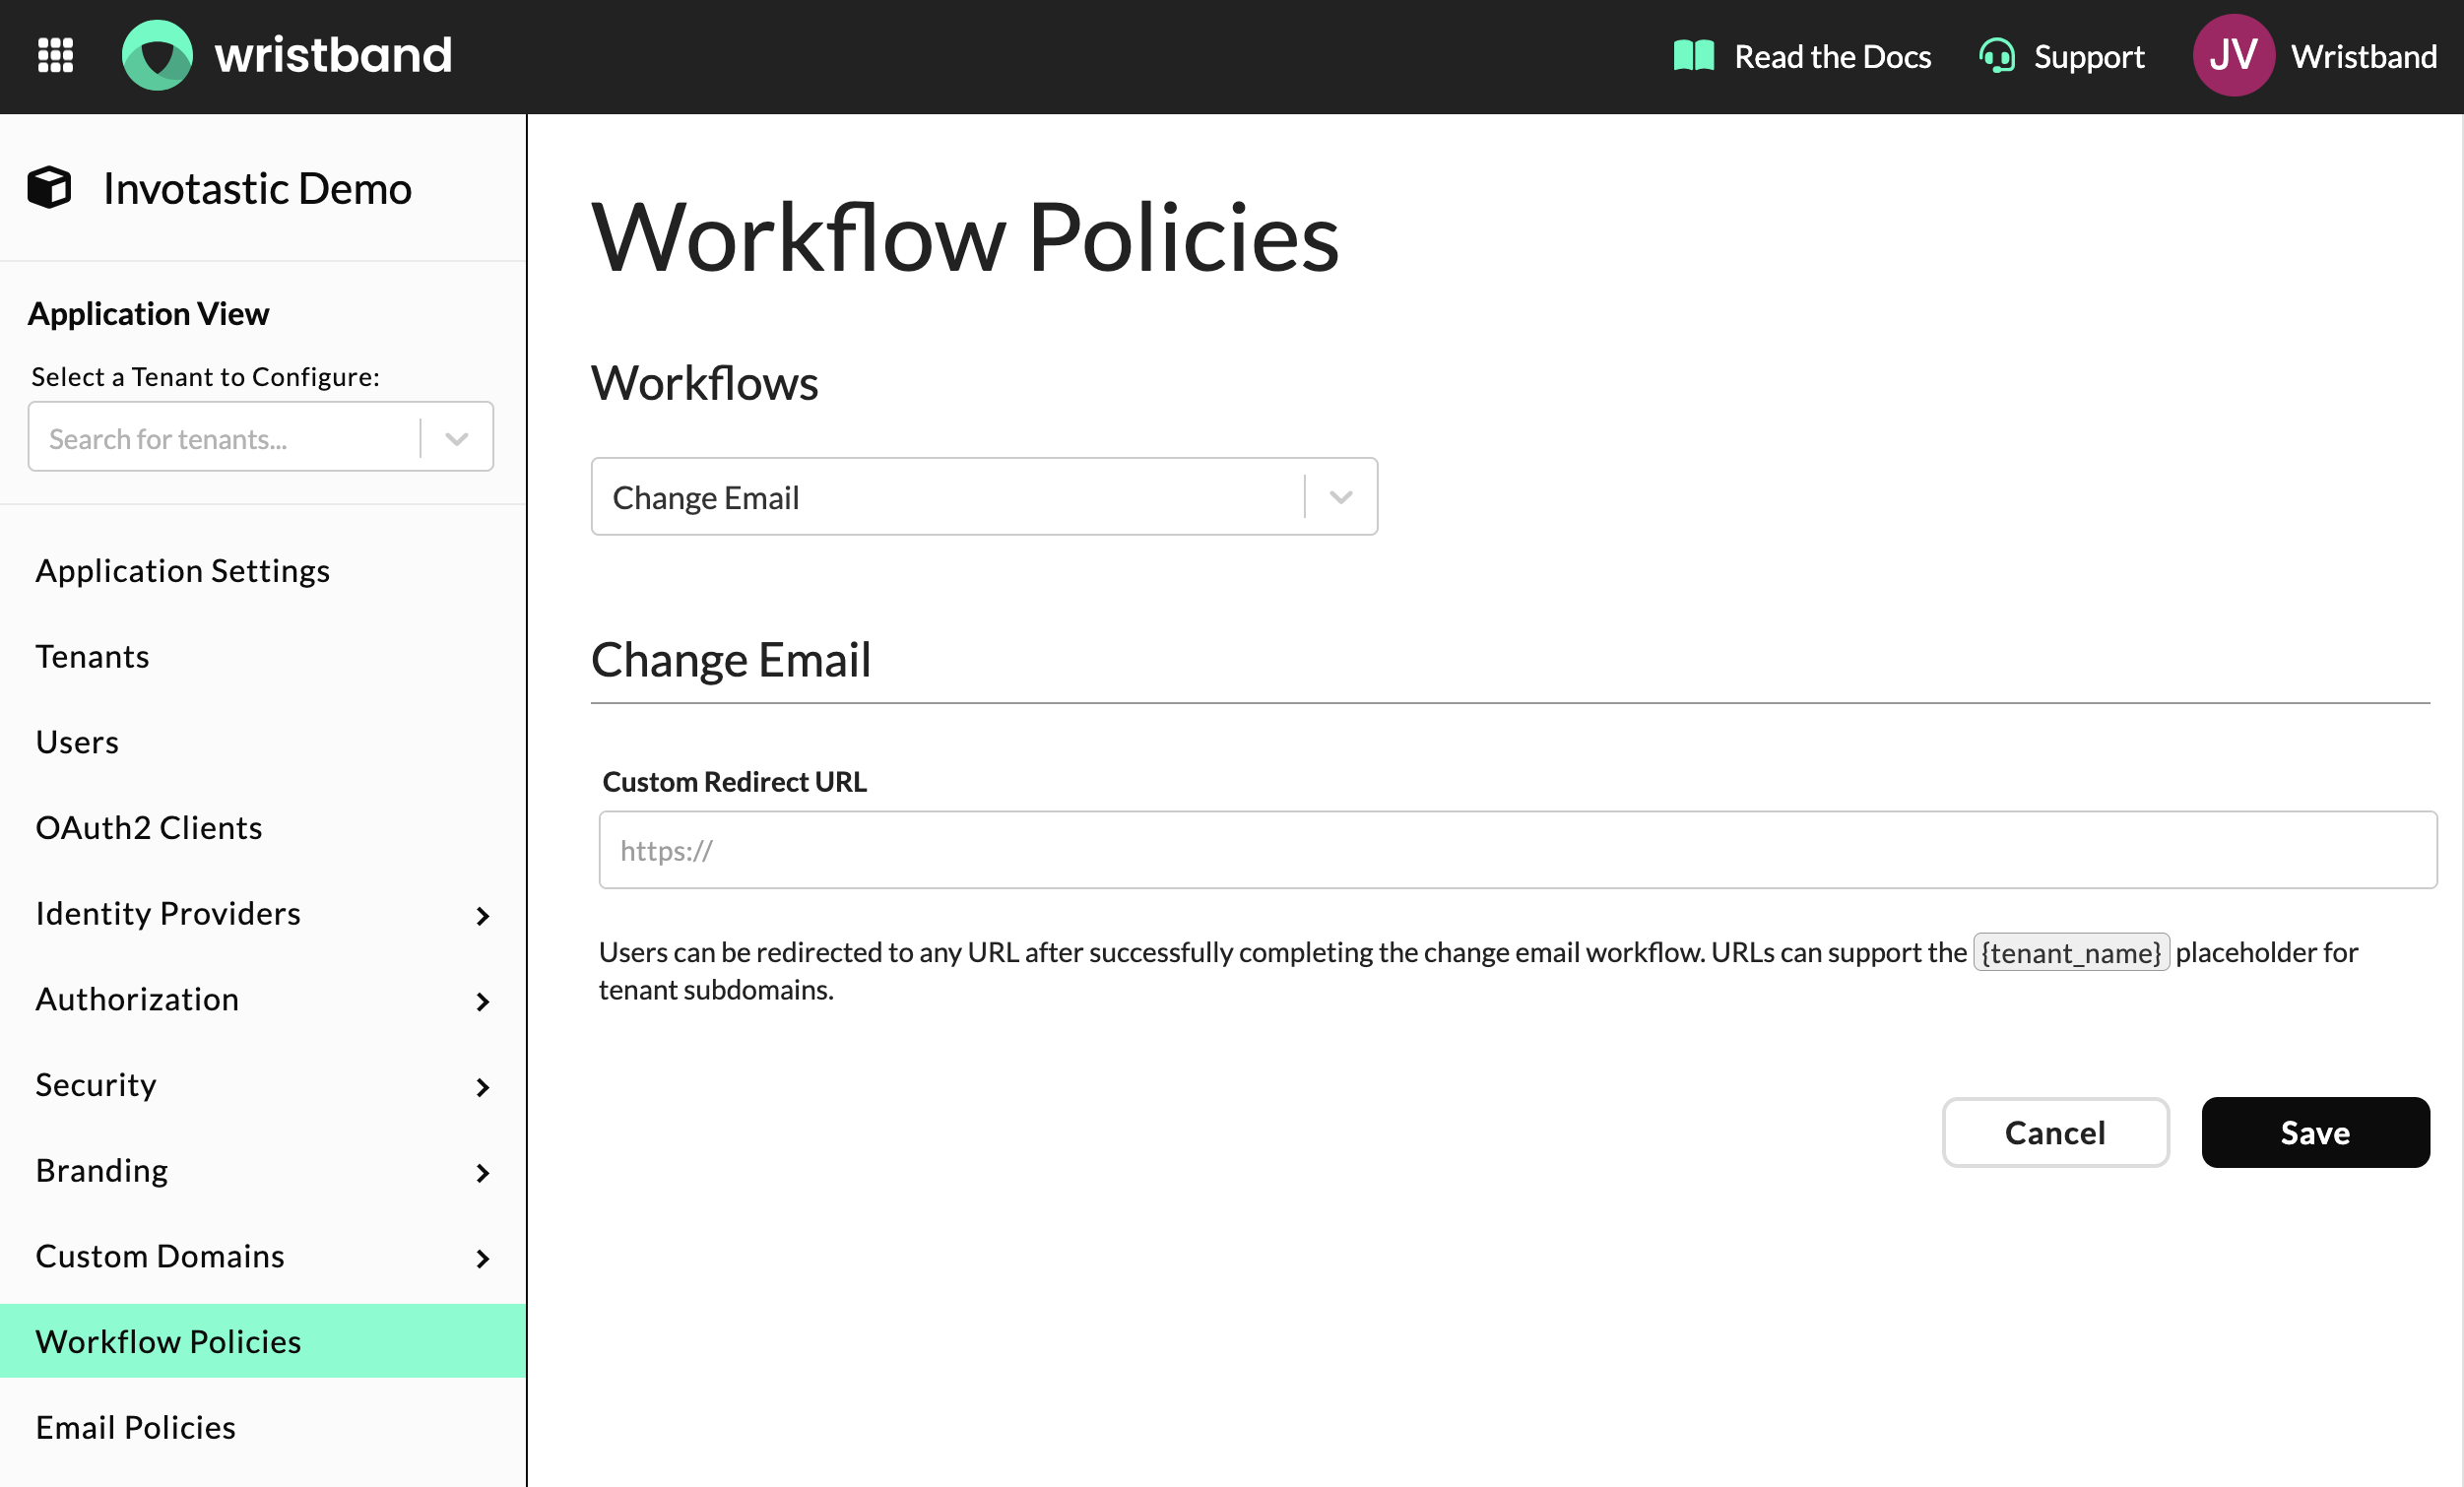
Change Email Workflow Policy in the Wristband Dashboard
Triggering the Workflow
The Change Email Workflow can be triggered in two ways:
- Via the Edit User Page in the Wristband Dashboard
- Programmatically via the Request Email Change API
From the Wristband Dashboard, you can find a Change Email button on the Edit User Page in both Application View and Tenant View.
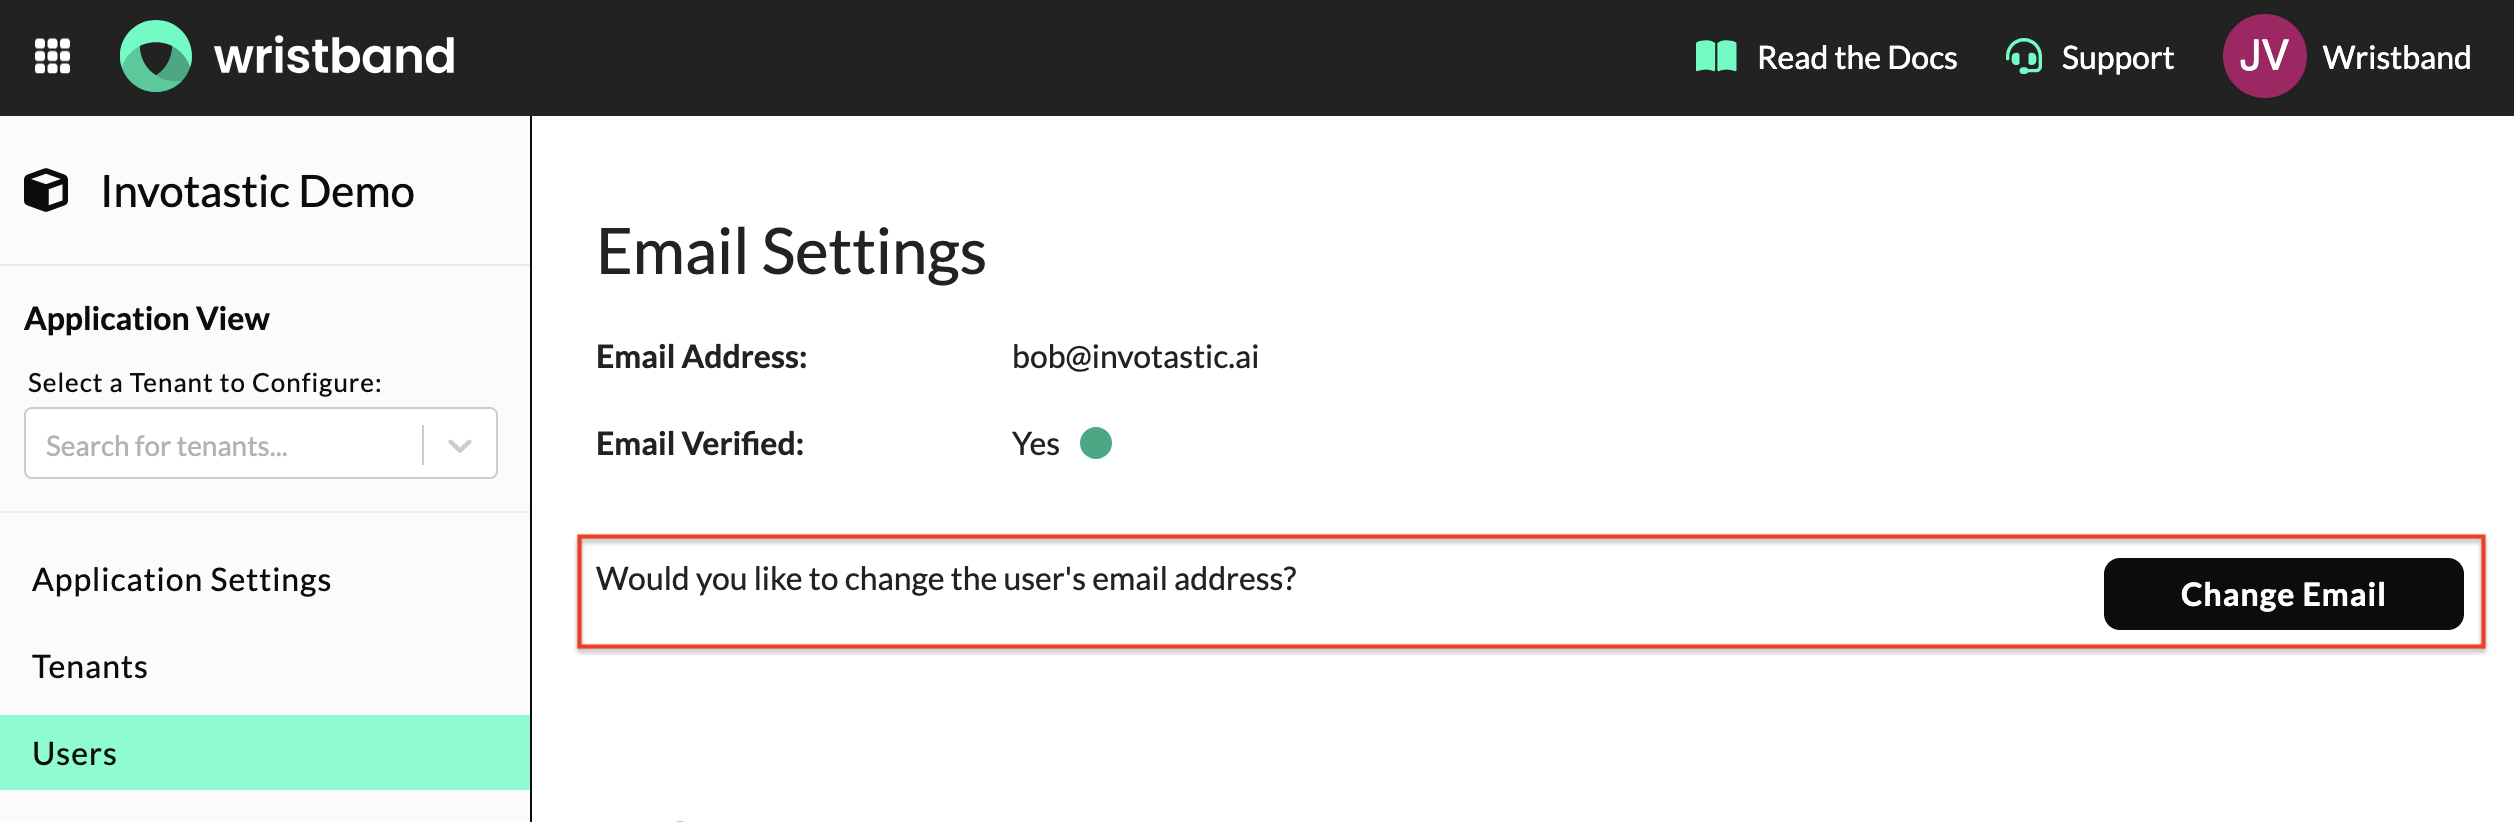
Change Email button on the Edit User Page in the Wristband dashboard
Upon triggering, the user receives an Email Change Confirmation email at their new email address containing an action link button to verify the change.

Example of an Email Change Confirmation email
They also receive an Email Change Notification email at their current email address as a security measure.

Example of an Email Change Notification email
Upon completion of the workflow, the user receives an Email Change Completed email at their new address confirming the change succeeded.

Example of an Email Change Completed email
Resending and Cancelling Change Email Requests
Only one pending email change request per user is allowed within a tenant at any given time. If a second request is sent before the first is completed, the original request is automatically cancelled.
Requests can be cancelled from the Edit User Page in the Wristband Dashboard, or programmatically via the Cancel Email Change API.
Variations of Email Confirmation
The method by which a user confirms their new email address varies based on the identity provider they are provisioned with and the auth factor enabled.
Wristband IdP: Password Login
Users provisioned in the Wristband Identity Provider with the Password login factor are prompted to enter their current password on the Email Change Confirmation Page to verify their identity.

Example of an Email Change Confirmation Page with Password Authentication
Wristband IdP: Magic Link Login
Users provisioned in the Wristband Identity Provider with the Magic Link login factor are shown a "Continue" button on the Email Change Confirmation Page.
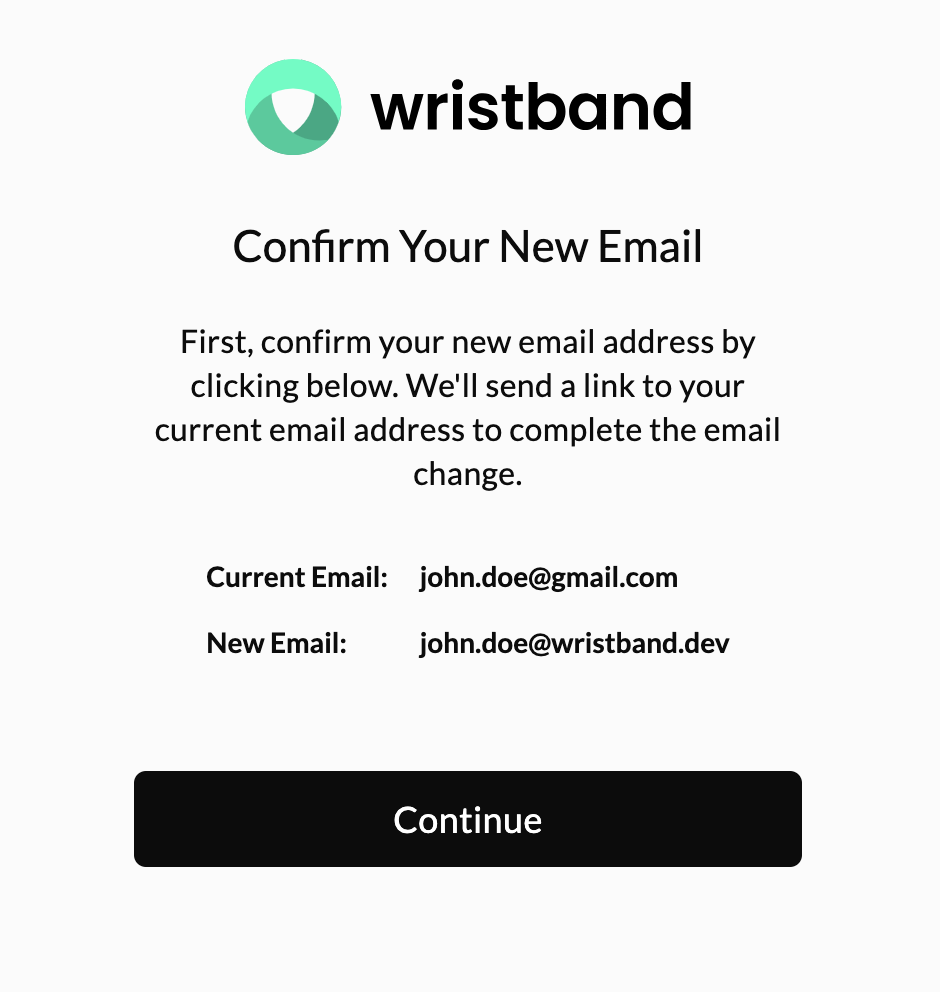
Example of an Email Change Confirmation Page with Magic Link Authentication
Clicking that button sends off the Passwordless Email Change Confirmation email to the user's current email address.
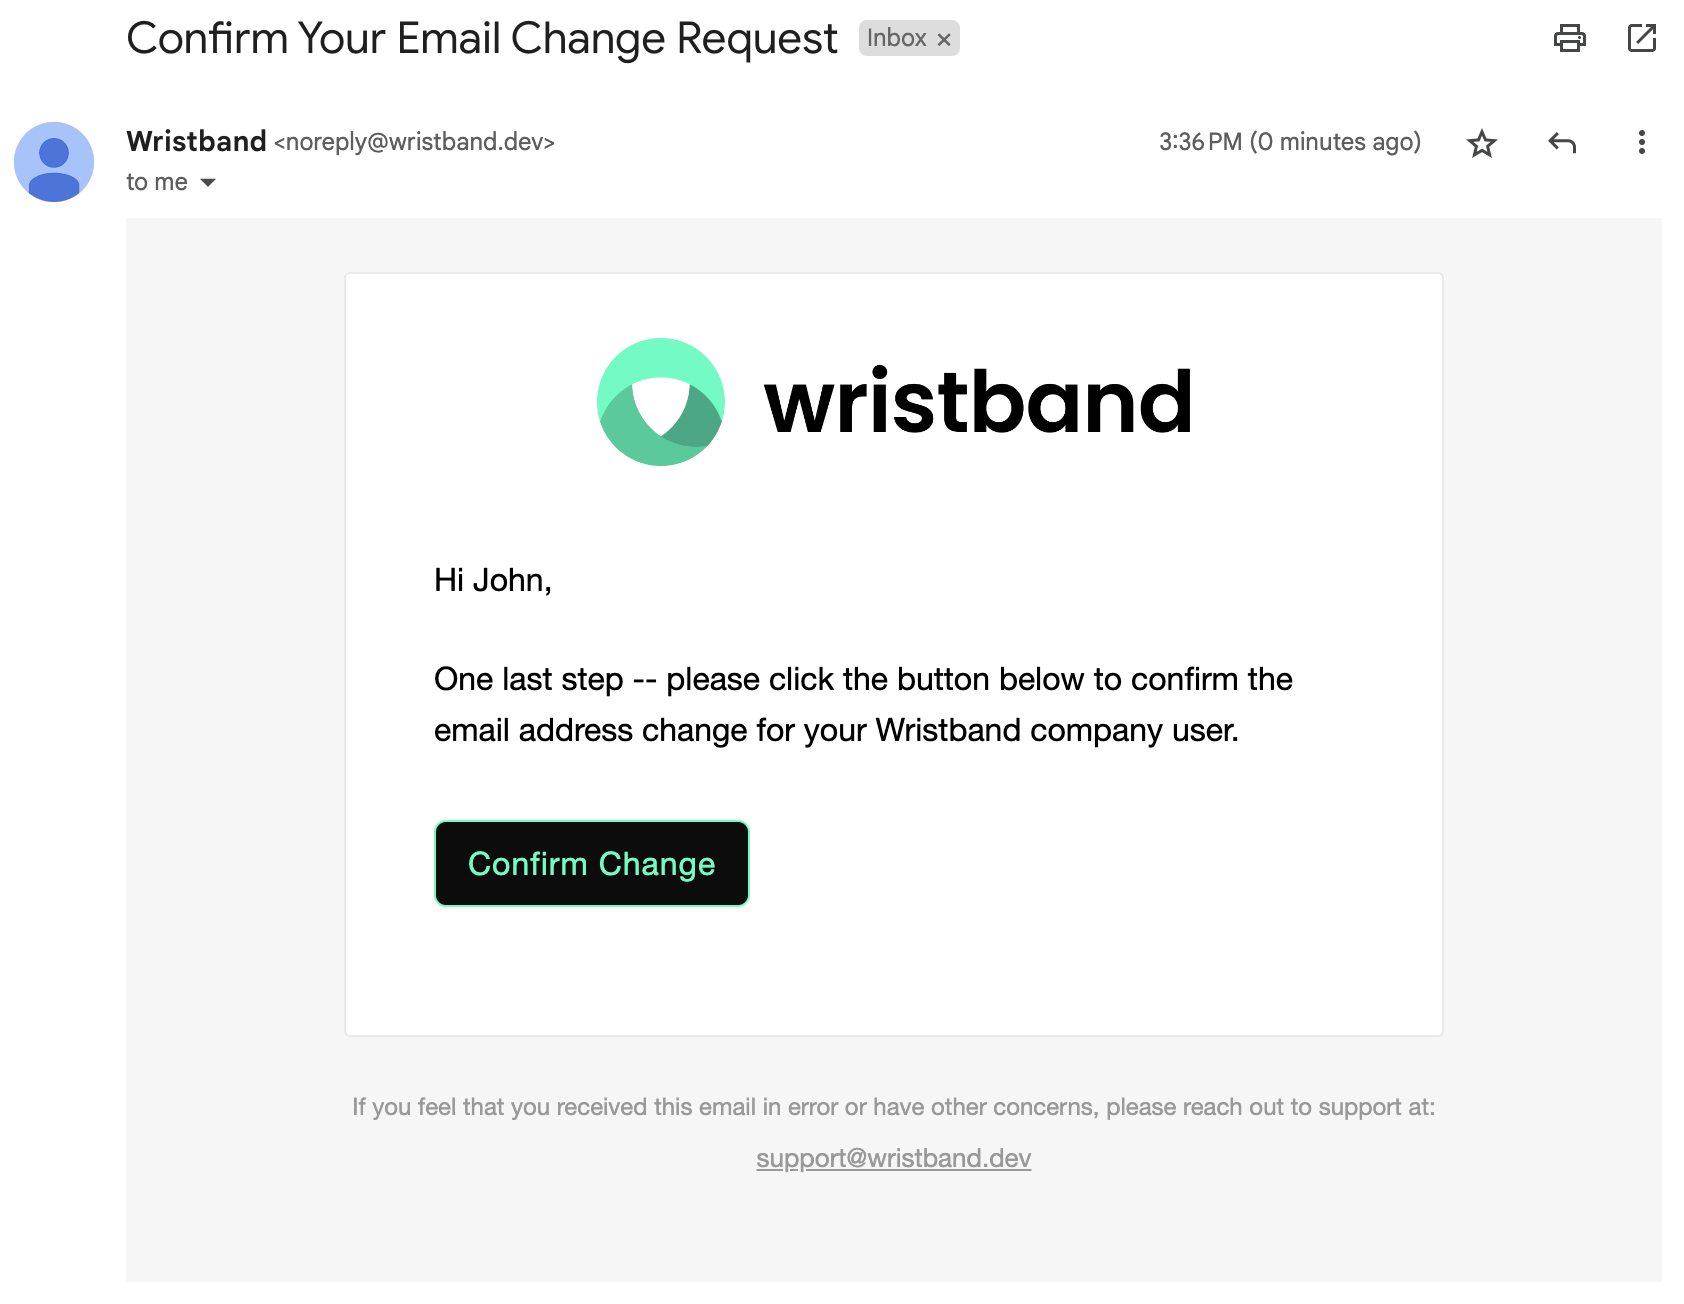
Example of a Passwordless Email Change Confirmation email
The user clicks the action link button in that email which sends them to the Passwordless Email Change Confirmation Page. Verification is completed automatically, and no further interaction is required on the page.
Example of the Passwordless Email Change Confirmed page
External Identity Provider
Users provisioned through an External Identity Provider are shown an "Authenticate" button on the Email Change Confirmation Page.
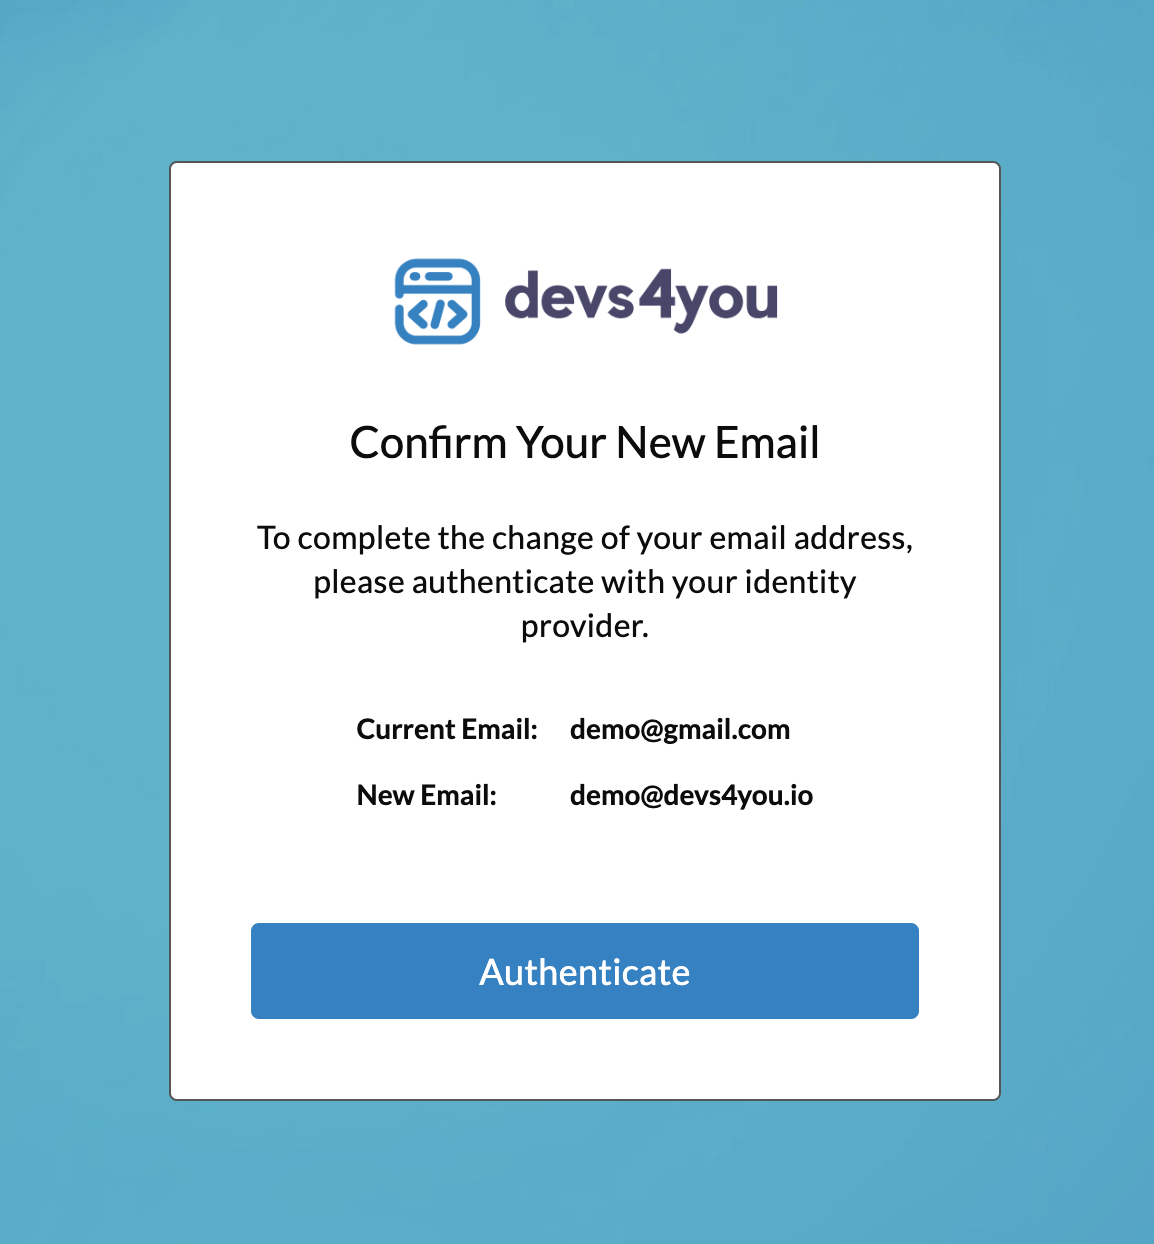
Example of the Email Change Confirmation Page with External IdP Authentication
Clicking the button redirects them to their identity provider's login page to re-authenticate. After authentication, they are redirected to an External IdP Email Change Confirmation Page. Verification is completed automatically, and no further interaction is required on the page.
Updated 3 months ago