Existing User Invitation Workflow
Invite users who already exist in Wristband to access a tenant by sending them an email with an action link.
The Existing User Invitation Workflow is designed for scenarios where users have already been provisioned in Wristband and need to be granted self-access at a later point. Either an admin or your application can send an invitation email to the user, who then clicks the action link to accept the invitation and log into the application.
This contrasts with the New User Invitation Workflow, which is designed for onboarding users who do not yet exist in Wristband. With the New User Invitation Workflow, the user is provisioned as part of accepting the invitation.
Workflow Policies
Workflow policies control the behavior of the Existing User Invitation Workflow. Policies are configured under Workflow Policies in the Application View of the Wristband Dashboard. Individual tenants can also override these application-level settings.
- Custom Redirect URL: When set, users are redirected to this URL after successfully accepting the invitation. Supports the
{tenant_name}placeholder for tenant subdomains.
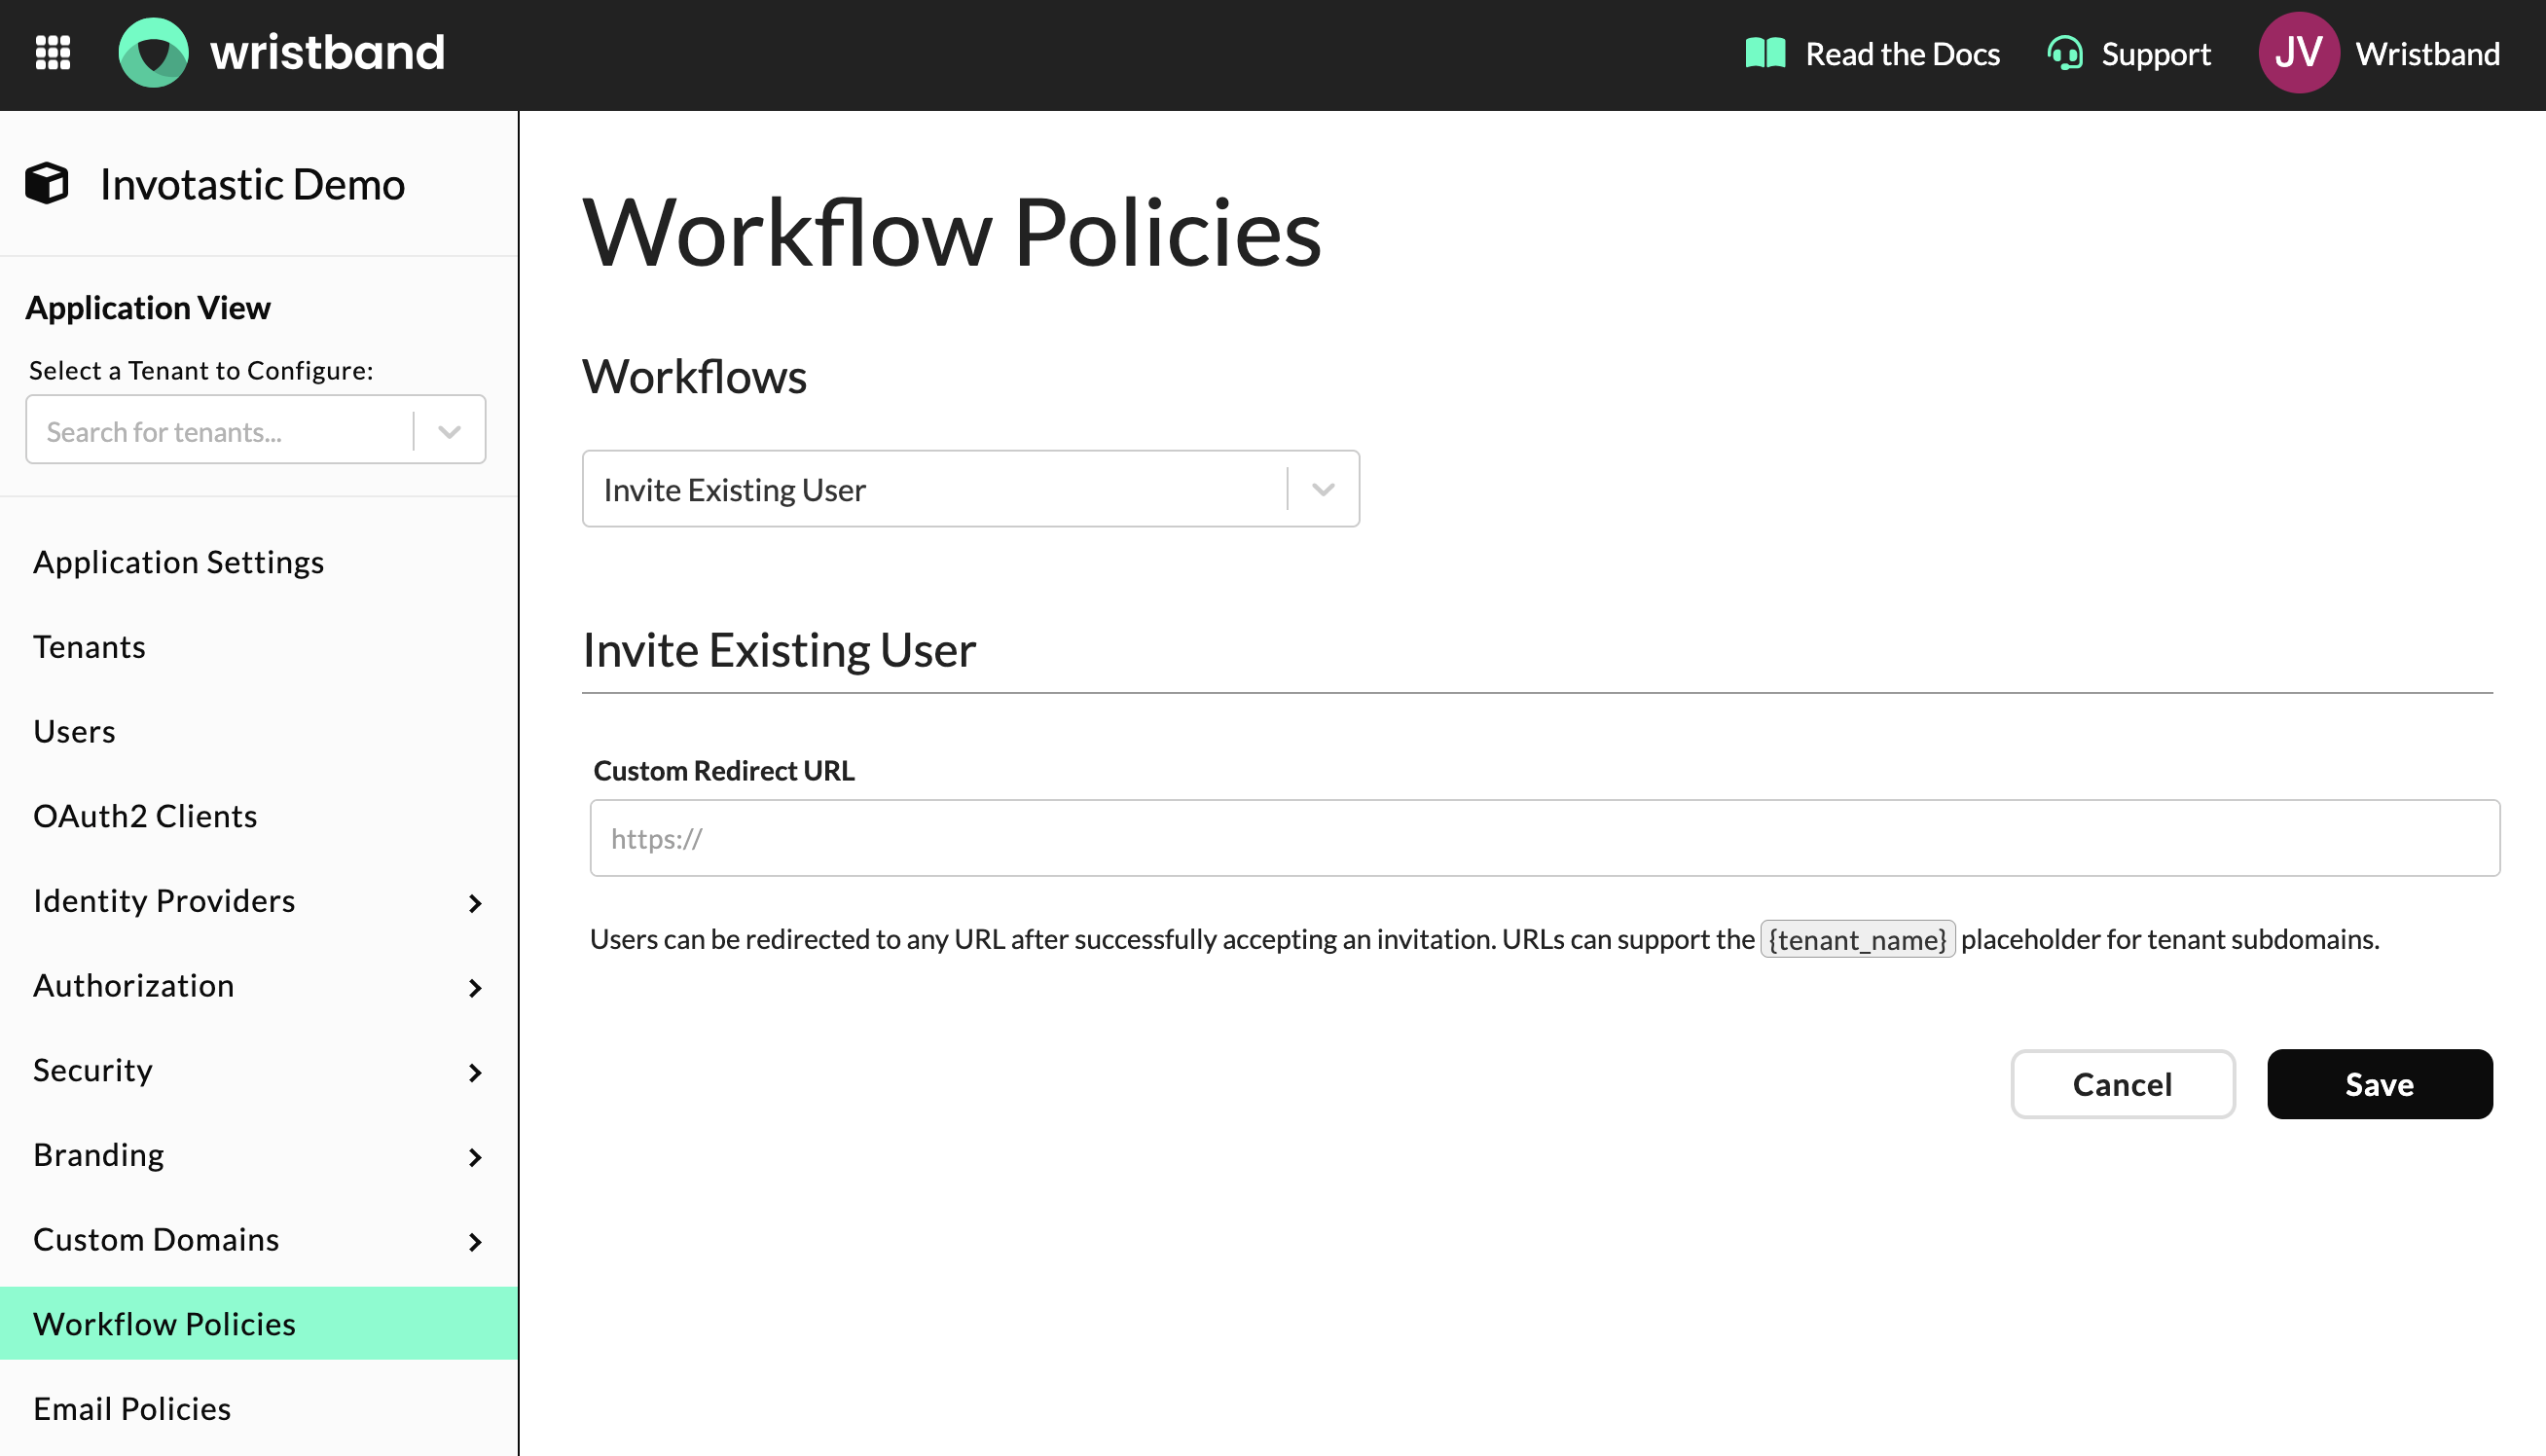
Existing User Invitation Workflow Policies in the Wristband Dashboard
Sending Invitations
Existing User Invitations can be sent in several ways:
- During new user creation in the Wristband dashboard
- On the Edit User page in the Wristband dashboard
- Programmatically via the Invite Existing User API
When creating a new user in the dashboard, an optional toggle allows an invitation email to be sent immediately upon saving.
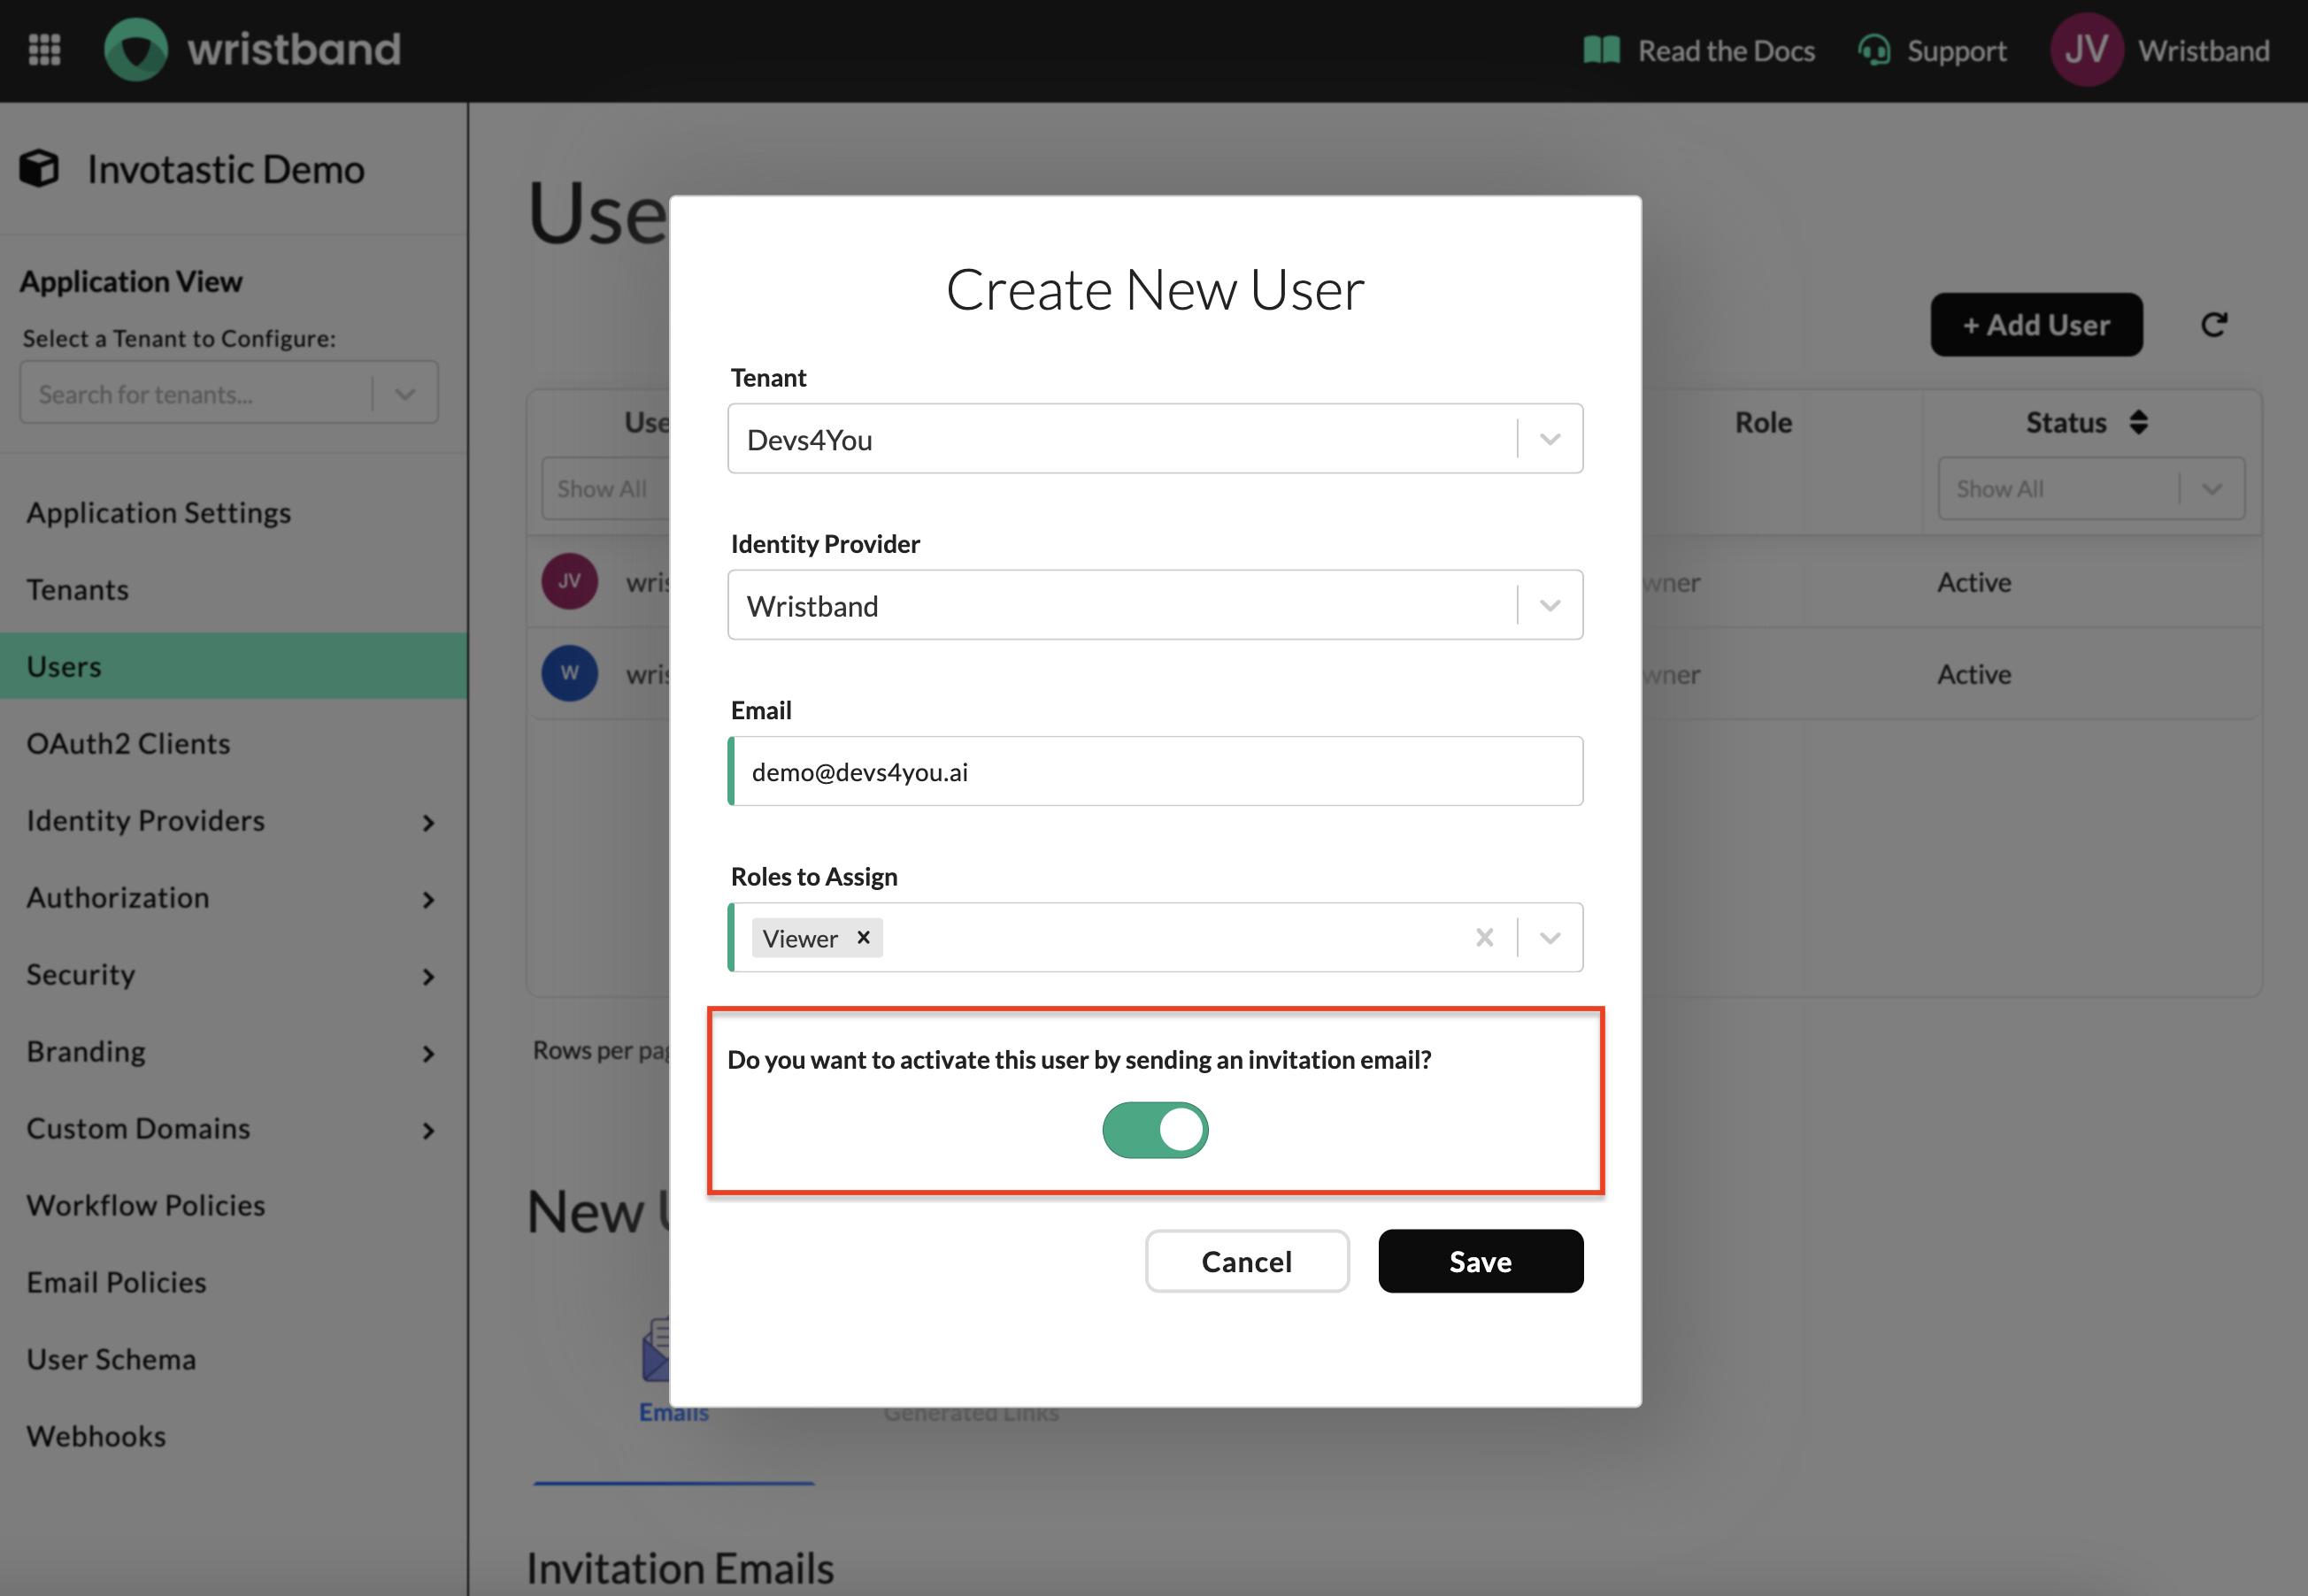
Send Invite toggle in the Create User Modal in the Wristband dashboard
A Send Invite button is also available on the Edit User Page for any provisioned user in both Application View and Tenant View.
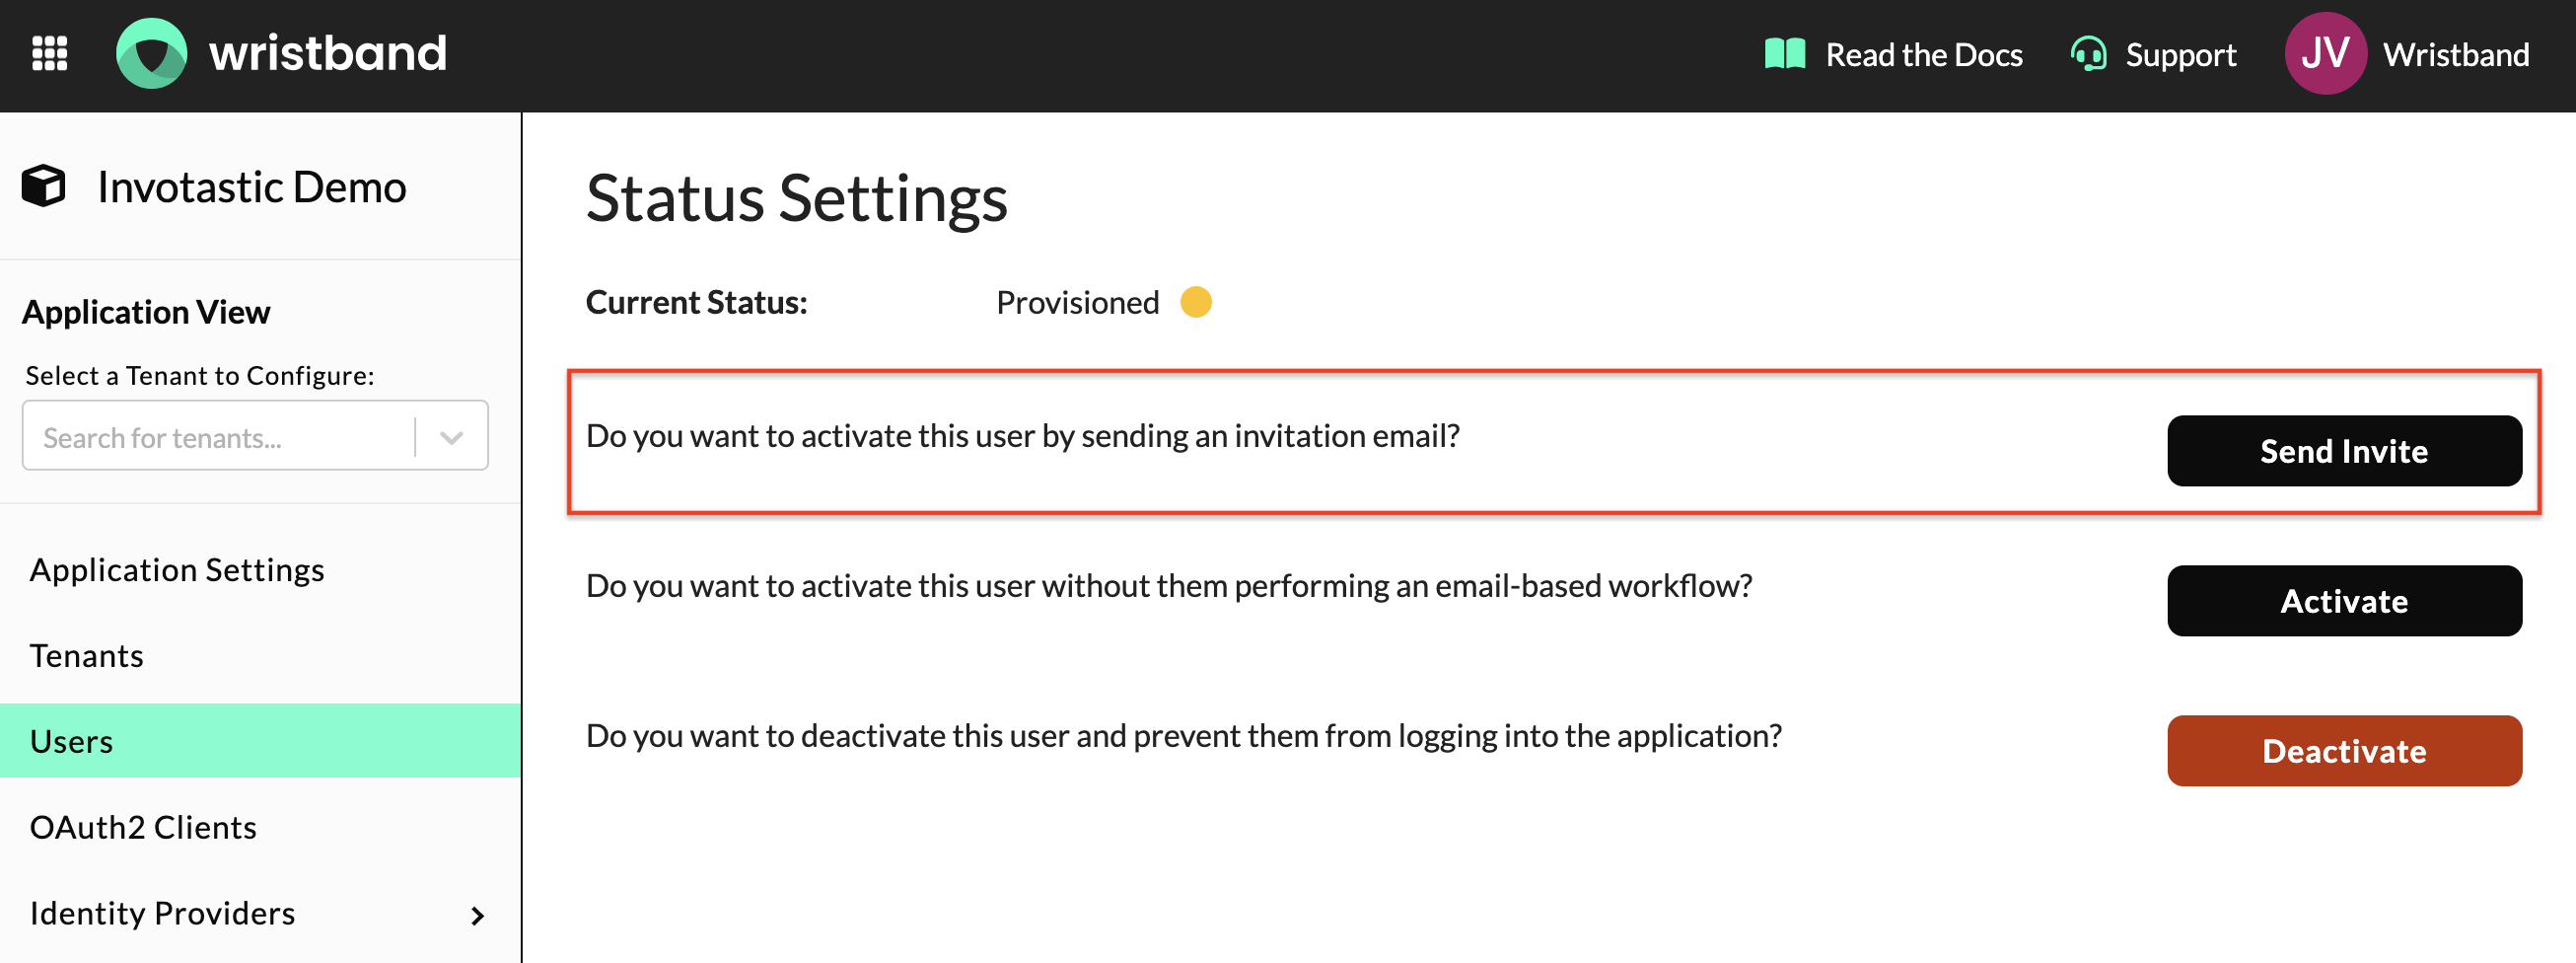
Send Invite button on the Edit User Page in the Wristband dashboard
Upon sending, the user receives an invitation email at their registered email address containing an action link to accept the invitation.
Note: If the invited user was provisioned in the Wristband Identity Provider with the Password auth factor enabled, they will be prompted to set a password when they land on the Existing User Invitation Page.

Example of an Existing User Invitation email
Resending and Cancelling Invitations
Only one pending invitation per email address is allowed within a tenant at any given time. If a second invitation is sent to the same user before they accept the first, the original invitation is automatically cancelled.
Invitations can be cancelled programmatically via the Cancel Existing User Invite API. Alternatively, deactivating the user will also effectively cancel access since the user is already provisioned.
Redirecting Back to Your Application
When concluding the Existing User Invitation workflow, Wristband redirects the user to your application's Login Endpoint to initiate the Authorization Code flow. Because Wristband already created an Authentication Session during the flow, the user gains immediate entry into the application without having to re-enter their credentials.
The final destination URL is resolved in the following order:
- Check if a custom redirect URL is enabled in the Existing User Invitation workflow policy for the tenant that the user is being invited into. If so, send them to that configured URL.
- Check if an OAuth2 Client login URL is configured for the client through which the user is accepting the invitation. If so, send them to that client's login URL.
- Otherwise, default to using the application login URL.
Updated 3 months ago