
Application and Tenant Custom Domains
Configure custom domains to serve Wristband's hosted authentication pages and API endpoints from your own domain.
Overview
By default, Wristband assigns unique vanity domains to your application and its tenants. Custom domains allow you to replace these default URLs with your own domains, providing a consistent branded experience throughout your authentication workflows.
Wristband supports two types of custom domains:
- Application Custom Domains: Configure a custom domain at the application level that also serves as the base domain for your tenants. Each tenant's name is automatically prefixed as a subdomain to maintain unique URLs.
- Tenant Custom Domains: Configure a dedicated custom domain for an individual tenant. When enabled, the tenant's custom domain takes precedence over the application custom domain.
For example, if your application uses auth.yourapp.com as its custom domain, a tenant named acme would use acme.auth.yourapp.com. If that tenant has its own custom domain, such as login.acme.com, Wristband uses the tenant-specific domain instead.
To learn more about domain structures, precedence rules, and how custom domains affect authentication workflows, see the Domains and URLs documentation.
Application Custom Domains
Application custom domains allow you to use your own domain for application-level hosted pages and API endpoints. Tenants without their own custom domains automatically use subdomains derived from the application custom domain.
Configuring an Application Custom Domain
To configure an application custom domain, follow these steps:
- Create a Custom Domain: From the Application View in the Wristband Dashboard, navigate to Custom Domains → Application Domains and create a new custom domain.
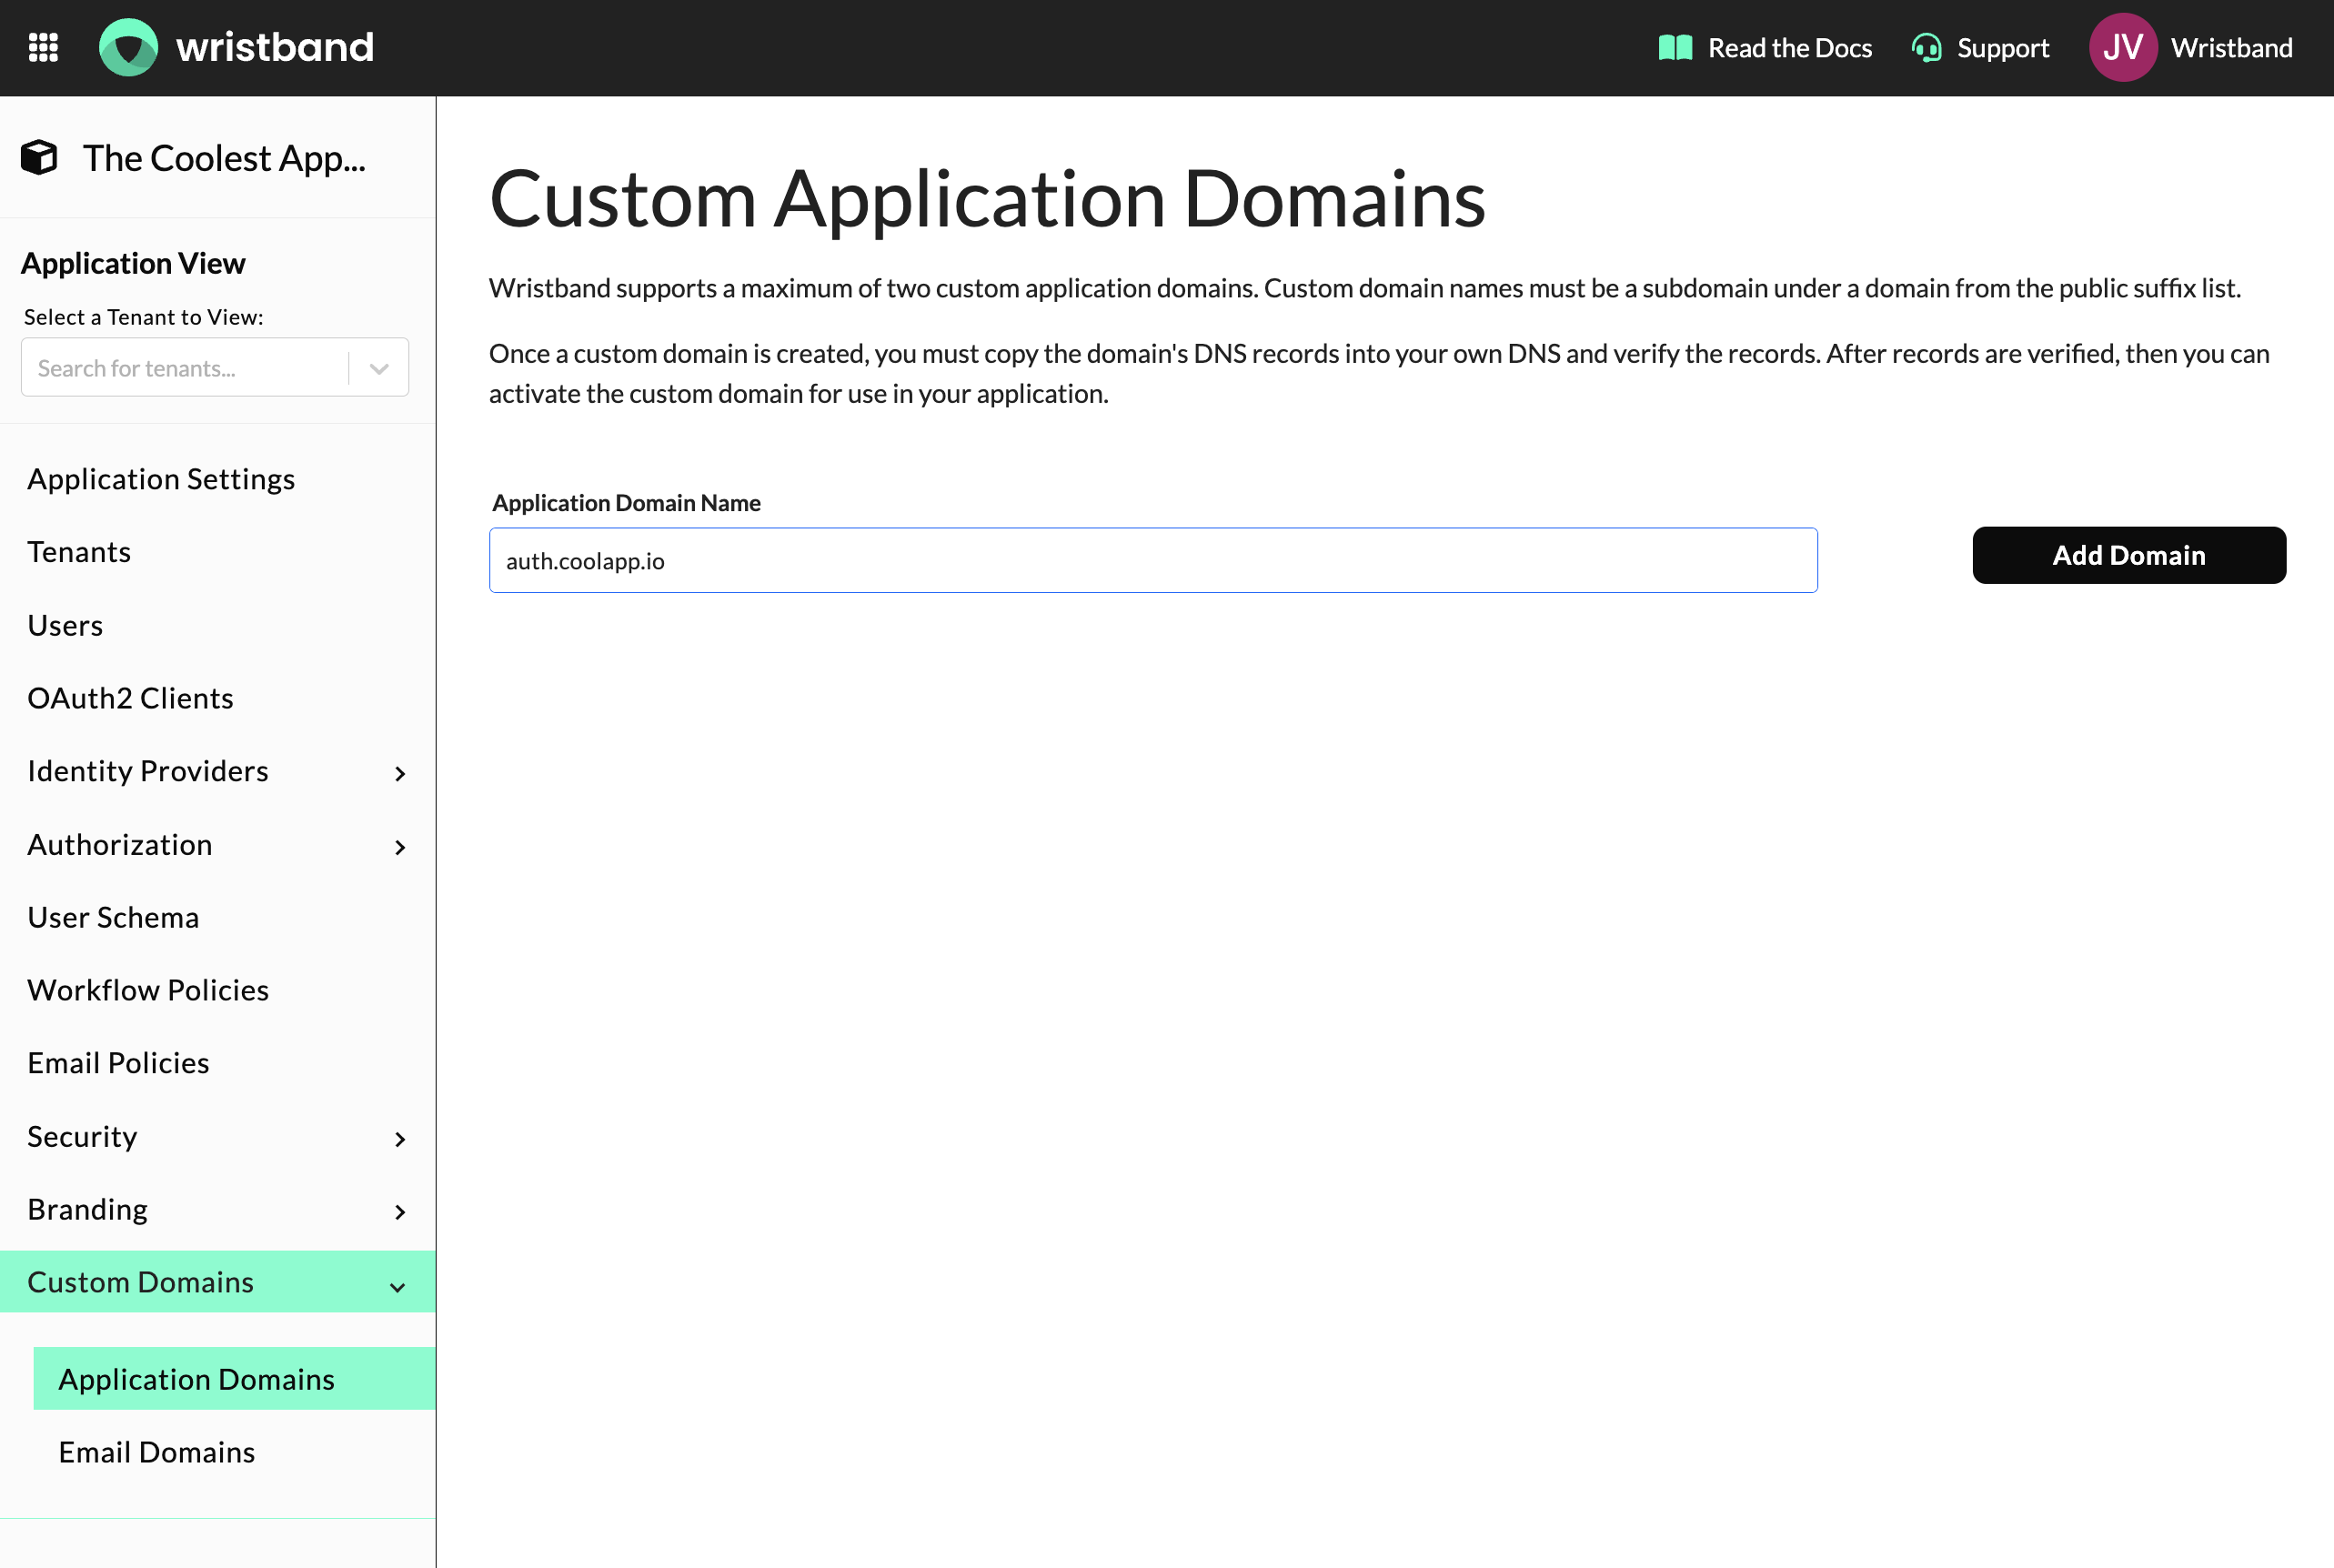
Figure 1: Create an application custom domain in the Wristband Dashboard.
- Configure DNS Records: After creating the domain, Wristband displays the DNS records required to complete the setup. Copy these records and add them to your DNS provider.
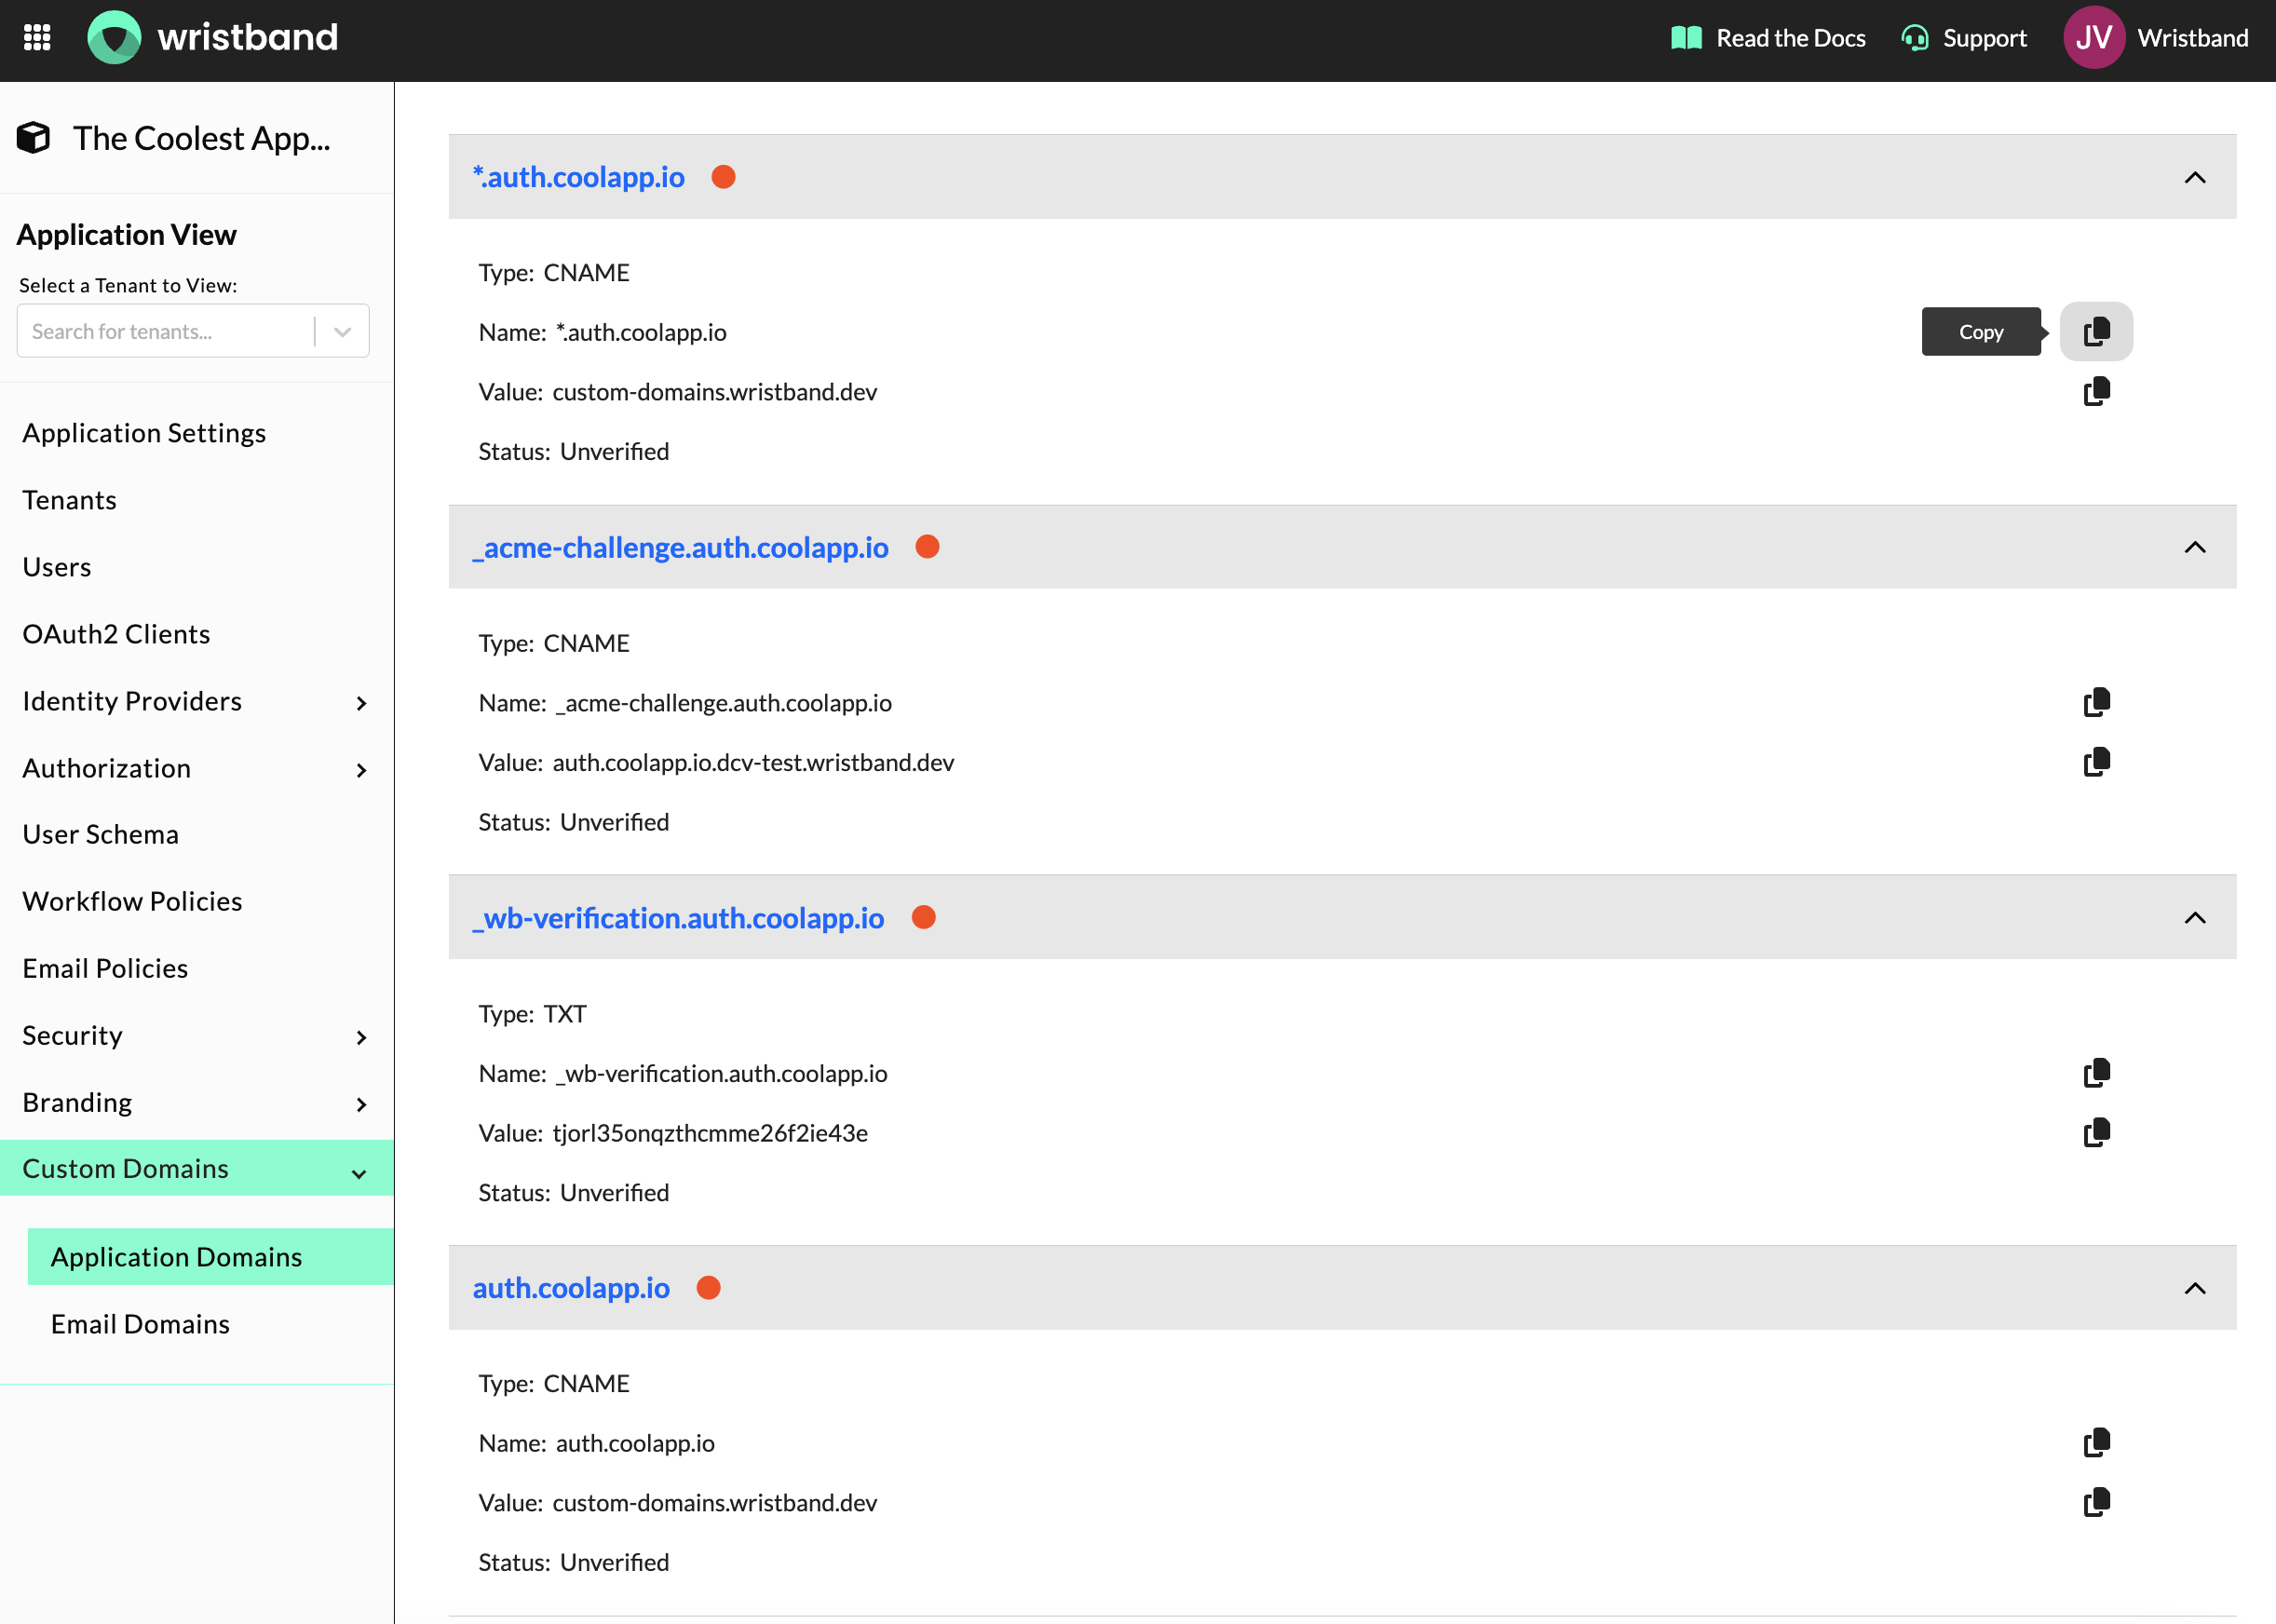
Figure 2: Copy the DNS records provided by Wristband and add them to your DNS provider.
- Verify the Domain: Once the DNS records are configured, click the Verify button in the Dashboard to validate your DNS configuration. You can retry verification if the initial attempt is unsuccessful. The domain's status will automatically update once verification is complete.
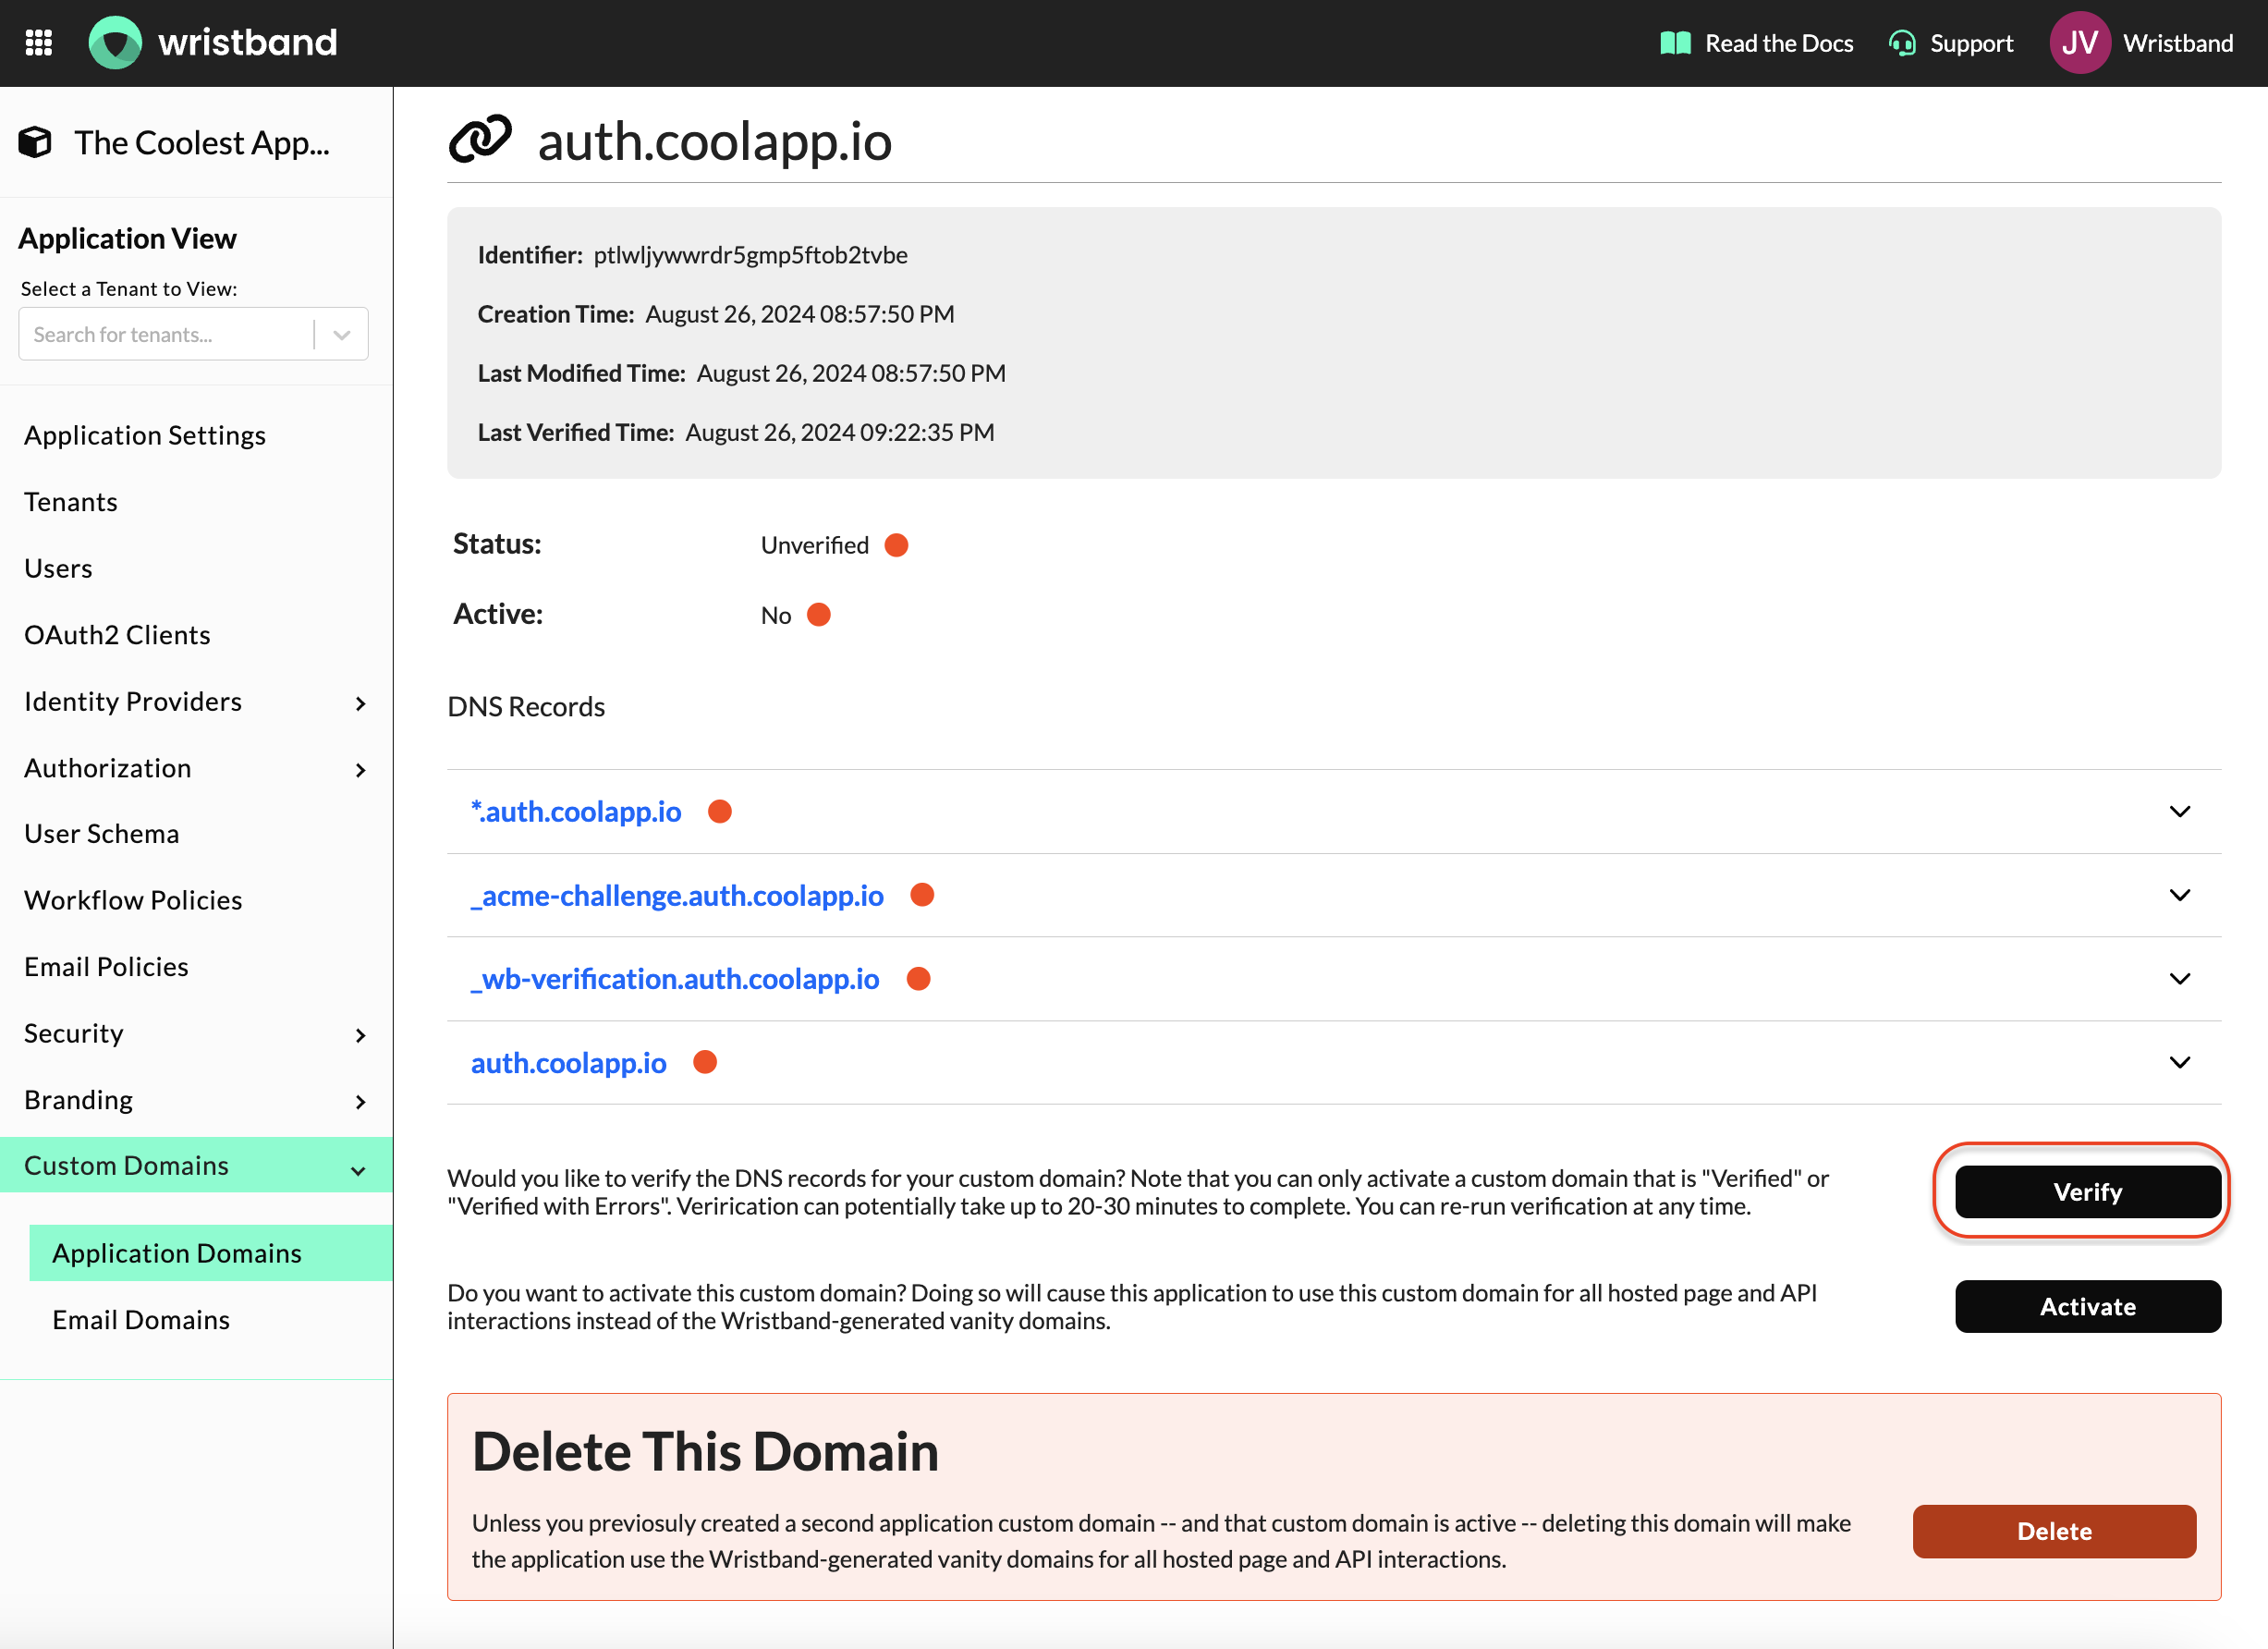
Figure 3: Click Verify to validate the custom domain's DNS configuration.
- Activate the Domain: After verification succeeds, activate the custom domain to begin using it for your application. You can enable or disable the custom domain at any time.
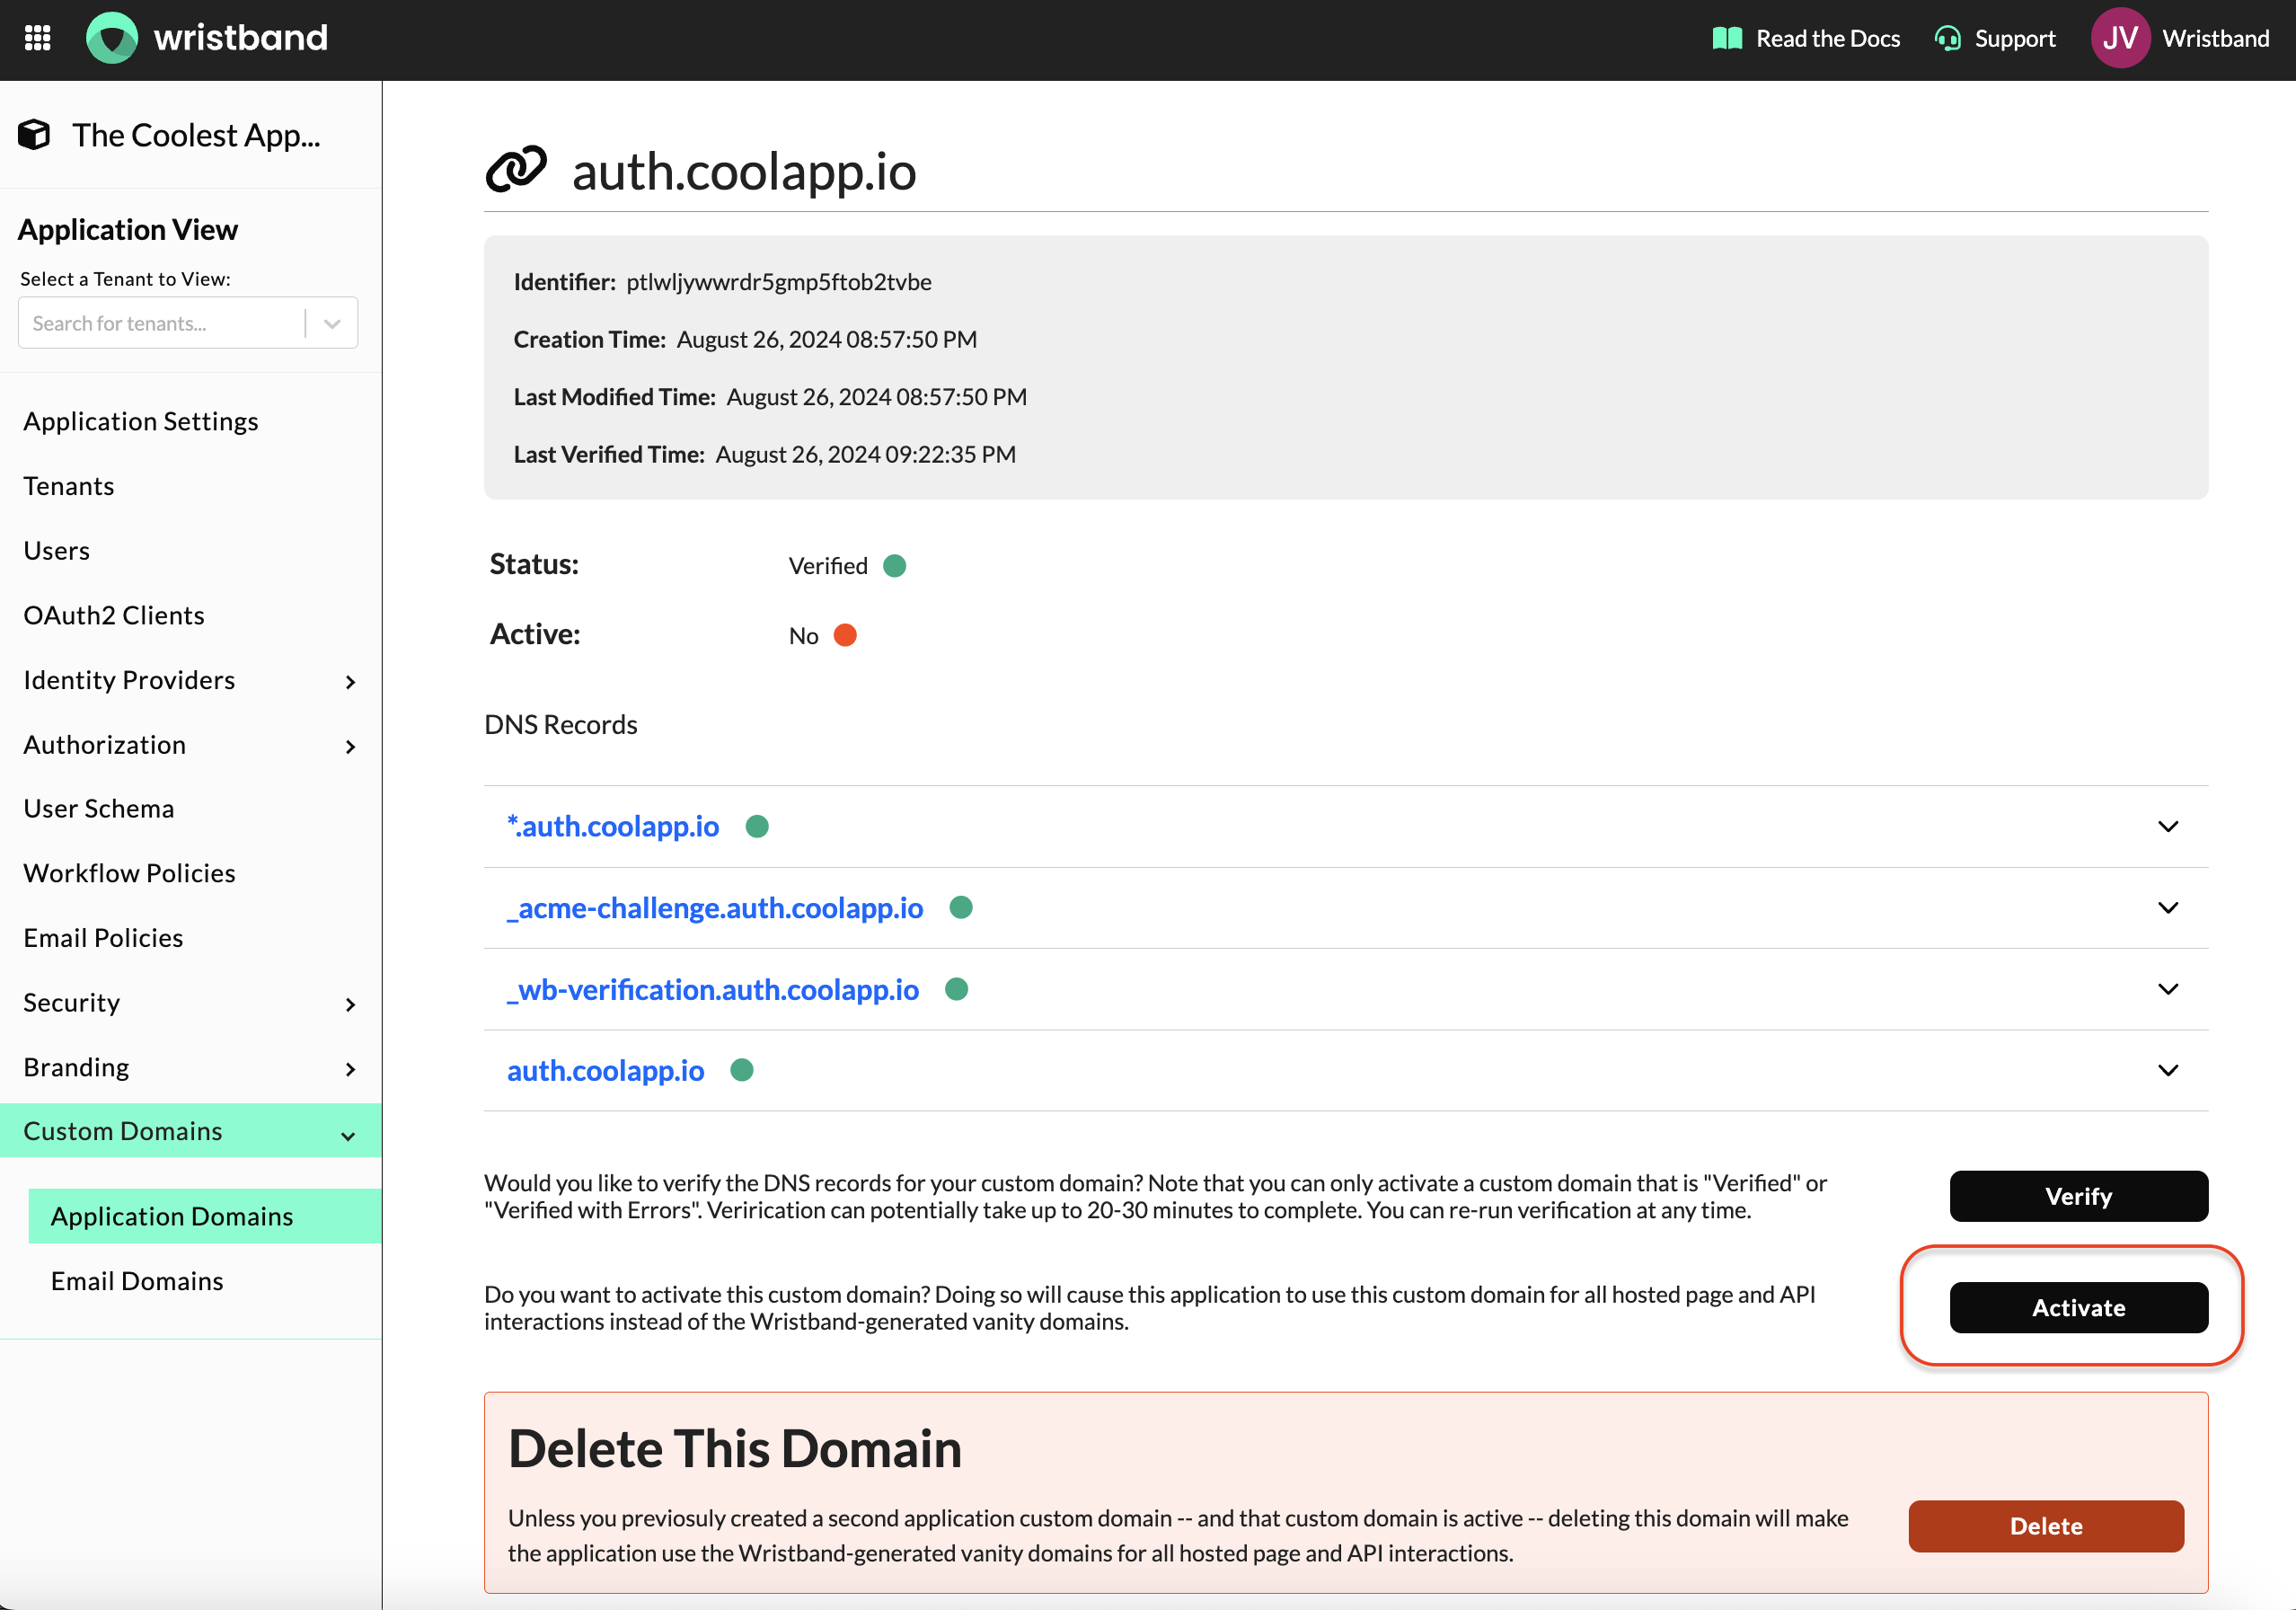
Figure 4: Activate the verified custom domain to start using it for your application.
Once activated, Wristband automatically uses the application custom domain for applicable hosted authentication pages and generated URLs. Tenants without their own custom domains use the application custom domain with their tenant names prefixed as subdomains.
Tenant Custom Domains
Tenant custom domains allow individual tenants to use their own dedicated domains instead of the default Wristband vanity domain or a subdomain derived from the application's custom domain.
This is particularly useful for B2B applications where customers require authentication pages to be hosted under their own corporate domains.
Configuring a Tenant Custom Domain
To configure a tenant custom domain:
-
Select a Tenant: From the Application View in the Wristband Dashboard, select the tenant you want to configure to enter the Tenant View.
-
Create a Custom Domain: Navigate to the tenant's Custom Domains configuration and create a new custom domain.
-
Configure DNS Records: Copy the DNS records provided by Wristband and add them to your DNS provider.
-
Verify the Domain: Trigger verification in the Dashboard to validate the DNS records. If verification does not succeed immediately, you can retry the verification process.
-
Activate the Domain: Once verification is complete, activate the custom domain for the tenant.
When activated, the tenant's custom domain takes precedence over the application custom domain. Other tenants continue using their existing domains unless they have their own custom domains configured.
Important Considerations
Existing API Integrations
Enabling custom domains does not disable your default Wristband vanity domains. Existing API integrations using those domains continue to work without modification.
Changes to Authentication URLs
Activating a custom domain affects generated URLs used throughout authentication workflows, including hosted pages, email action links, and external identity provider redirect URLs. Application custom domains also affect the issuer (iss) claim in access tokens and ID tokens.
For more information about these changes, see the Effects of Enabling Custom Domains section of the Domains and URLs documentation.
Updated 1 day ago