Workflows Overview
Wristband offers pre-built workflows tailored to diverse user interactions within your application.
Wristband’s well-defined, pre-built workflows streamline user interactions, enhancing the overall experience while boosting development efficiency. By simplifying the implementation of common tasks, Wristband ensures consistency and reliability, allowing your team to focus on building unique features.
The following workflows are available to your applications:
- Signup
- User Activation
- Email Verification
- Tenant Discovery
- Login
- Multi-Factor Authentication (MFA)
- Password Reset
- New User Invitation
- Existing User Invitation
- Change Email
For a deeper understanding of each workflow, including the corresponding API calls, configuration details, and more, please refer to the dedicated documentation page for each specific workflow.
Workflow Policies
Workflow Policies allow you to customize the actions and events that occur at different stages of the user lifecycle. This provides granular control over the user experience. The following workflows support at least one workflow policy configuration:
- Signup
- Tenant Discovery (application-level only)
- Login (common login policies)
- Enterprise IDP Login (SSO)
- Password Reset
- New User Invitation
- Existing User Invitation
- Change Email
For more in depth details on specific workflow policies, refer to that workflow's documentation page.
By default, Workflow Policies are configured at the application level, meaning the policies you set apply across all tenants.
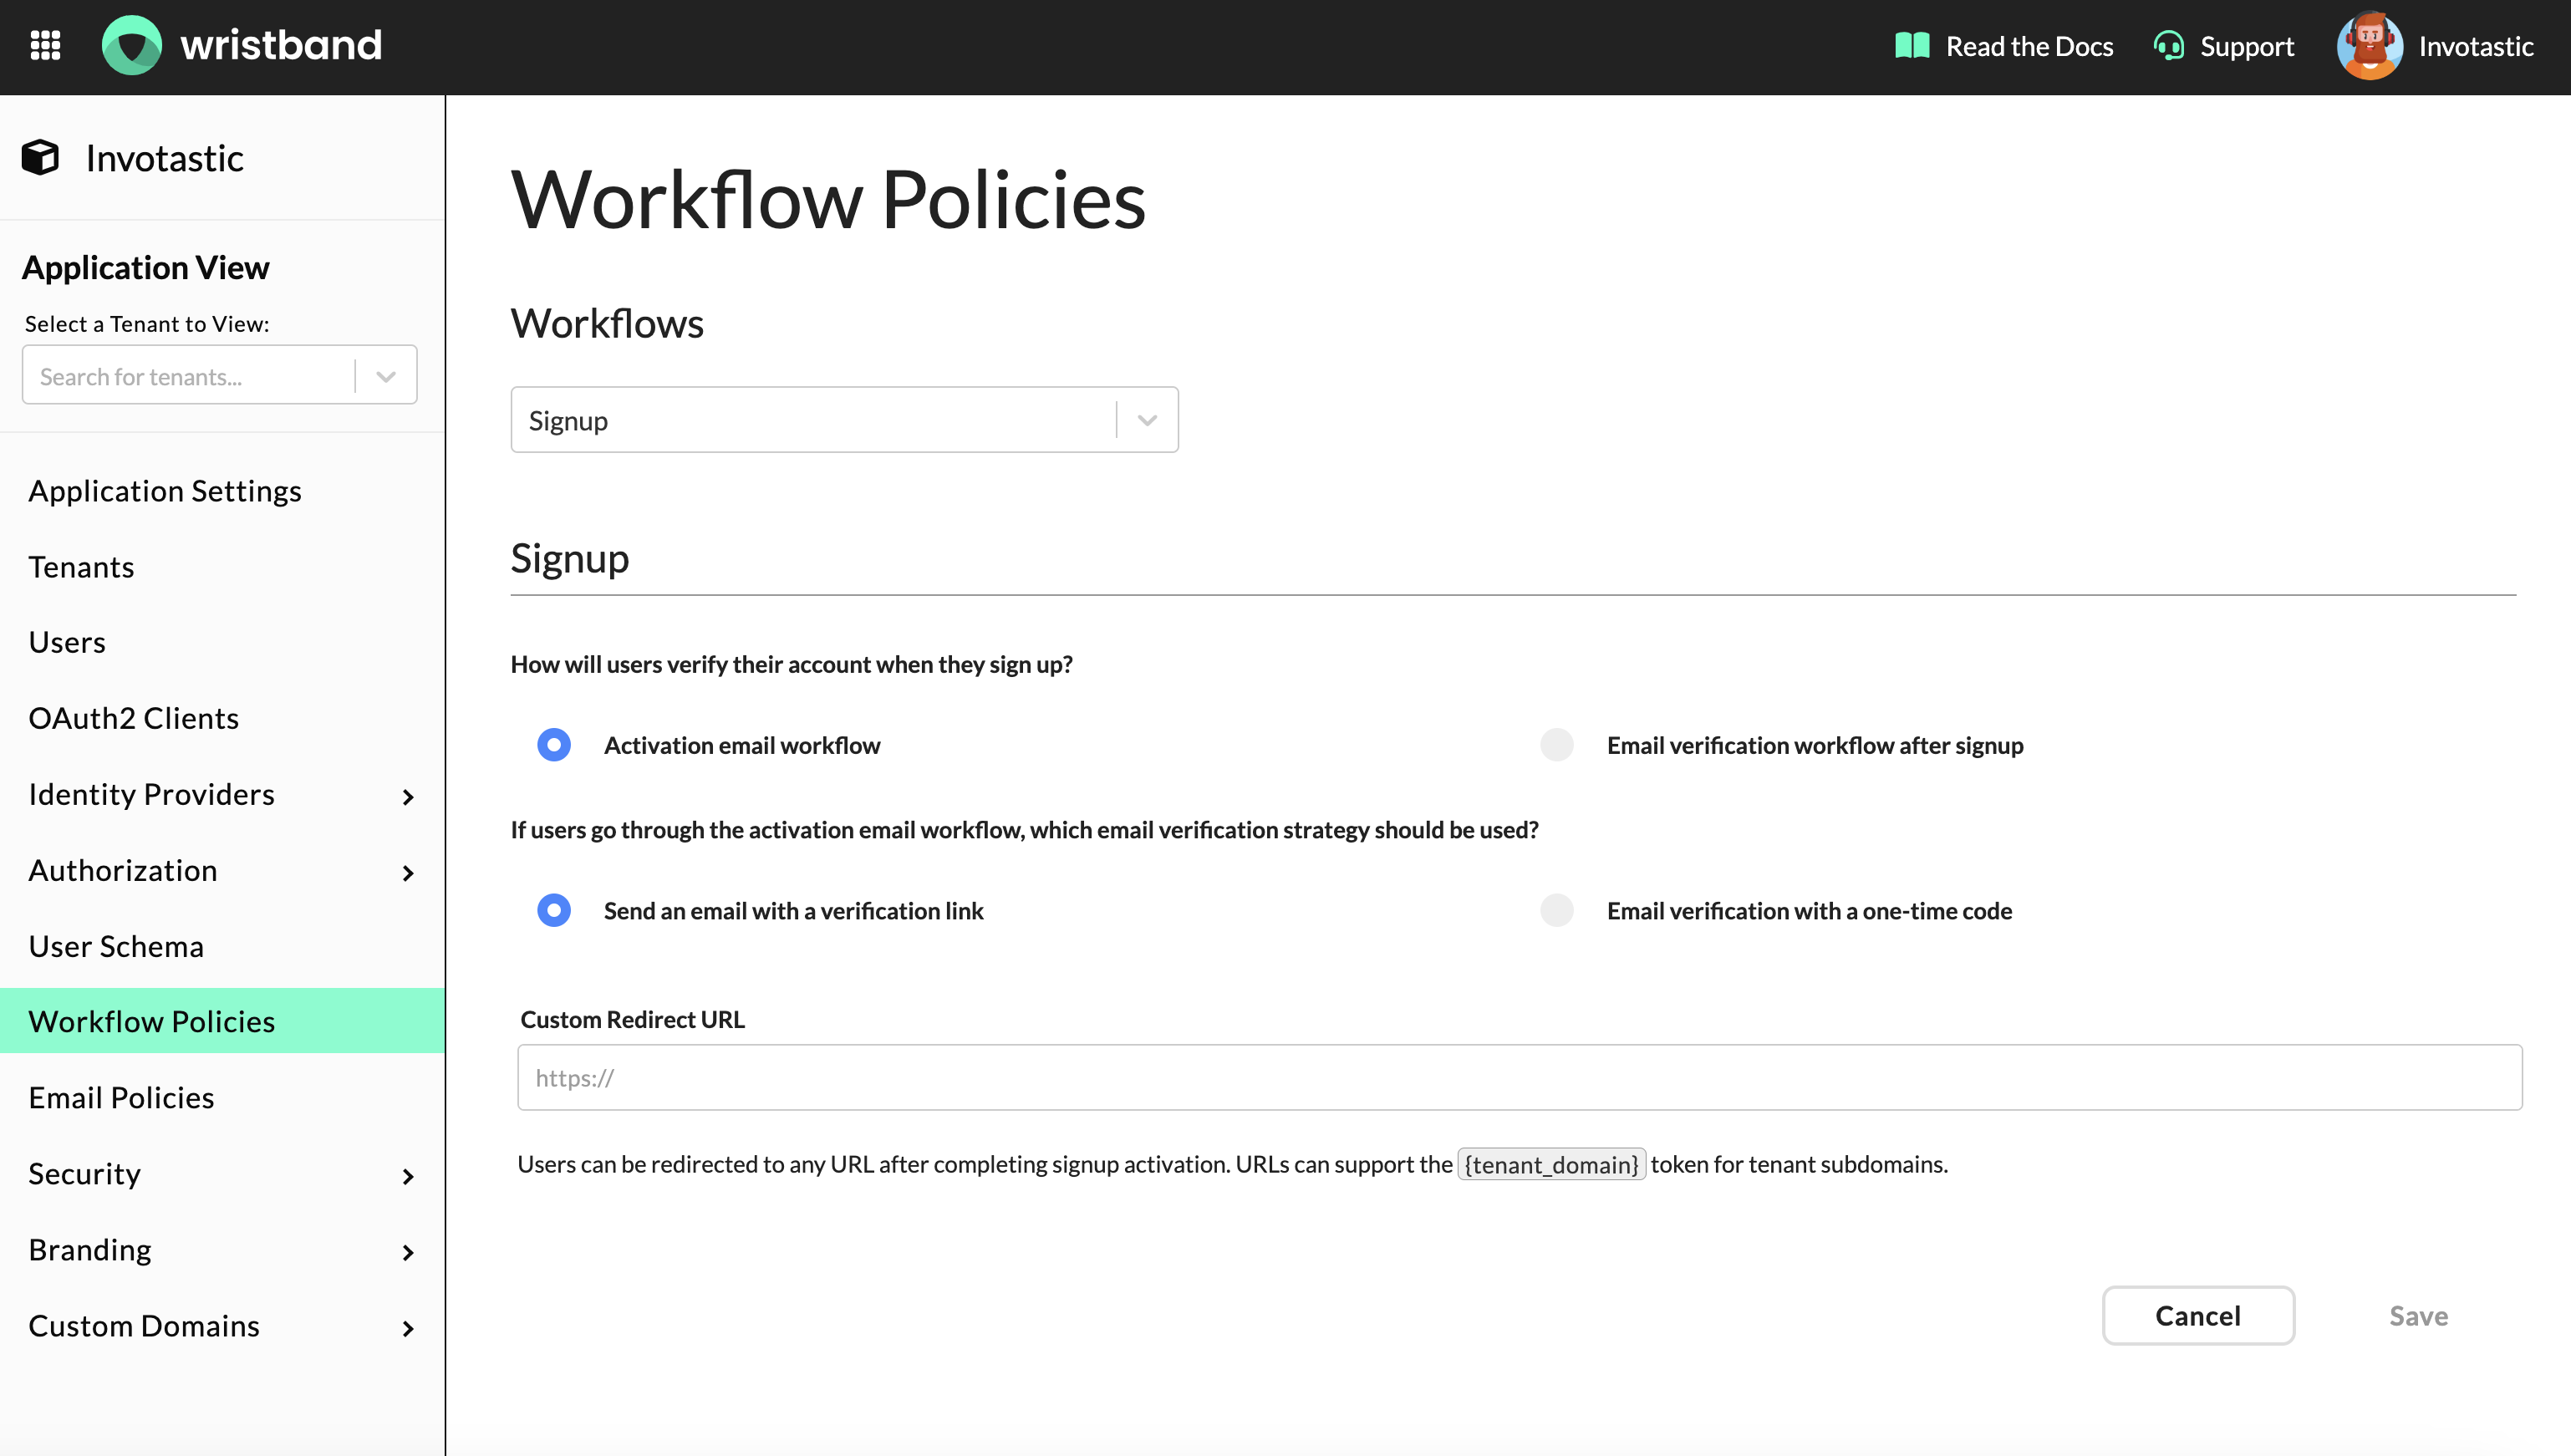
Application-level Workflow Policies in the Wristband Dashboard.
You can also override policies at the tenant level by enabling the Enable this tenant override? toggle under Workflow Policies in the Tenant View of the Wristband Dashboard.
Important: Enabling the tenant override affects all workflows for that tenant, not just the workflow currently selected in the form.
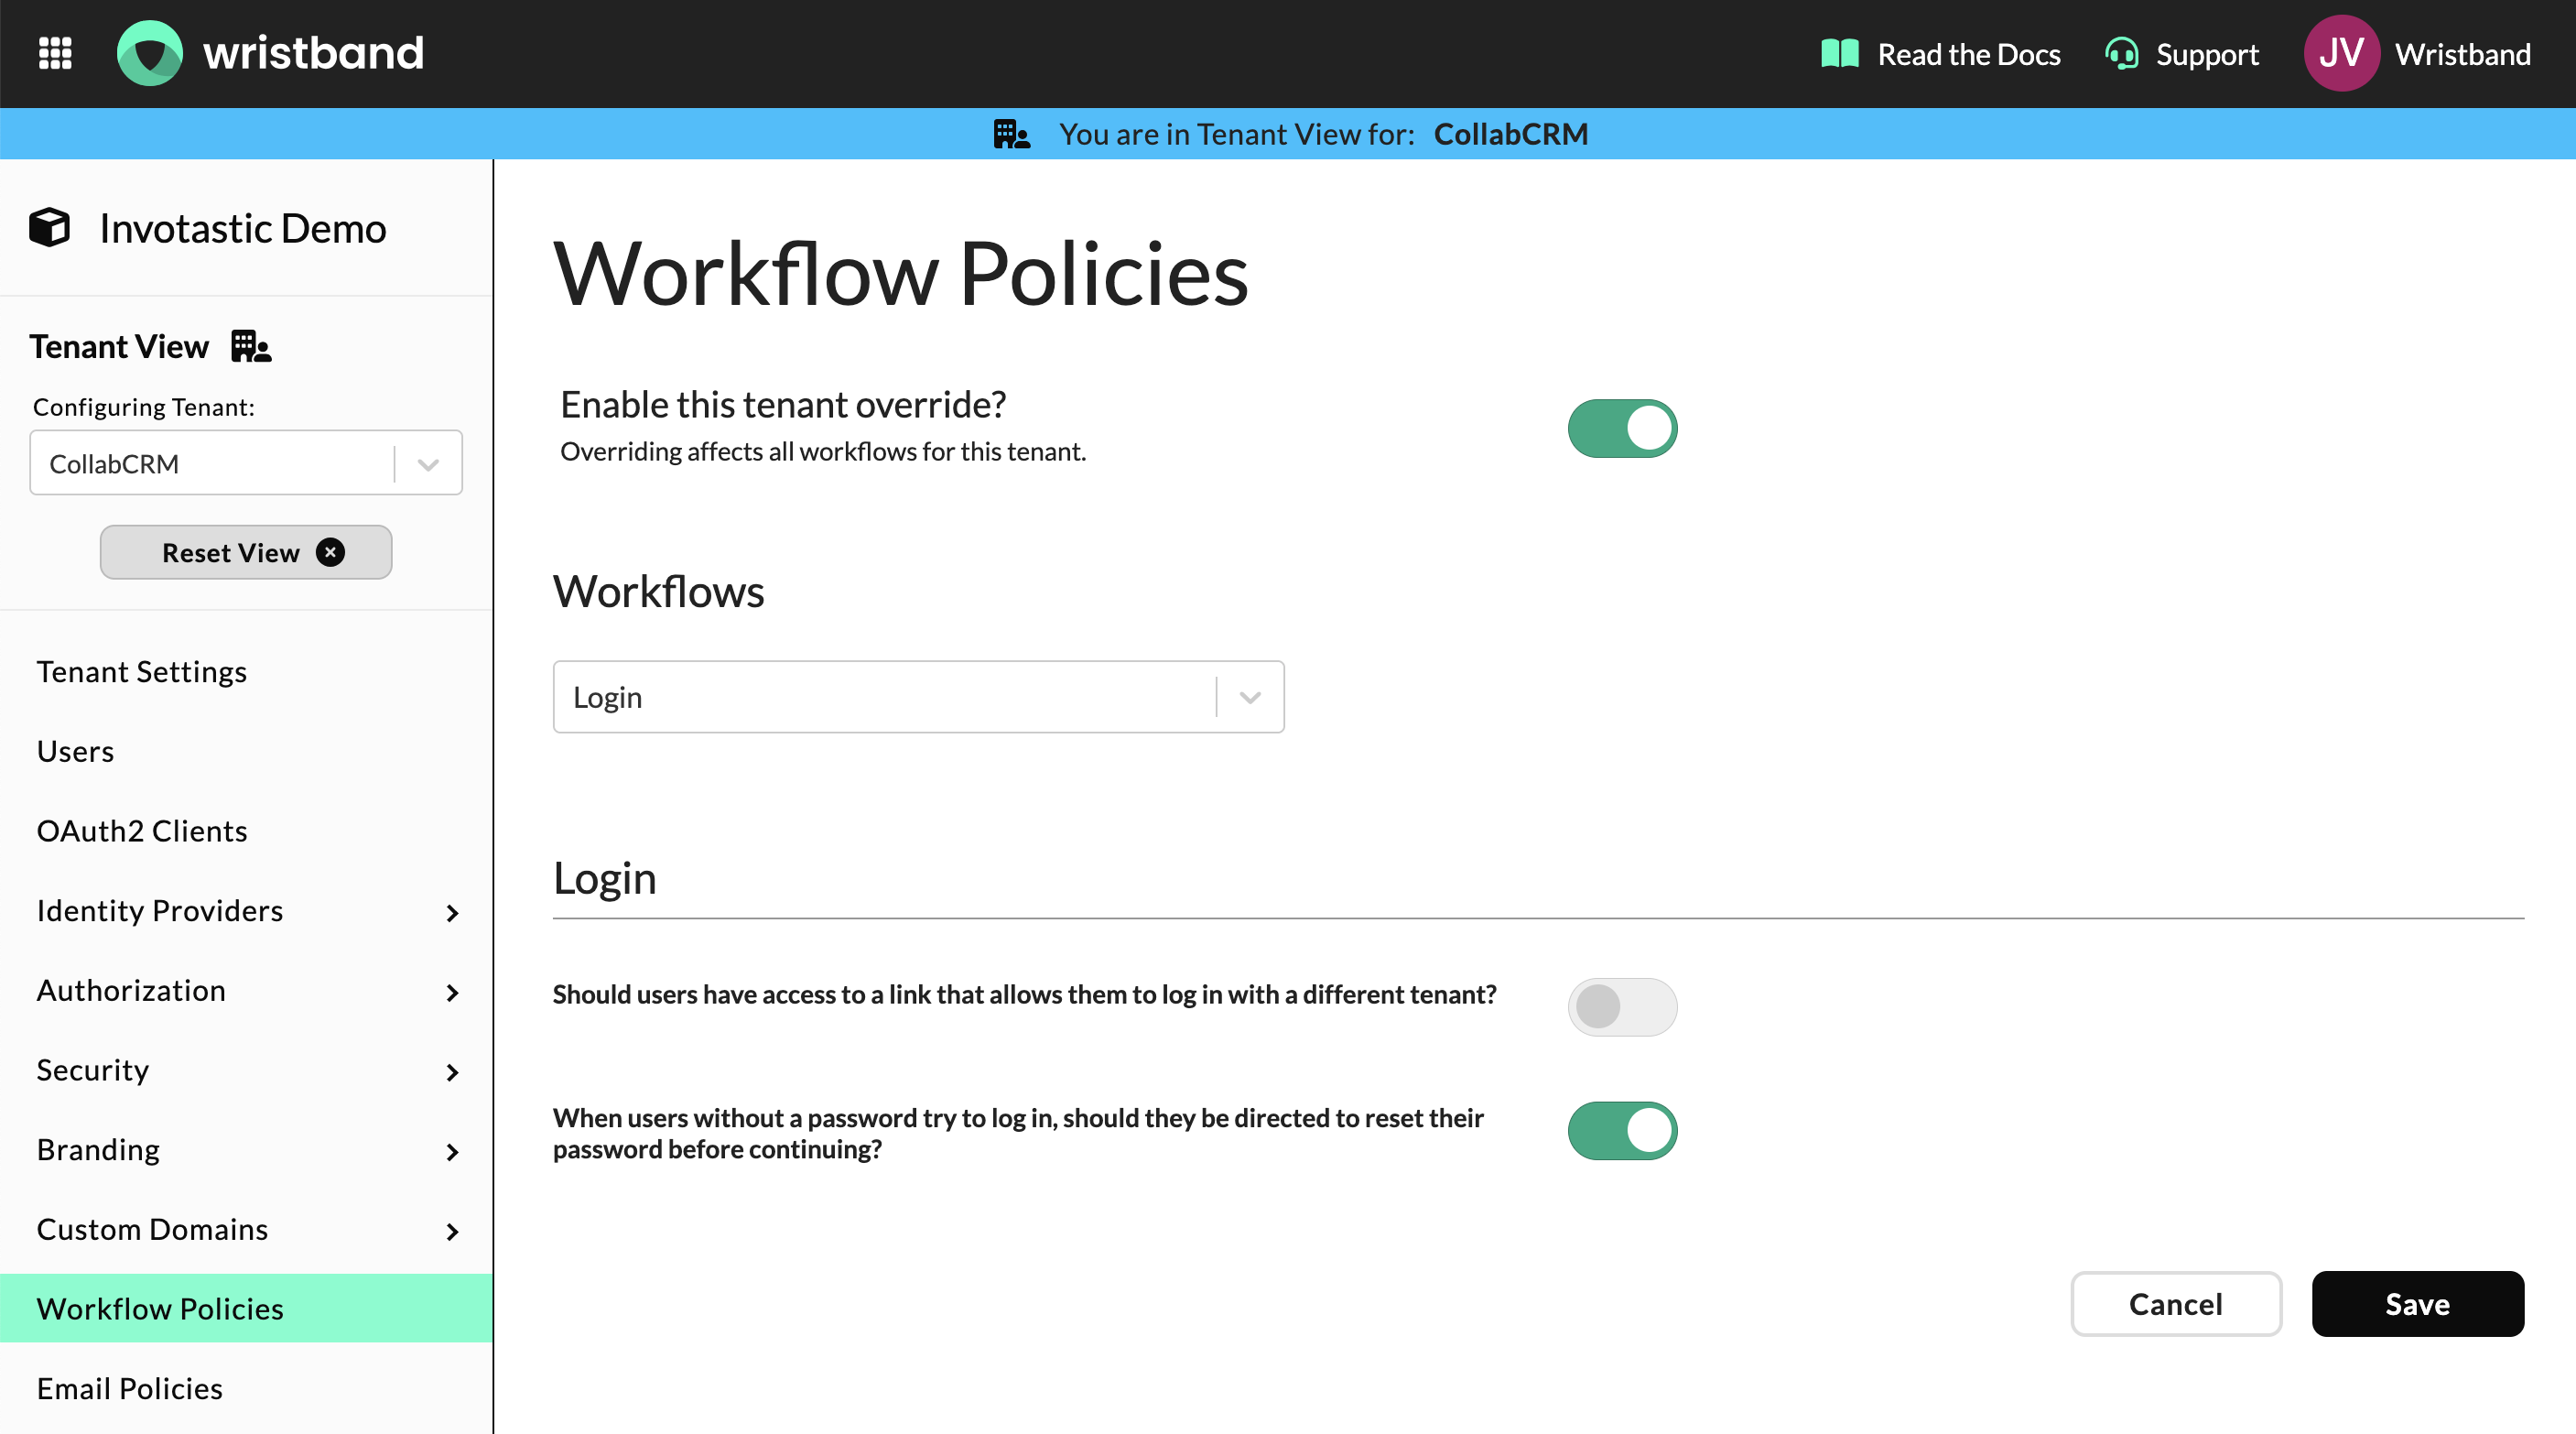
Tenant-level Workflow Policies in the Wristband Dashboard.
Wristband-Hosted Workflow UI Pages
Each workflow involves both API interactions and UI interactions. By default, Wristband hosts the UI pages, providing forms and user prompts as required to manage user engagement within your application. You can customize the branding and visuals for all Wristband-hosted workflow pages. See Customizing Wristband for Your Brand for more information.
Self-Hosted Workflow UI Pages
If you prefer full control over the user experience and visuals, you can host workflow pages within your own application and orchestrate the underlying API calls yourself.
Custom Page URLs
If you want to replace any of Wristband's hosted workflow pages with your own, you can configure Custom Page URLs under Application Settings → Custom Page URLs in the Wristband Dashboard. Wristband will then redirect users to your pages during authentication workflows, where applicable. For details on the implications of configuring these values for a specific workflow, refer to that workflow's documentation page.
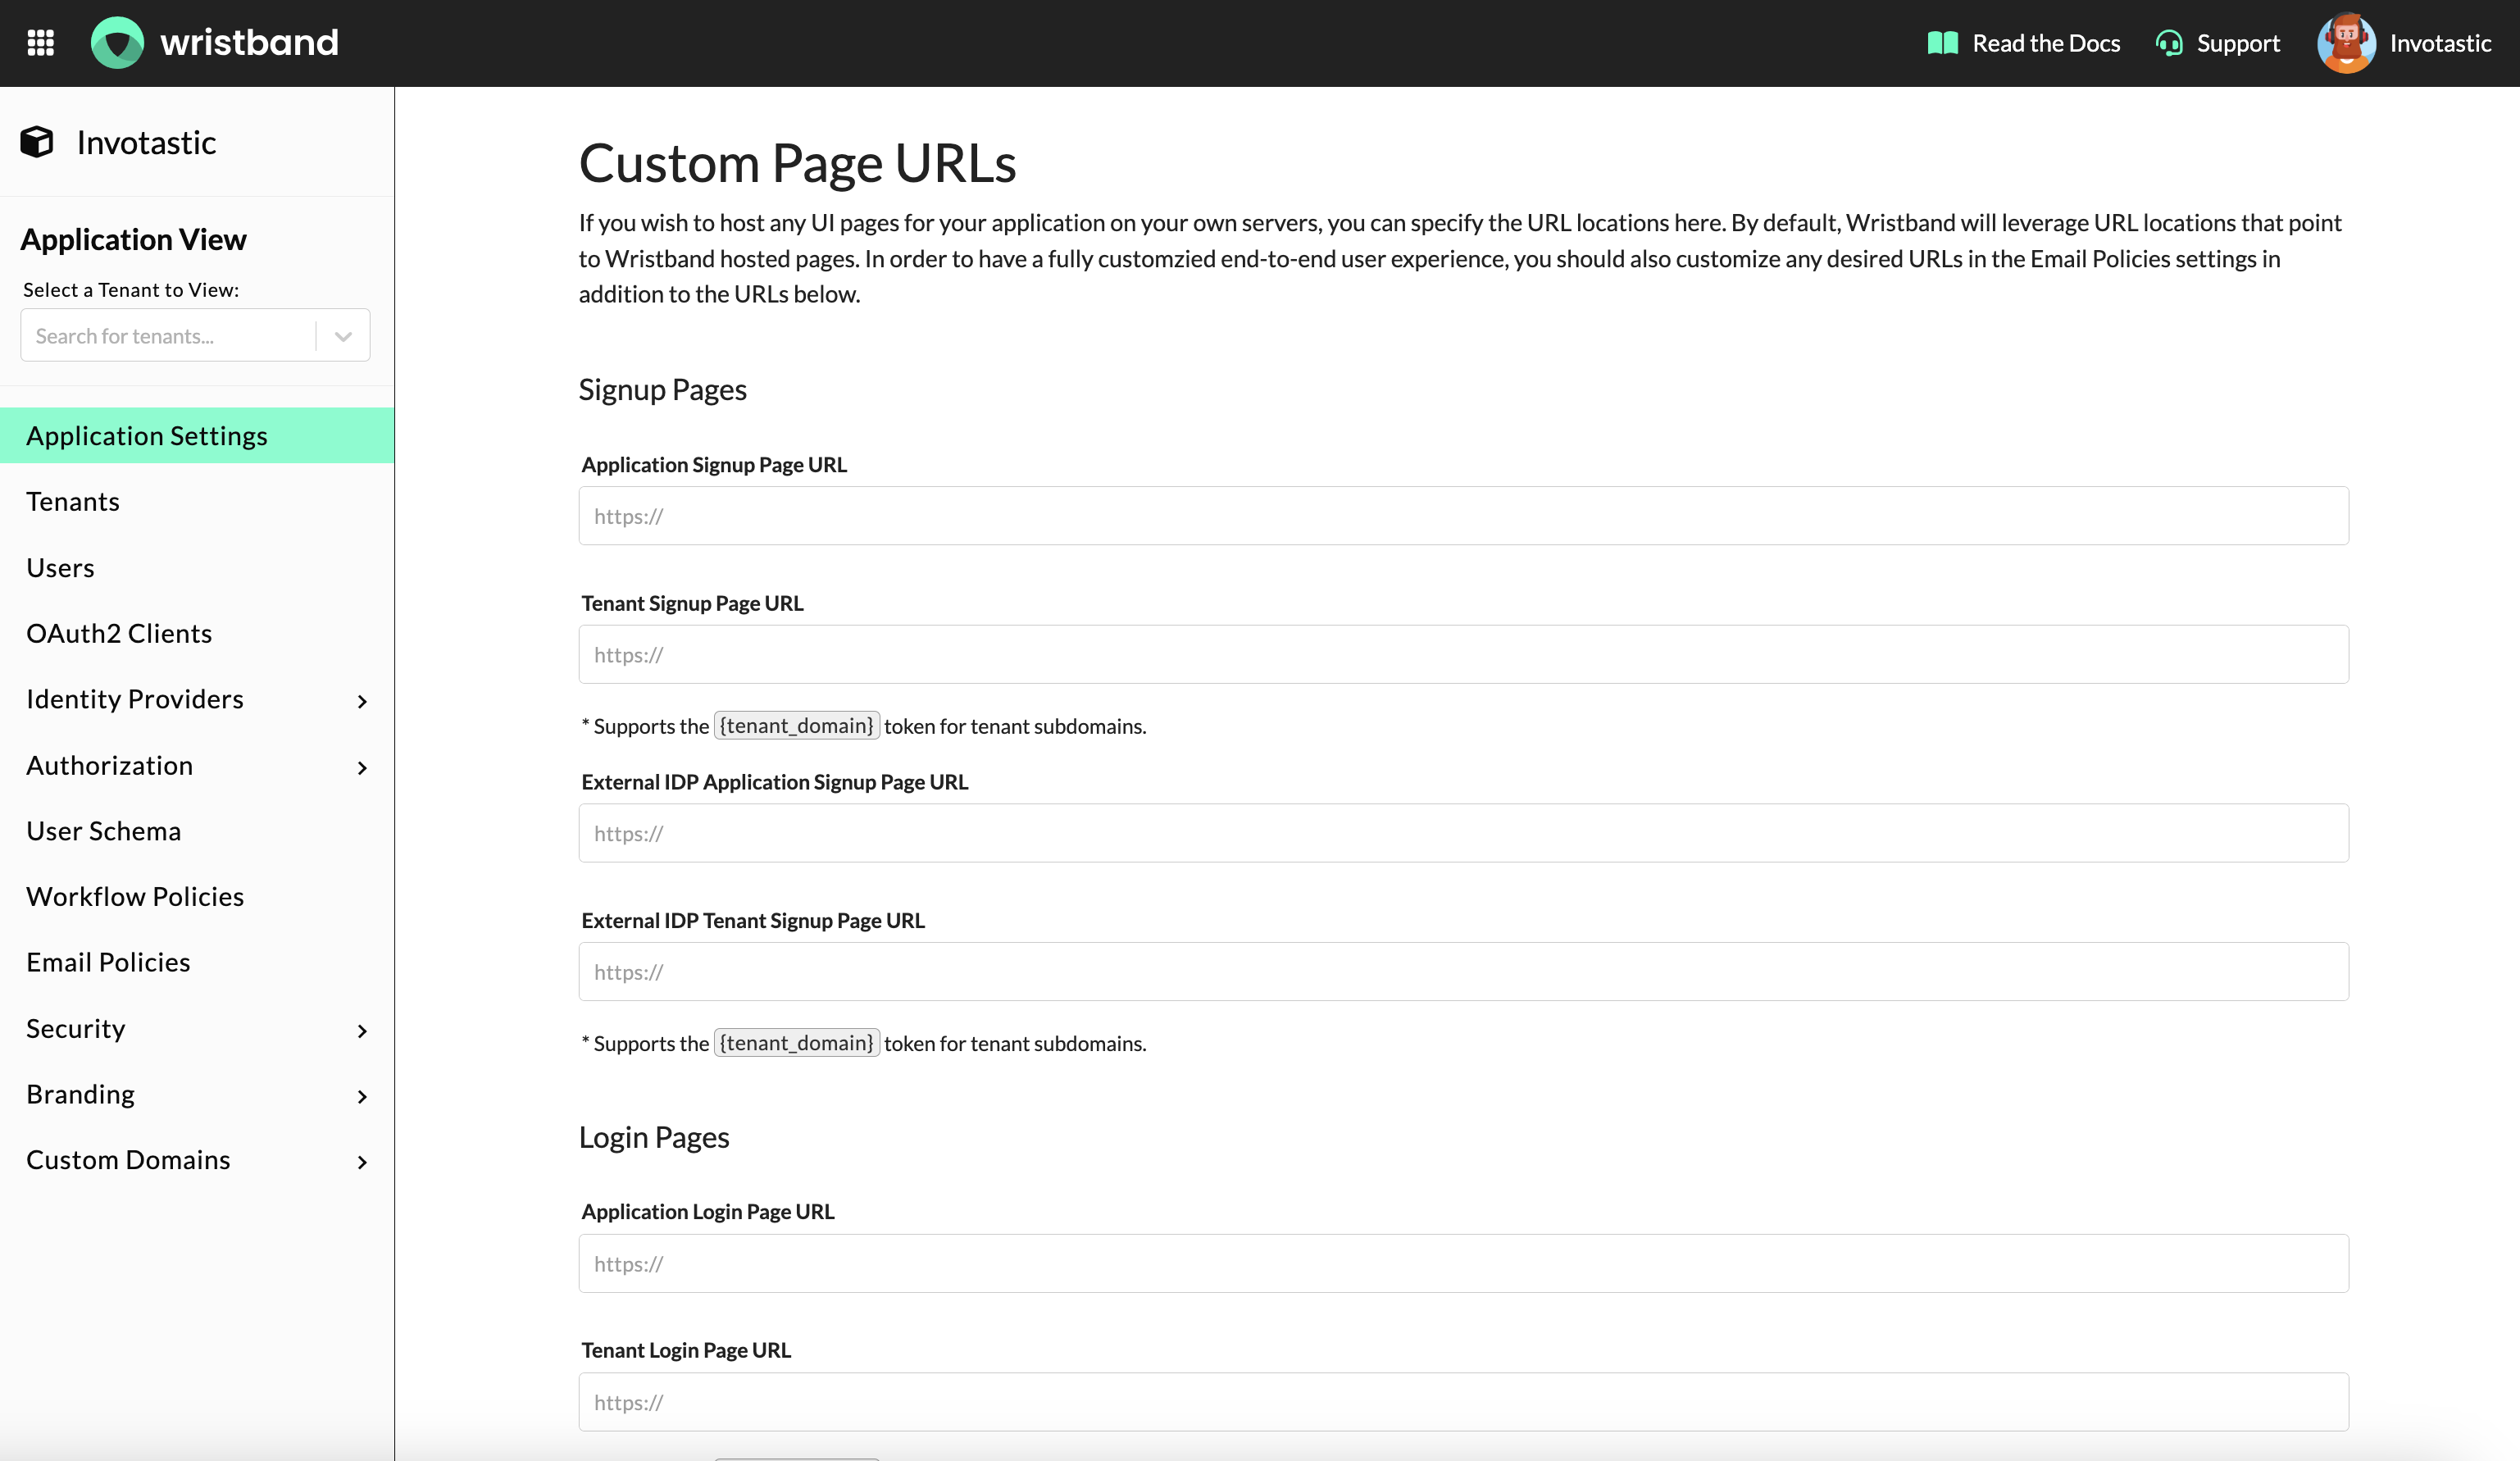
Custom Page URLs under the Application Settings in the Wristband Dashboard.
Email Policies
Many workflows send transactional emails containing action links (e.g., a password reset email, a user invitation email, etc.). By default, the links in these emails point to Wristband-hosted pages. If you are self-hosting those pages, you can configure the Action Link URLs for each workflow's email templates under Email Policies in the Wristband Dashboard.
The following workflow and email template combinations support Action Link URL configuration:
| Workflow | Email Templates |
|---|---|
| Signup | User Activation |
| Email Verification | Email Verification |
| Tenant Discovery | Tenant Discovery (application-level only) |
| Login | Magic Link Login |
| Password Reset | Password Reset |
| New User Invitation | Email-only User Invitation |
| Existing User Invitation | Existing User Invitation |
| Change Email | Email Change Confirmation Passwordless Email Change Confirmation: Current Email |
For details on the implications of configuring these values for specific workflows and templates, refer to that workflow's documentation page.
By default, Email Policies are configured under Email Policies in the Application View of the Wristband Dashboard, meaning the policies you set apply across all tenants.
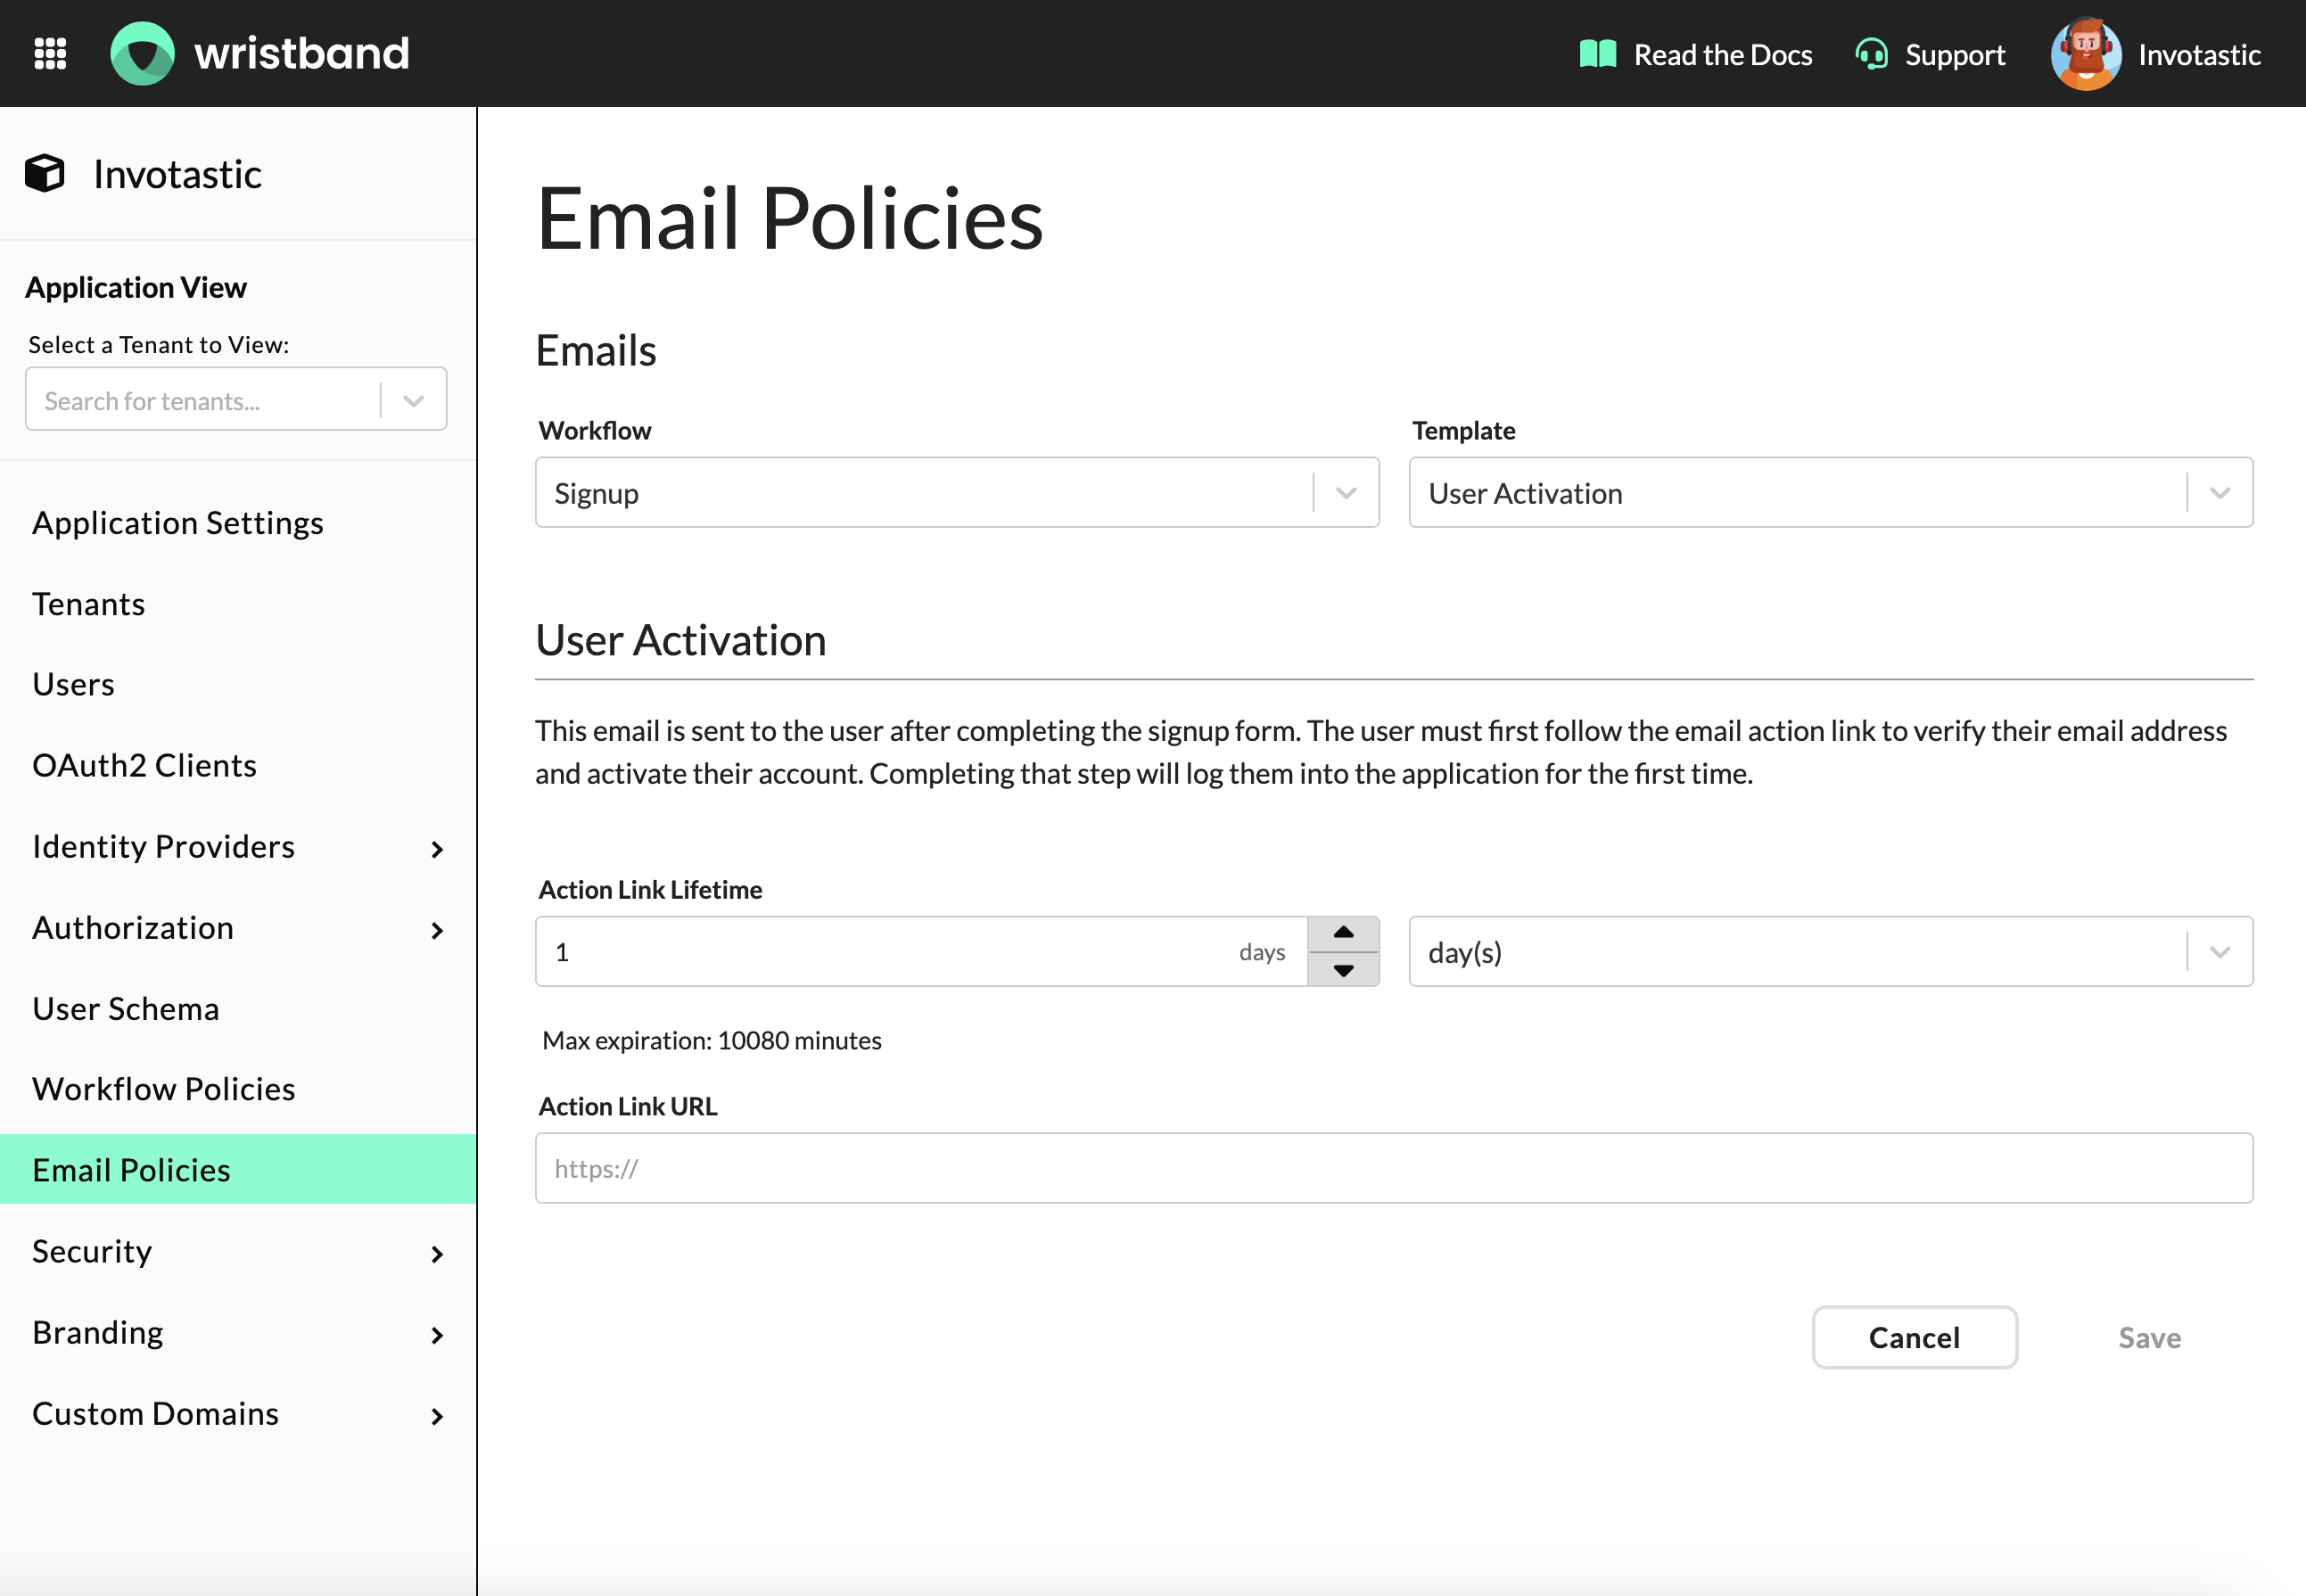
Application-level Email Policies in the Wristband Dashboard.
You can also override policies at the tenant level by enabling the Enable this tenant override? toggle under Email Policies in the Tenant View of the Wristband Dashboard.
Important: Enabling the tenant override affects all email policies for that tenant, not just the email template currently selected in the form.
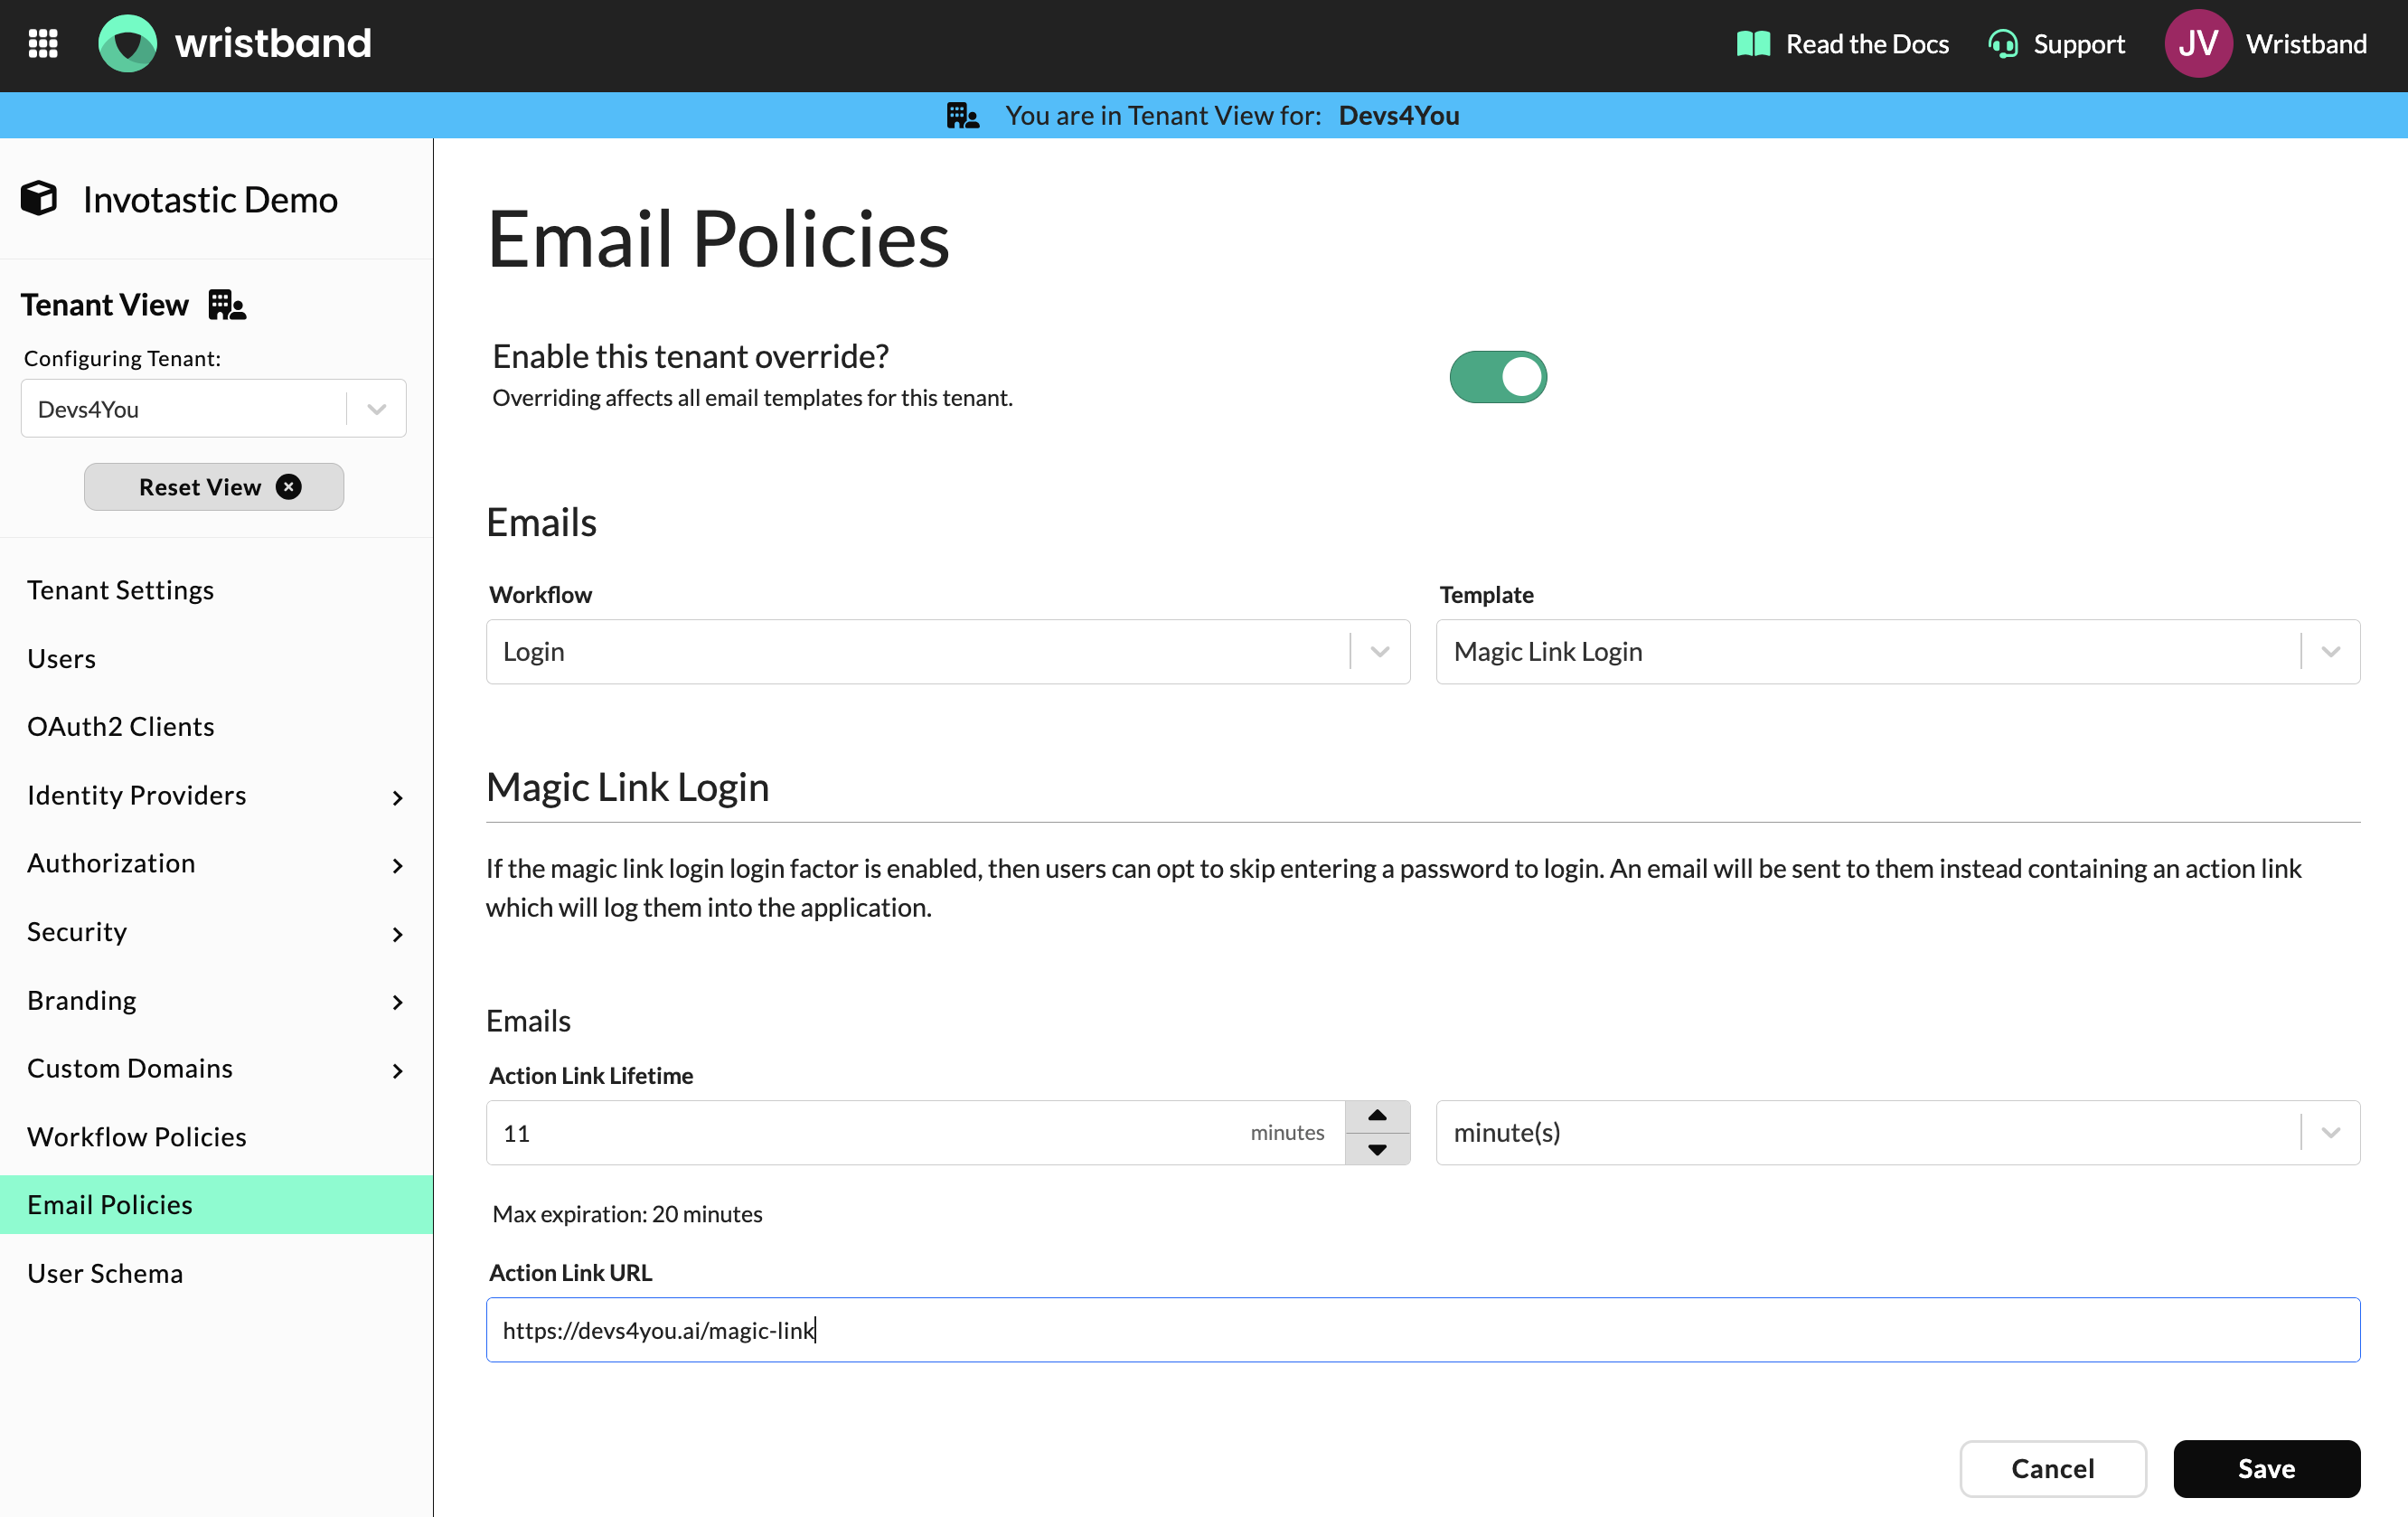
Tenant-level Email Policies in the Wristband Dashboard.
Error Pages
During authentication workflows, errors may occur that Wristband handles automatically. For details on static and dynamic error handling, self-hosted error pages, and supported query parameters, see Error Pages.
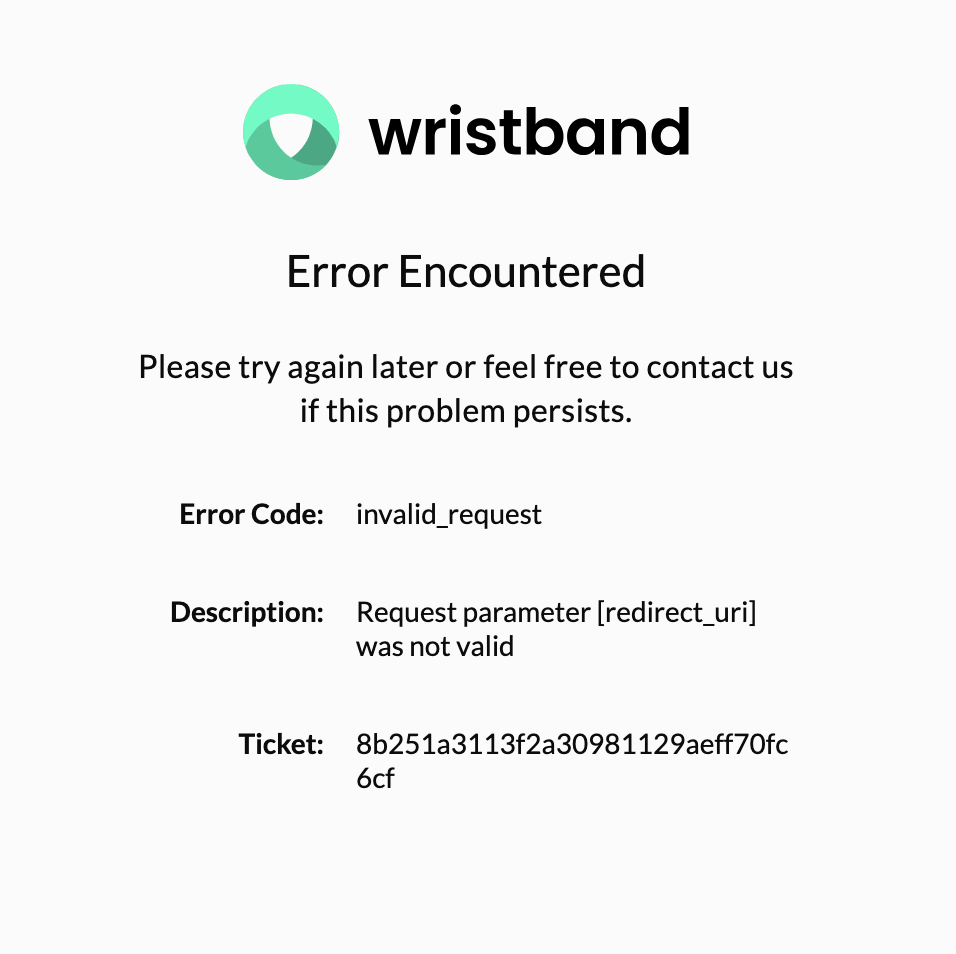
Example of a dynamic Tenant-level Error Page (Wristband-hosted).
Updated 3 months ago