New User Invitation Workflow
Invite new users to your application by sending them an email or a generated link to complete their account setup.
The New User Invitation Workflow is designed for onboarding users who do not yet exist in Wristband. When a user accepts an invitation, they are guided through an account setup form before their account is created. The fields presented on this form mirror those of the Signup Workflow and depend on how your application and tenant are configured.
This contrasts with the Existing User Invitation Workflow, which is designed for users who have already been provisioned in Wristband and need to be granted self-access at a later point.
Workflow Policies
Several policies control the behavior of the New User Invitation Workflow. Invite New User Workflow Policies are configured under Workflow Policies in the Application View of the Wristband Dashboard. Individual tenants can also override these application-level settings.
- Unverified Email Action: Controls what happens when an invited user's email is unverified. Can be set to trigger the User Activation Workflow or the Email Verification Workflow. Defaults to User Activation.
- Custom Redirect URL: When set, users are redirected to this URL after successfully accepting the invitation. Supports the
{tenant_name}placeholder for tenant subdomains. - Custom Invitation Link URL: When set, overrides the URL used for generated invitation links. Useful when self-hosting the invitation page. Supports the
{tenant_name}placeholder for tenant subdomains. - Invitation Link Lifetime: Controls how long a generated invitation link remains active before it expires. Expressed as an ISO 8601 duration. Minimum is 10 minutes, maximum is 10,080 minutes (7 days).
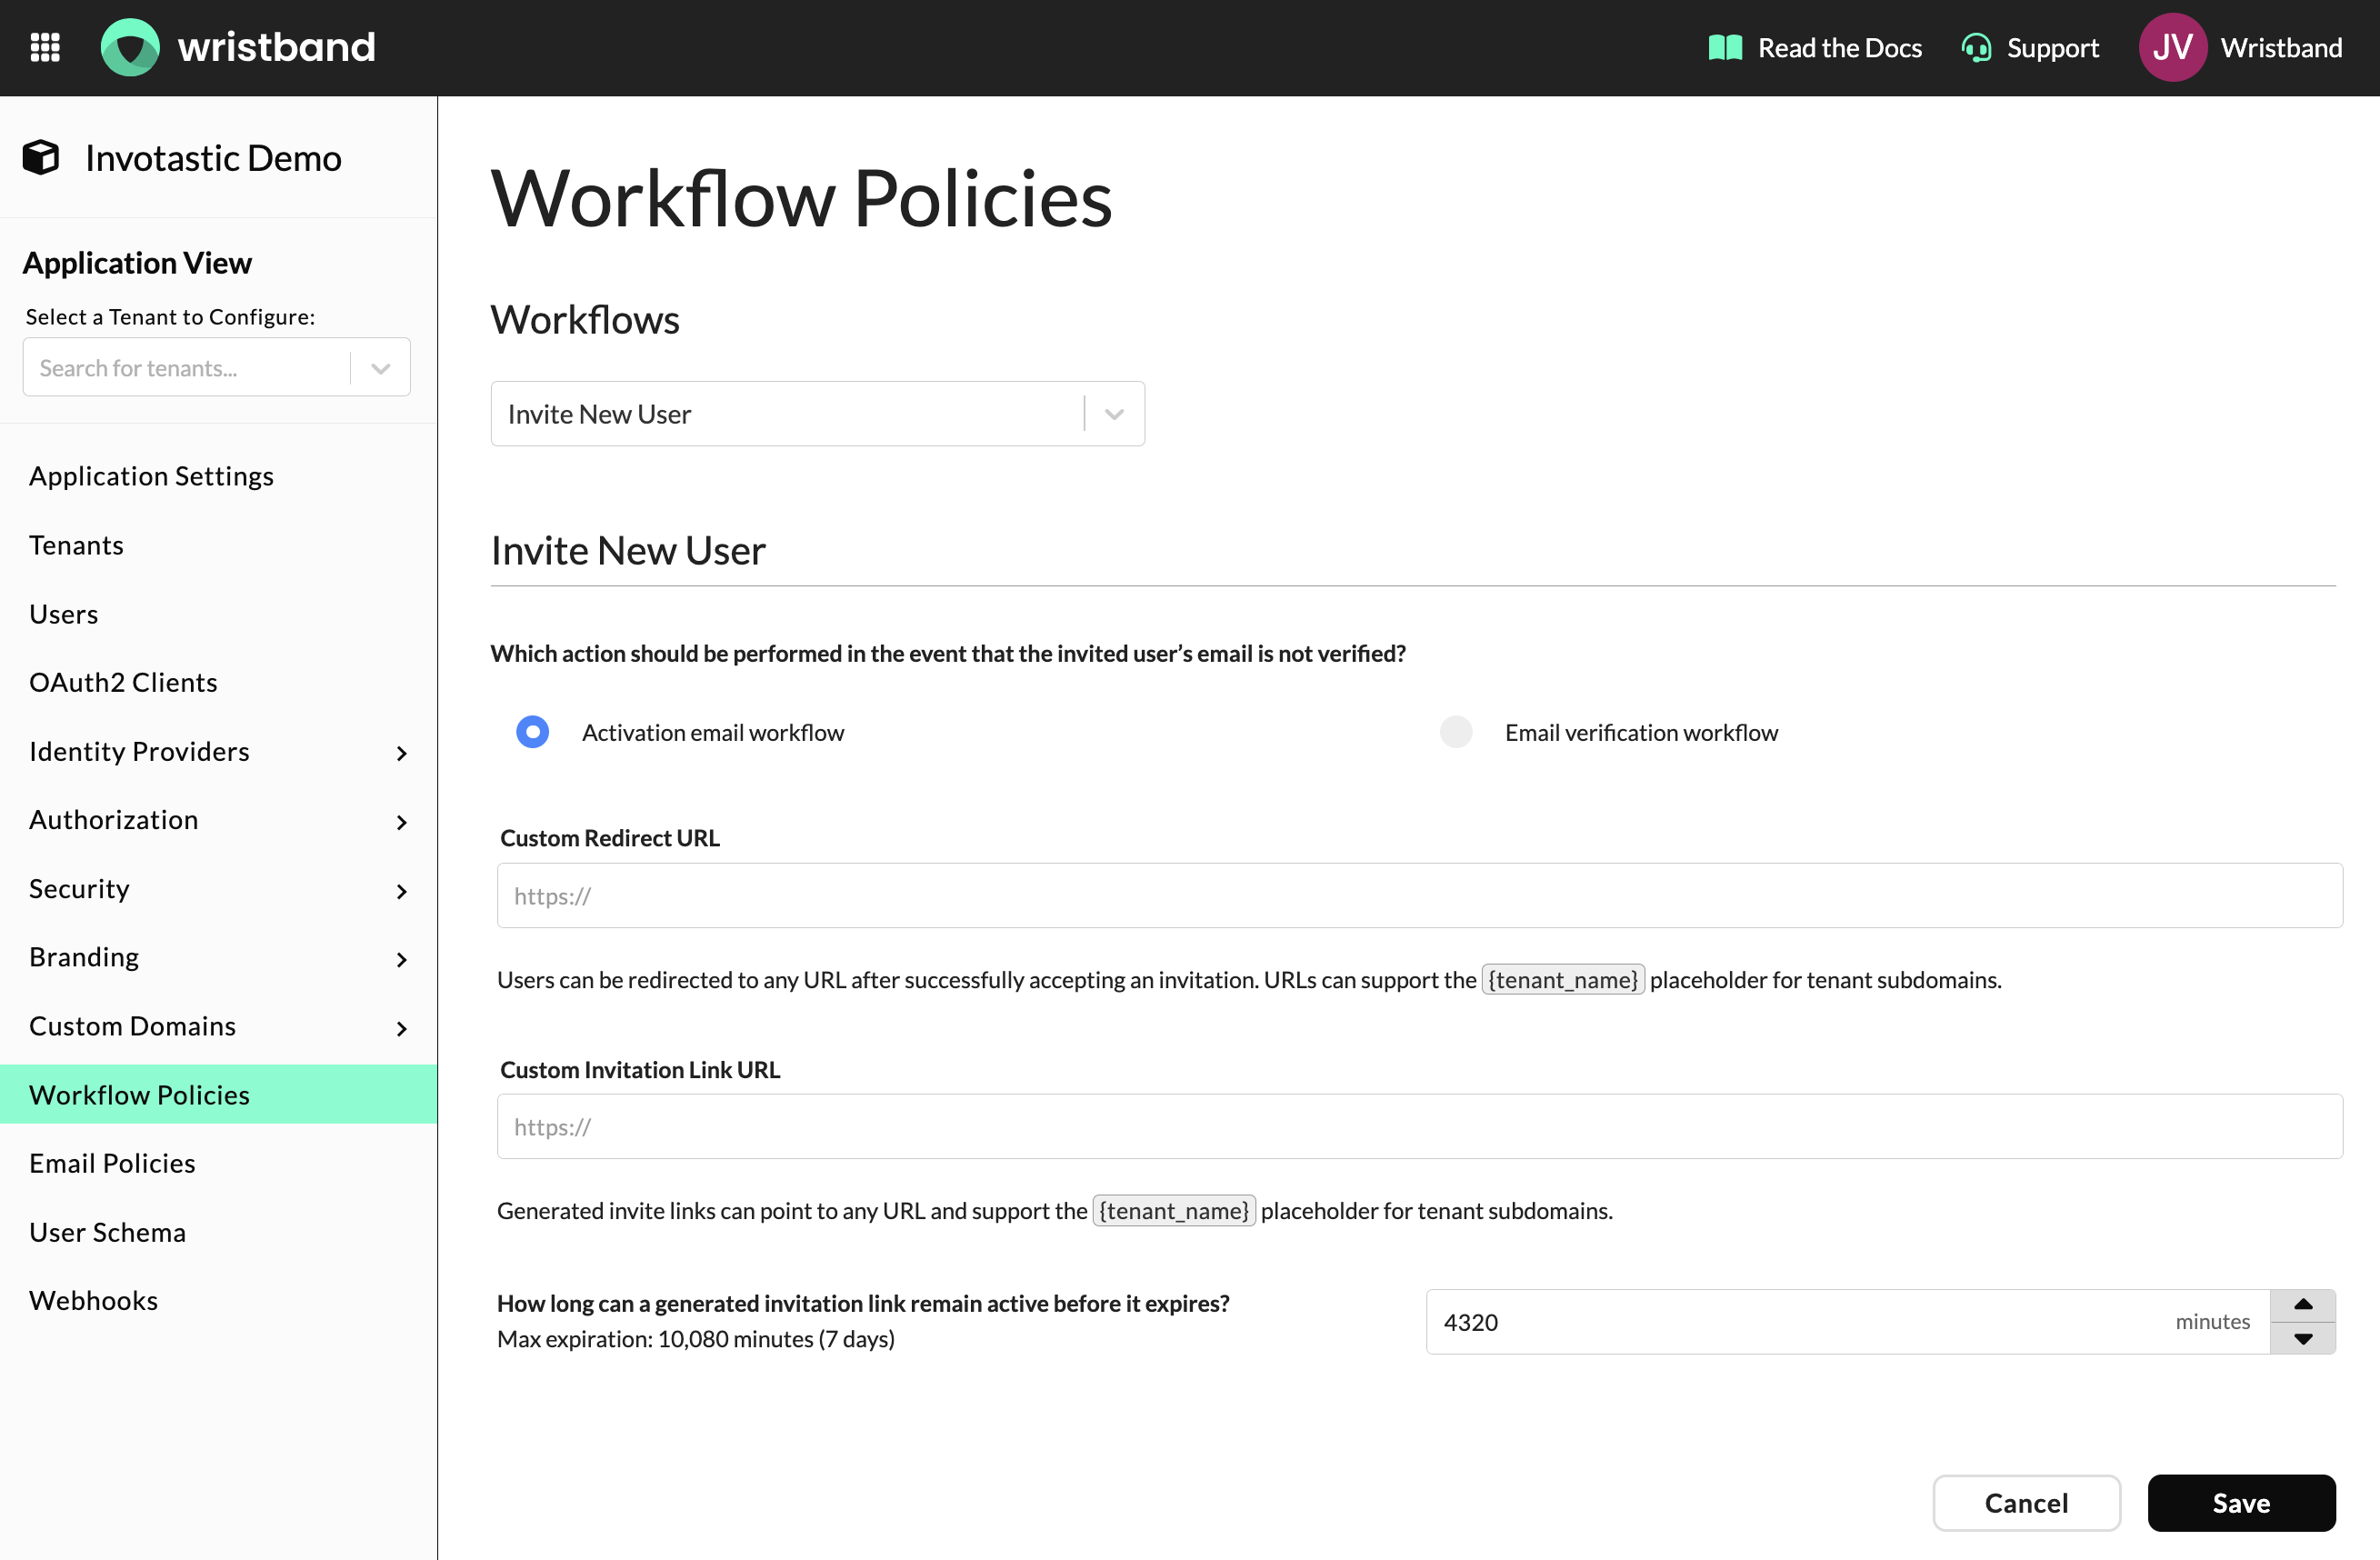
Invite New User Workflow Policies in the Wristband Dashboard
Sending Invitations
New User Invitations can be sent in several ways:
- Via invitation email from the Wristband dashboard
- Via a generated invitation link from the Wristband dashboard
- Programmatically via the Invite New User API or the Create Invite Link API
Invitation Emails
From the Wristband Dashboard, the New User Invitations page in both Application View and Tenant View includes an Emails tab where admins can send an invitation email to any email address. Optionally, roles can be assigned to the invitee as part of the invitation.
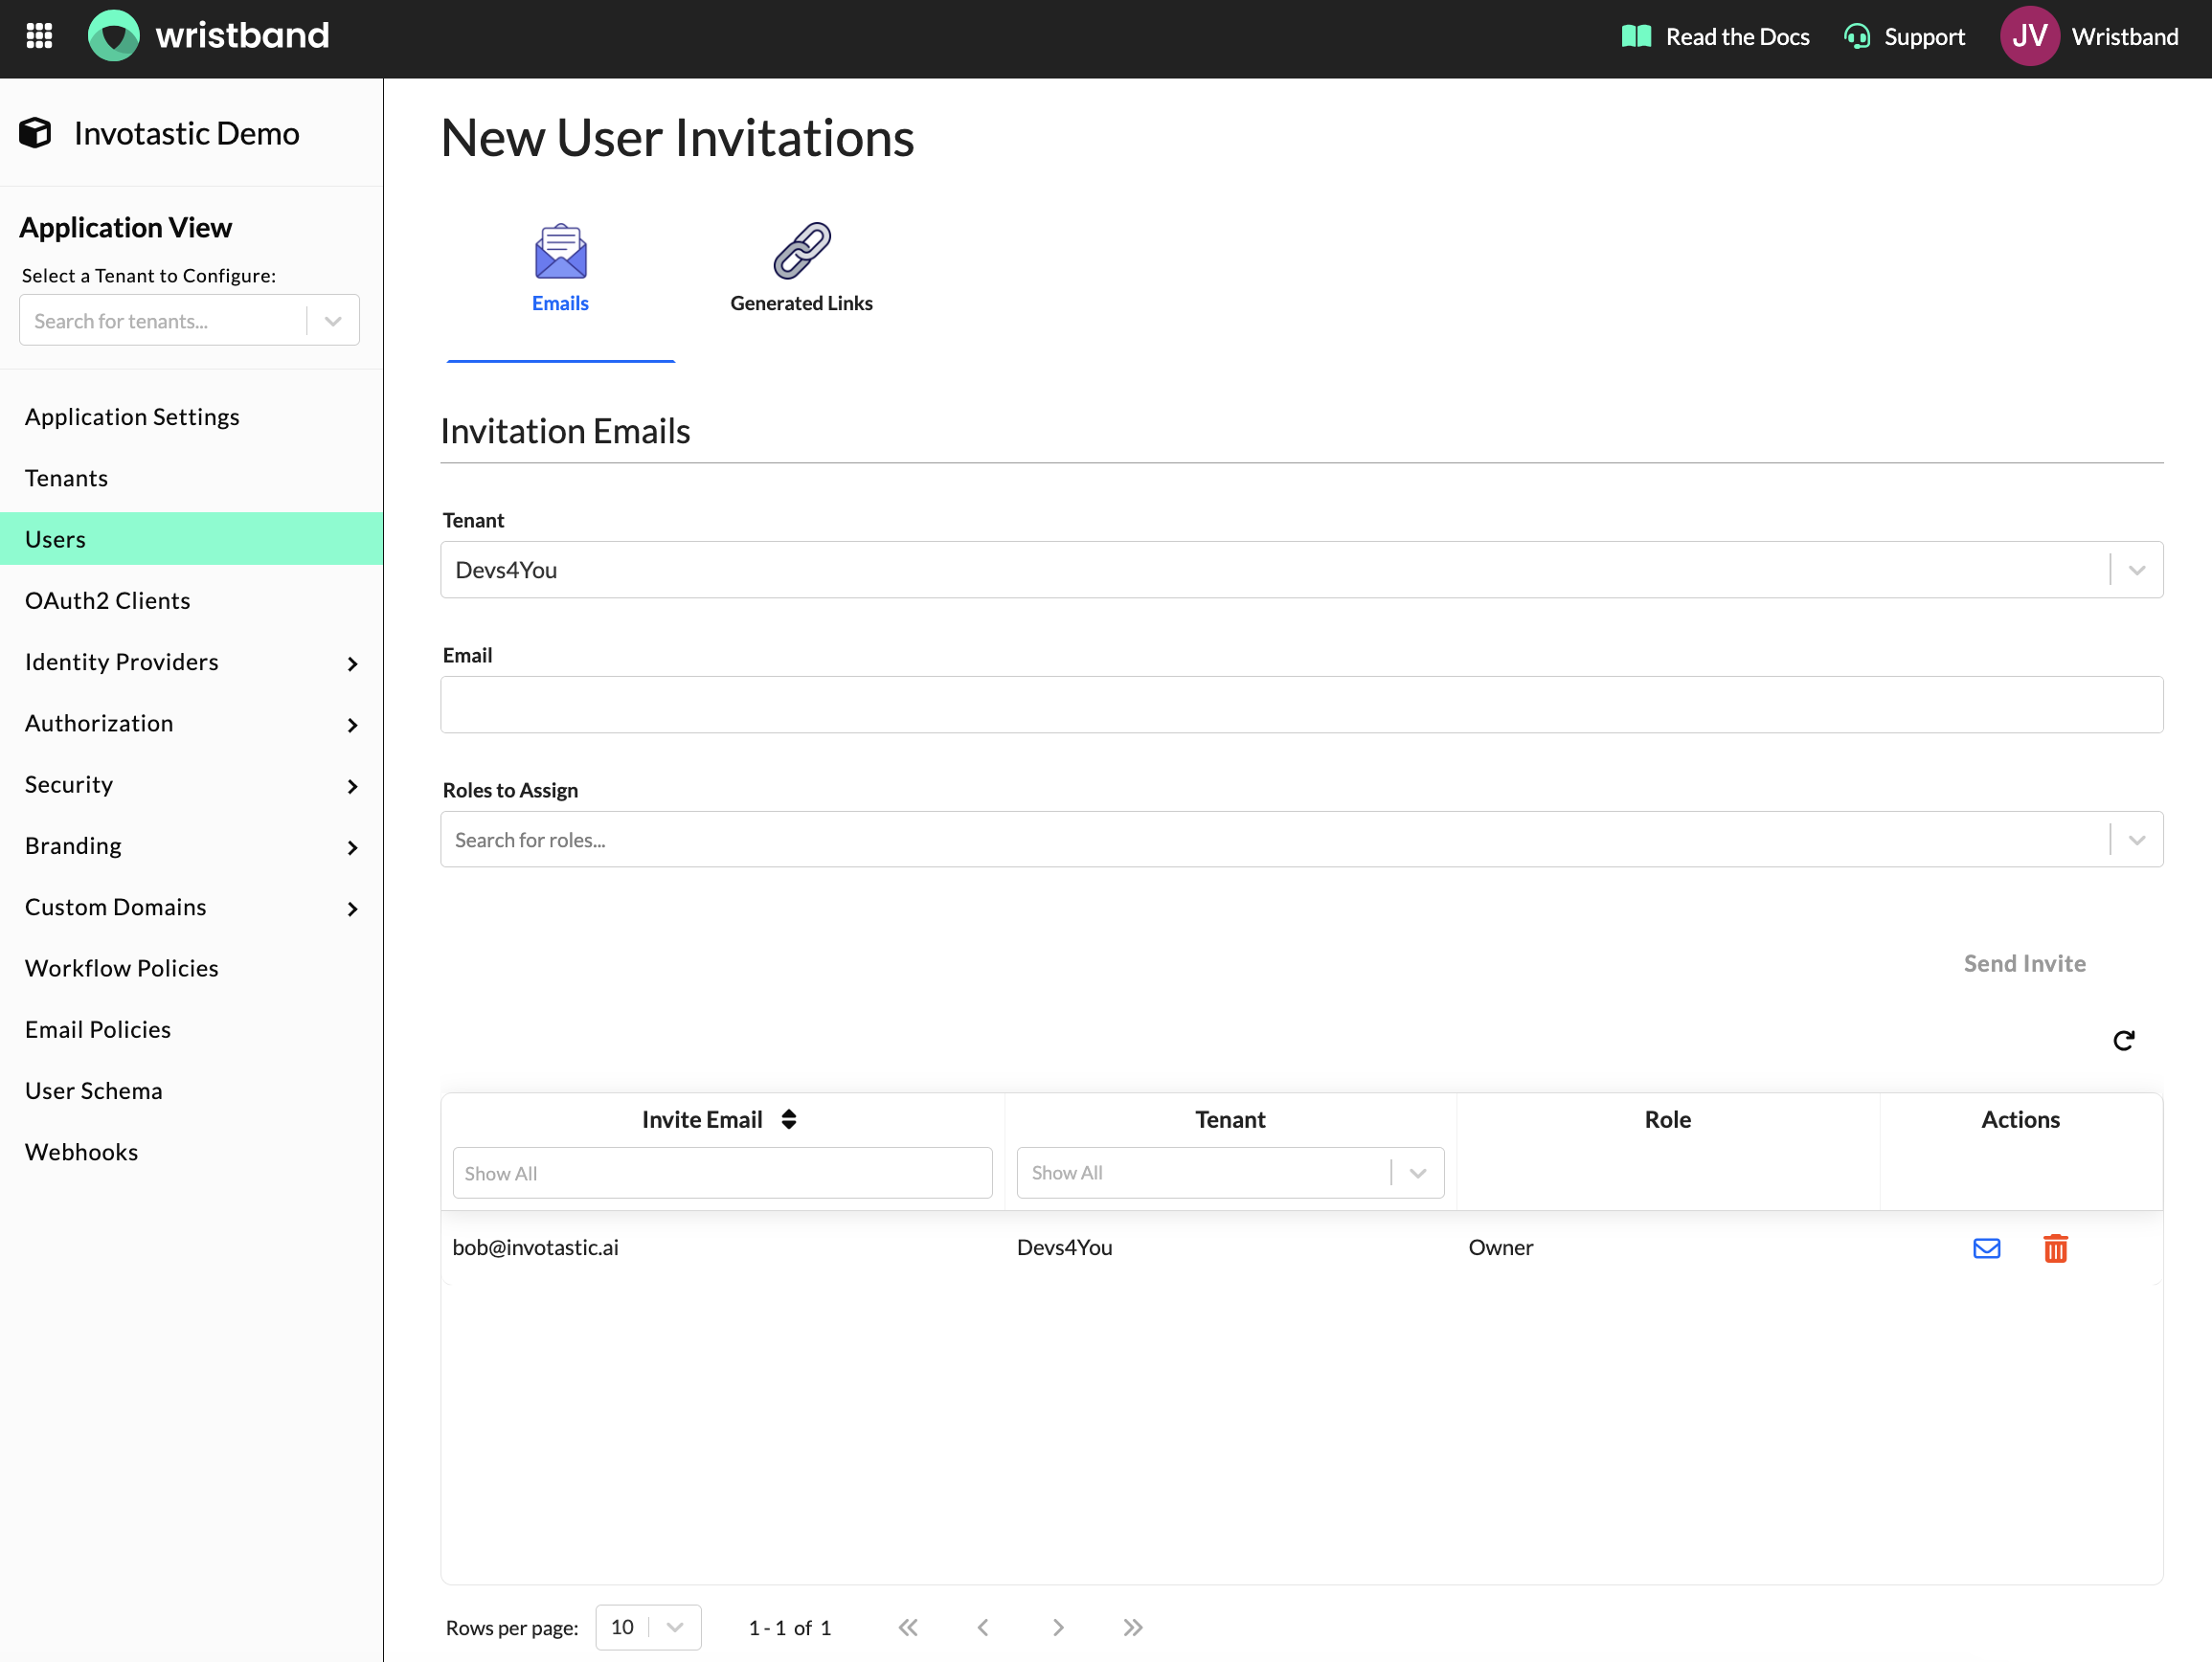
New User Invitations Emails tab in the Wristband Dashboard
Upon sending, the user receives an invitation email at the provided address containing an action link button to complete their account setup.

Example of a New User Invitation email
When the user clicks the action link button, they are directed to the New User Invitation Page where they complete their account setup form.

Example of the New User Invitation Page (Wristband-hosted)
Generated Invitation Links
The New User Invitations section of the Users page also includes a Generated Links tab where admins can create a shareable invitation link to distribute through any channel. Optionally, roles can be assigned to the invitee as part of the link. The generated link is shown once and can be regenerated at any time.
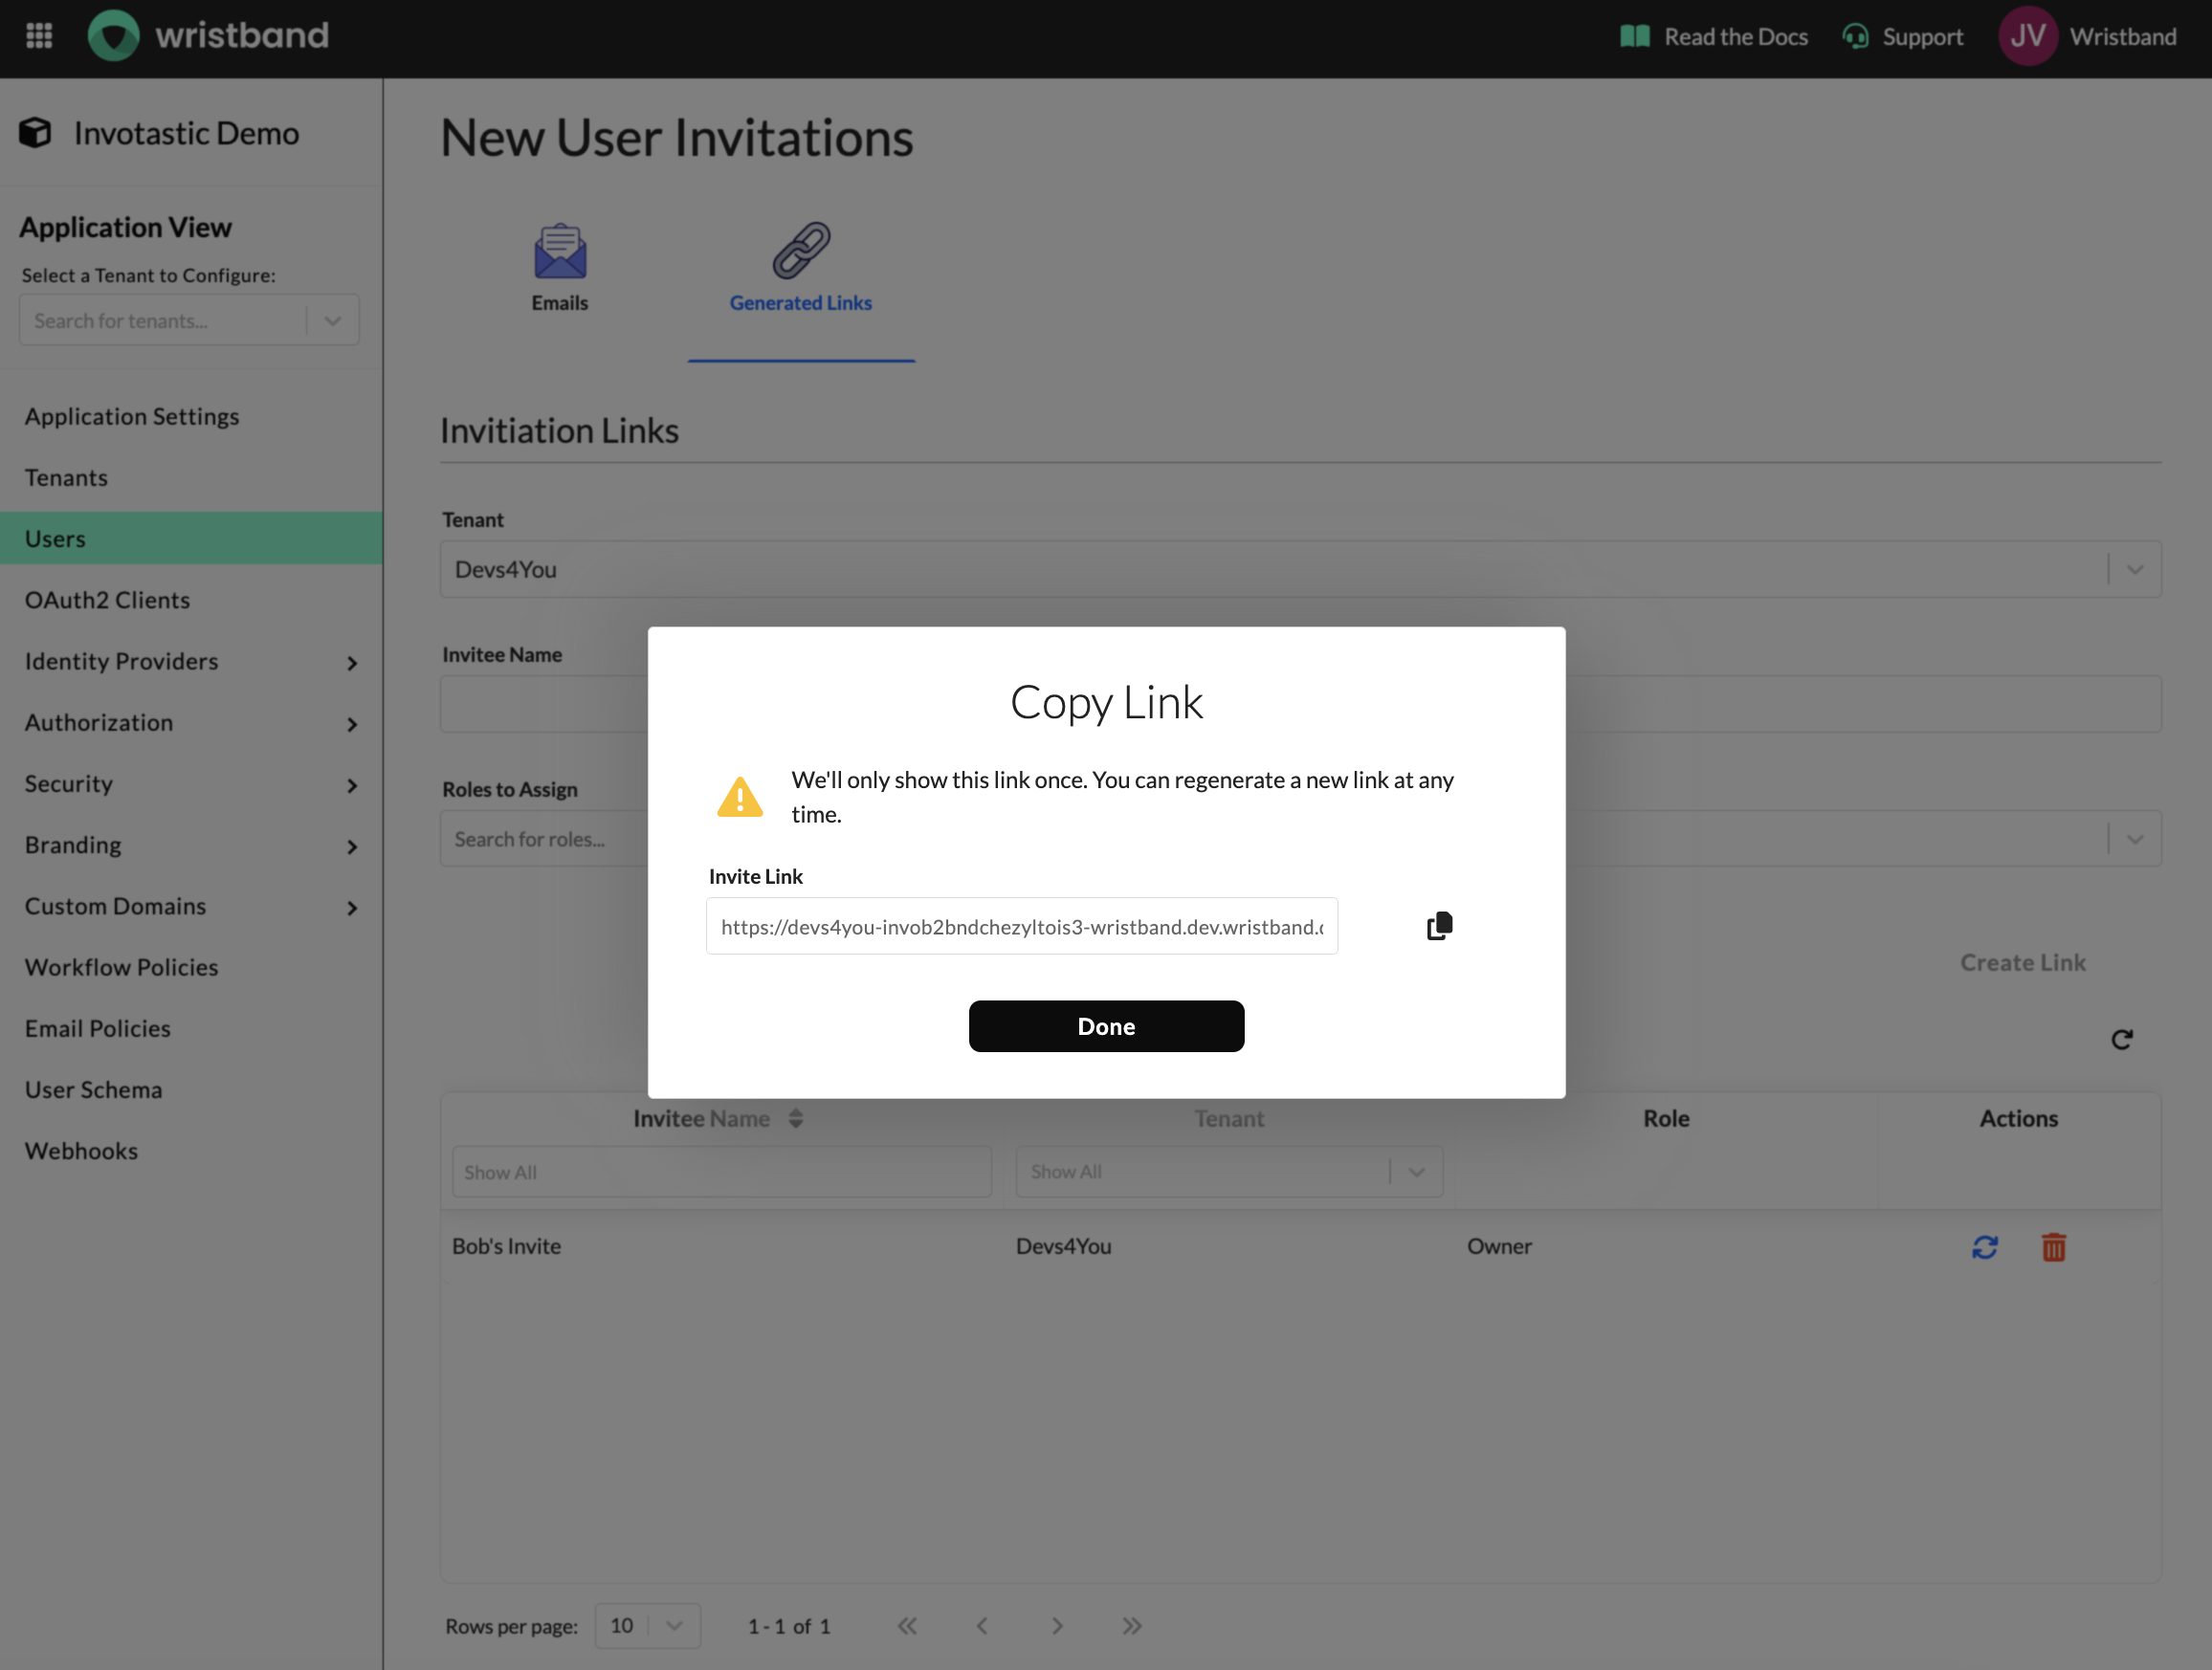
New User Invitations Generated Links tab with Copy Link modal
Resending and Cancelling Invitations
Only one pending invitation per email address is allowed within a tenant at any given time. If a second invitation is sent to the same email address before the first is accepted, the original invitation is automatically cancelled.
Email invitations can be cancelled from the New User Invitations table on the Users Page in the Wristband Dashboard, or programmatically via the Cancel New User Invite API.
Generated invitation links can also be cancelled or regenerated at any time from the Generated Links tab on the Users Page in the Wristband Dashboard.
Redirecting Back to Your Application
When concluding the New User Invitation workflow, what happens next depends on the Unverified Email Action and Custom Redirect URL workflow policy configurations:
- If the invited user's email is unverified, Wristband triggers either the User Activation or Email Verification workflow depending on the Unverified Email Action policy before proceeding.
- Once the user's email is verified and their account is active, Wristband creates an authentication session for the user.
- If a custom redirect URL is configured, the user is redirected to that URL.
- If an OAuth2 Client login URL is configured and no custom redirect URL is set, the user is redirected to the client's login URL.
- Otherwise, the user is redirected to the application login URL.
User Schema
If your application's User Schema includes required fields, those fields are displayed on the New User Invitation form. Depending on your application and tenant configuration, the following fields may appear:
- Full Name
- Given Name (First Name)
- Family Name (Last Name)
- Phone Number
- Birthdate
- Username (configured in the Wristband IdP)
- Password (configured in the Wristband IdP)
External Identity Providers
The New User Invitation Workflow supports both Wristband Identity Provider and External Identity Provider flows. When a tenant uses an External IdP, after clicking the action link the user authenticates with their external provider before being redirected to the invitation form to complete their account setup. Where possible, available user information returned by the external provider (e.g., name, email, etc.) is automatically mapped to the invitation form fields based on the User Schema configurations, reducing the amount of information the user needs to enter manually.

Example of the External IdP New User Invitation Page
Updated 3 months ago