Email Verification Workflow
Confirm that a user has legitimate access to the email address associated with their account.
The Email Verification Workflow involves Wristband sending a transactional email to the user's email address containing an action link. When clicked, the link directs the user to a page where they complete verification using a unique one-time Email Authorization Code, finalizing the process through the Verify Email API.
Workflow Policies
The Email Verification Workflow is triggered from the following workflows when the appropriate workflow policy is configured:
- Wristband IdP Signup and External IdP Signup: Controlled by the Verification Step workflow policy in Signup Workflow Policies
- External IdP Login: Only when Just-in-Time (JIT) Provisioning is enabled. Controlled by the Enterprise IdP Login (SSO) policy in Workflow Policies
For all external IdP workflows, the email verification workflow is triggered only if the email address synced from the external IdP is not verified.
Recovering from Expired Verification
When a user is sent a verification email, they must click the verification link within the expiration window set in the Email Verification Email Policy.
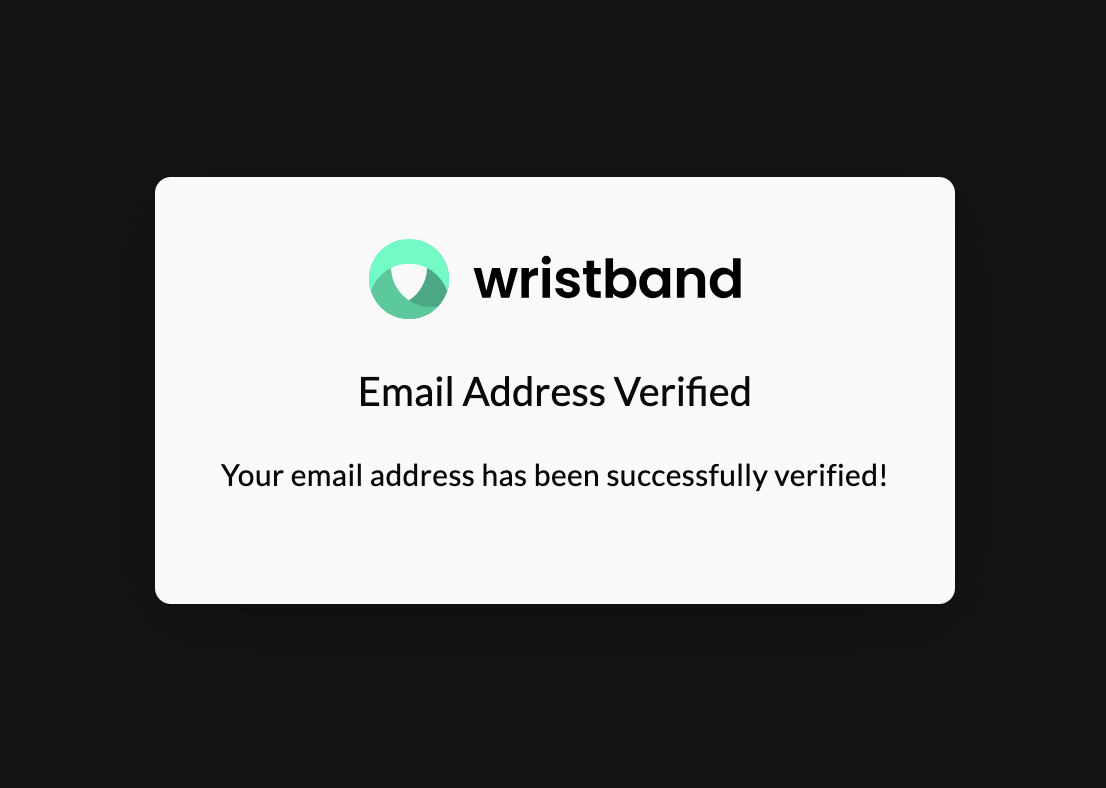
Wristband-hosted Email Verification Page shown after clicking the action link in the verification email.
If the link expires before they click it, a new verification email can be triggered in one of two ways:
- Your application calls the Request Email Verification API to send a new verification email programmatically.
- An admin sends a new verification email directly to the user from the Wristband Dashboard via the Edit User Page.
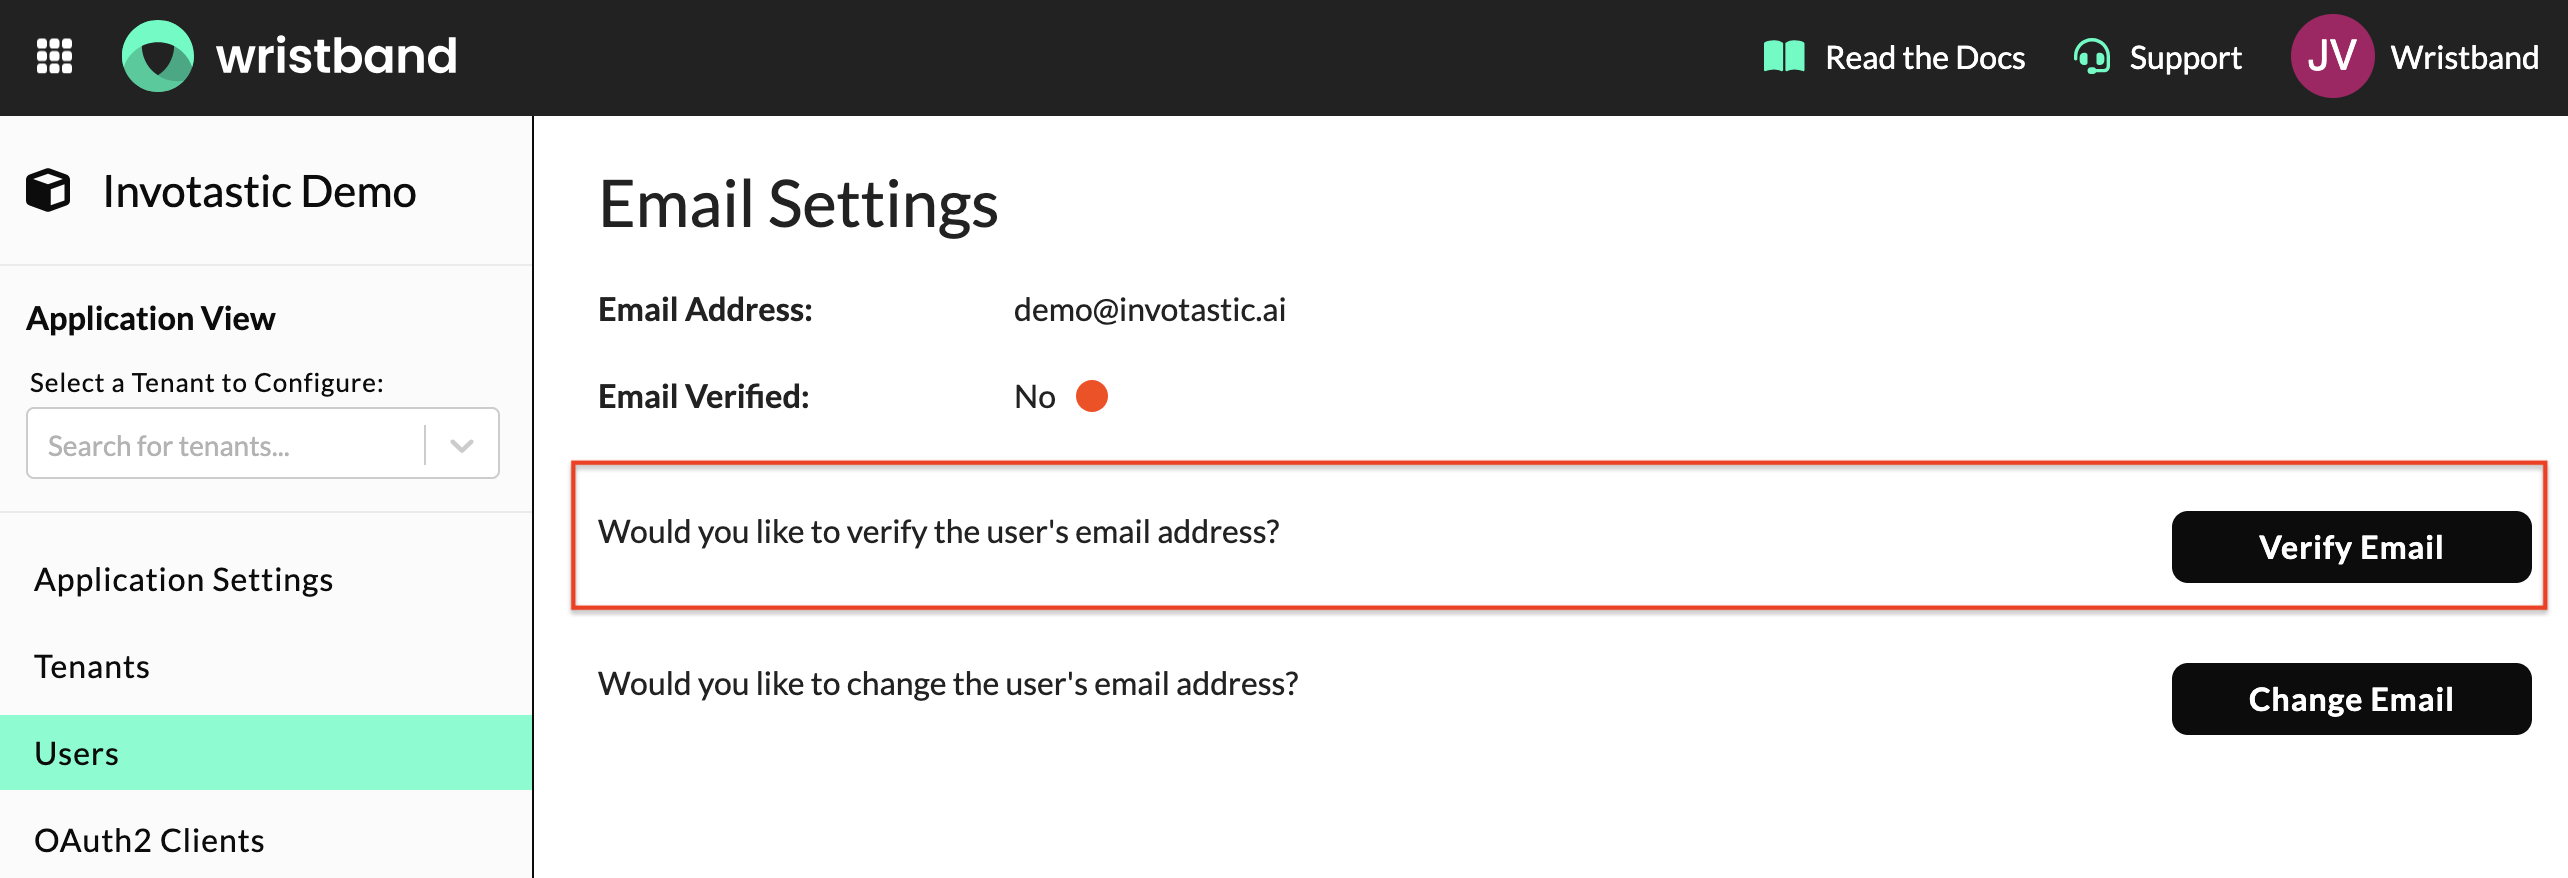
Email Settings on the Edit User page showing the Verify Email button for a user that's pending verification.
Updated 3 months ago