Provision a Tenant
Tenants represent an isolated group of users within your application.
Tenants provide logical isolation between users in your application - users in one tenant can't conflict with users in other tenants. In addition to isolating users, each tenant also gets their own customizable login page that users of that tenant will use to log in to your application. When you create a user in Wristband, it must be associated with a tenant. Therefore, before we can start provisioning users, we must first create a tenant.
Creating a New Tenant
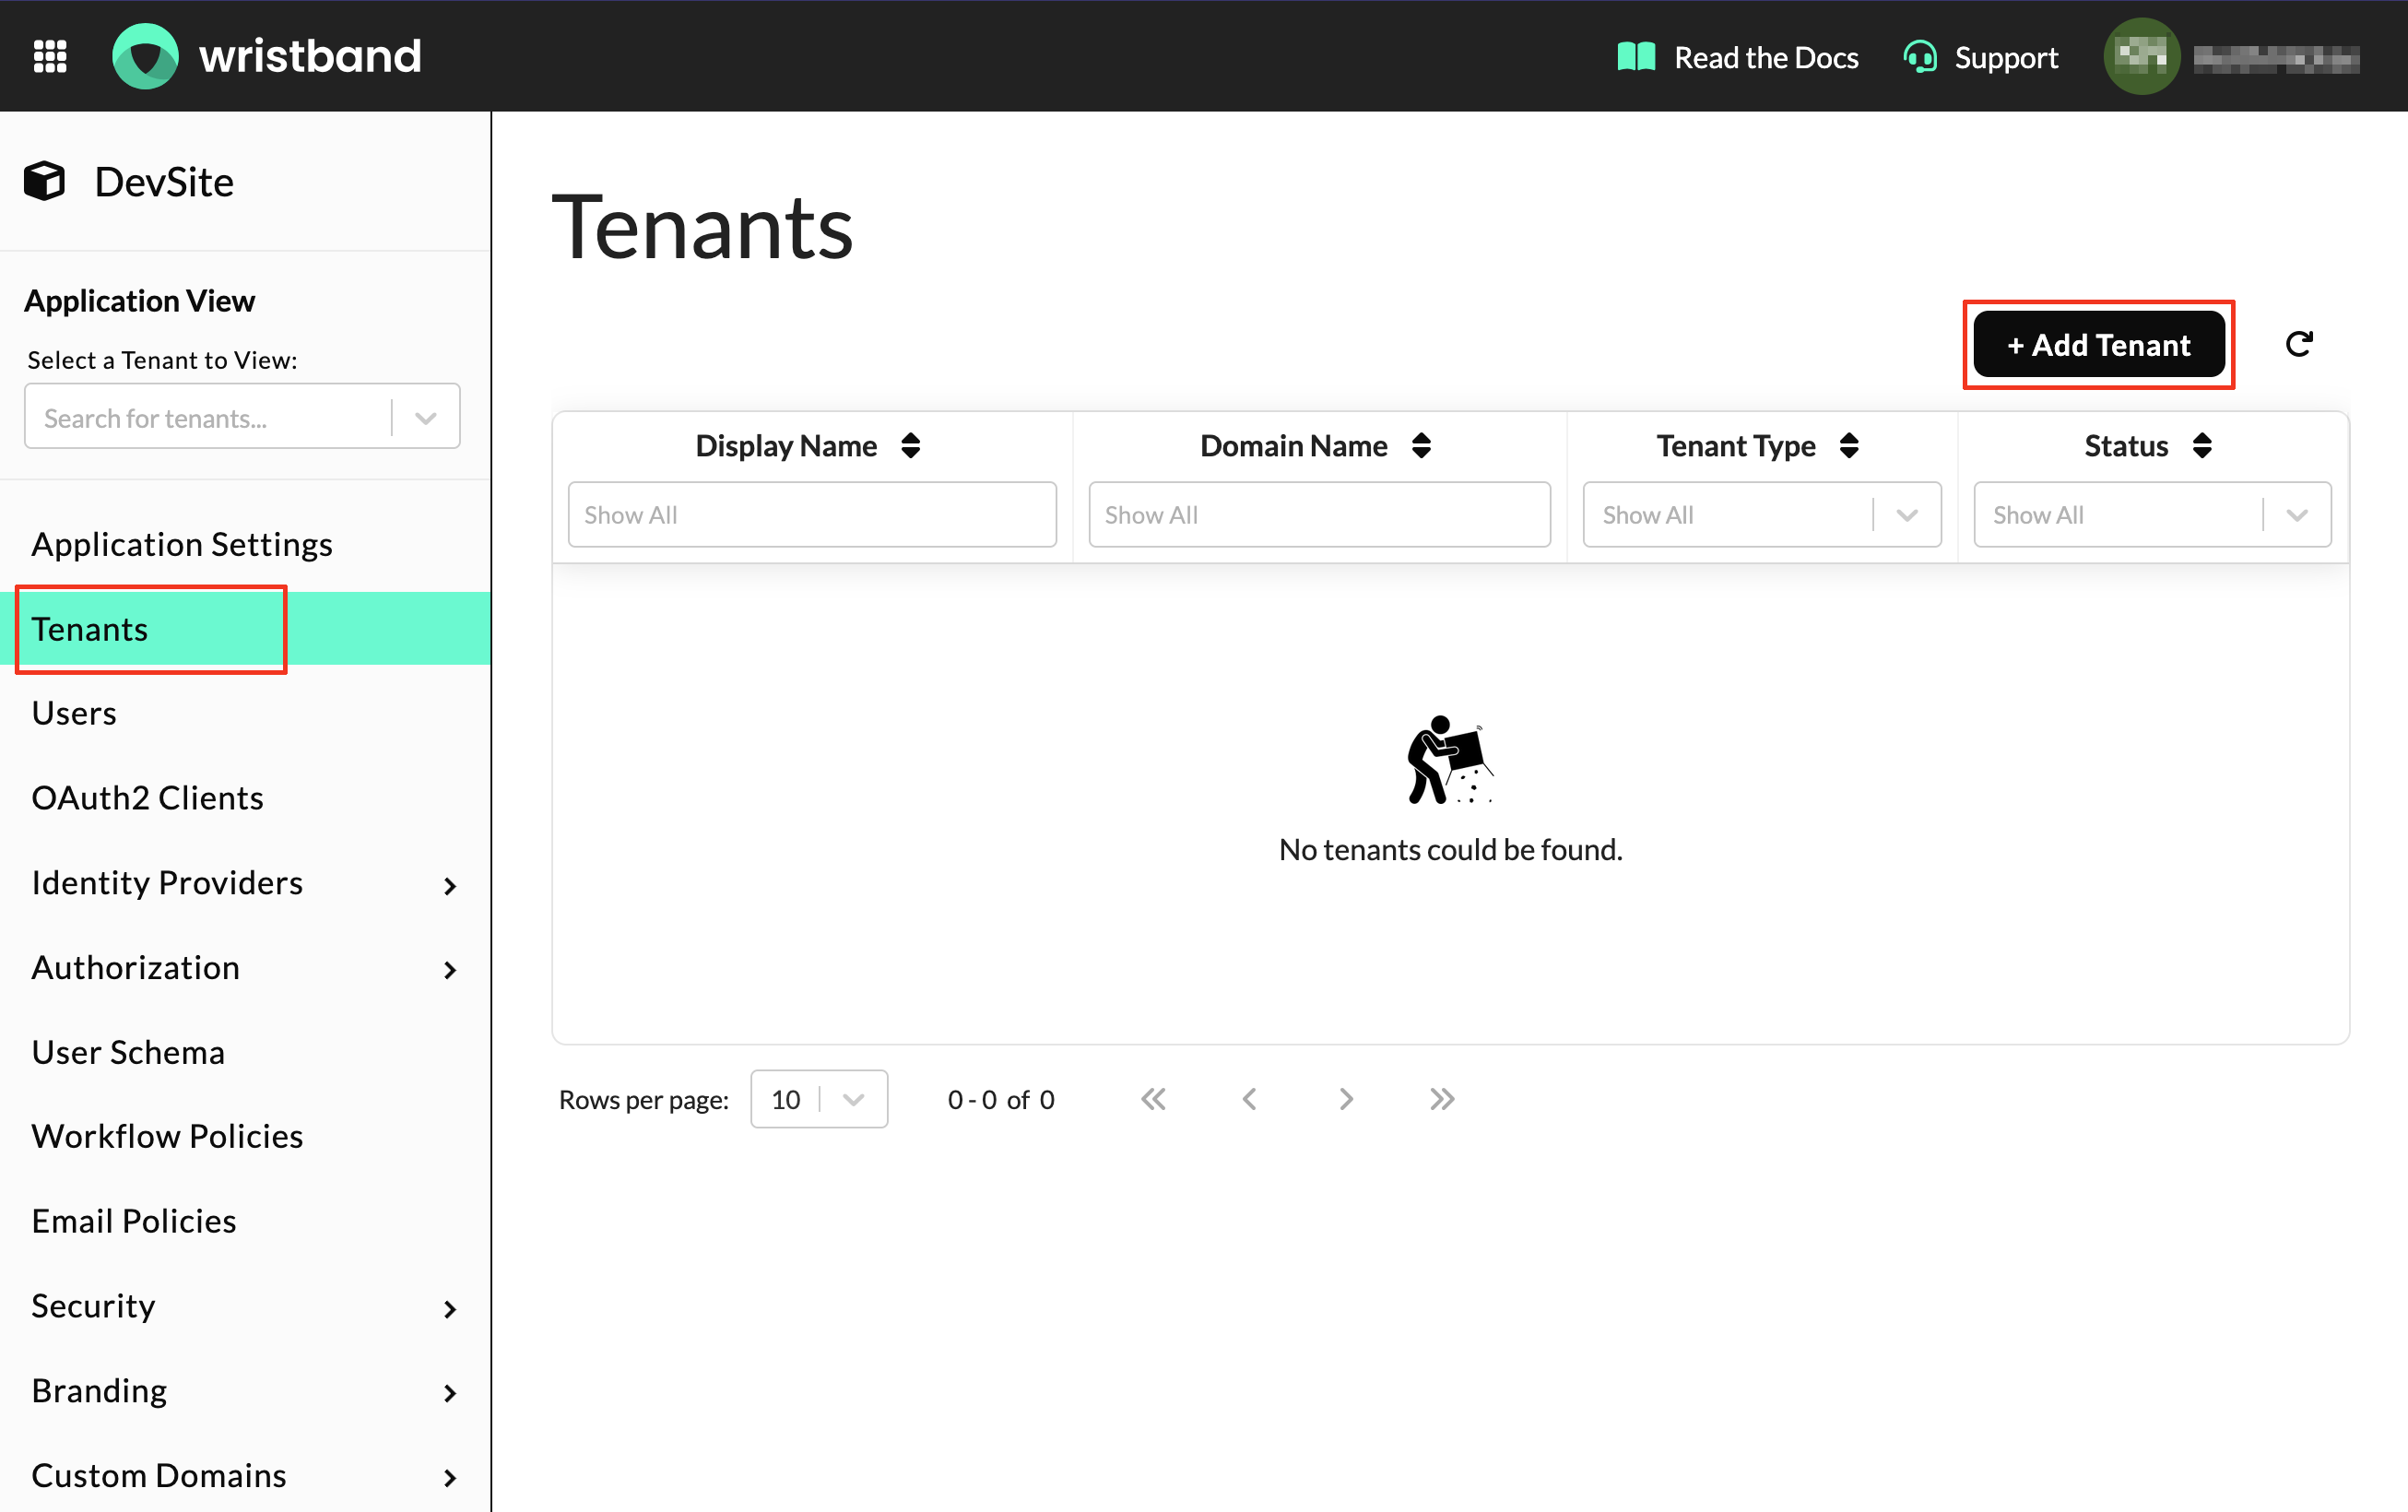
- From within the Application View, click on the "Tenants" link in the left navigation menu.
- Next, click on the "Add Tenant" button.
Provision a Standard Tenant
After clicking the "Add Tenant" button, a modal will pop up asking for the required tenant fields.
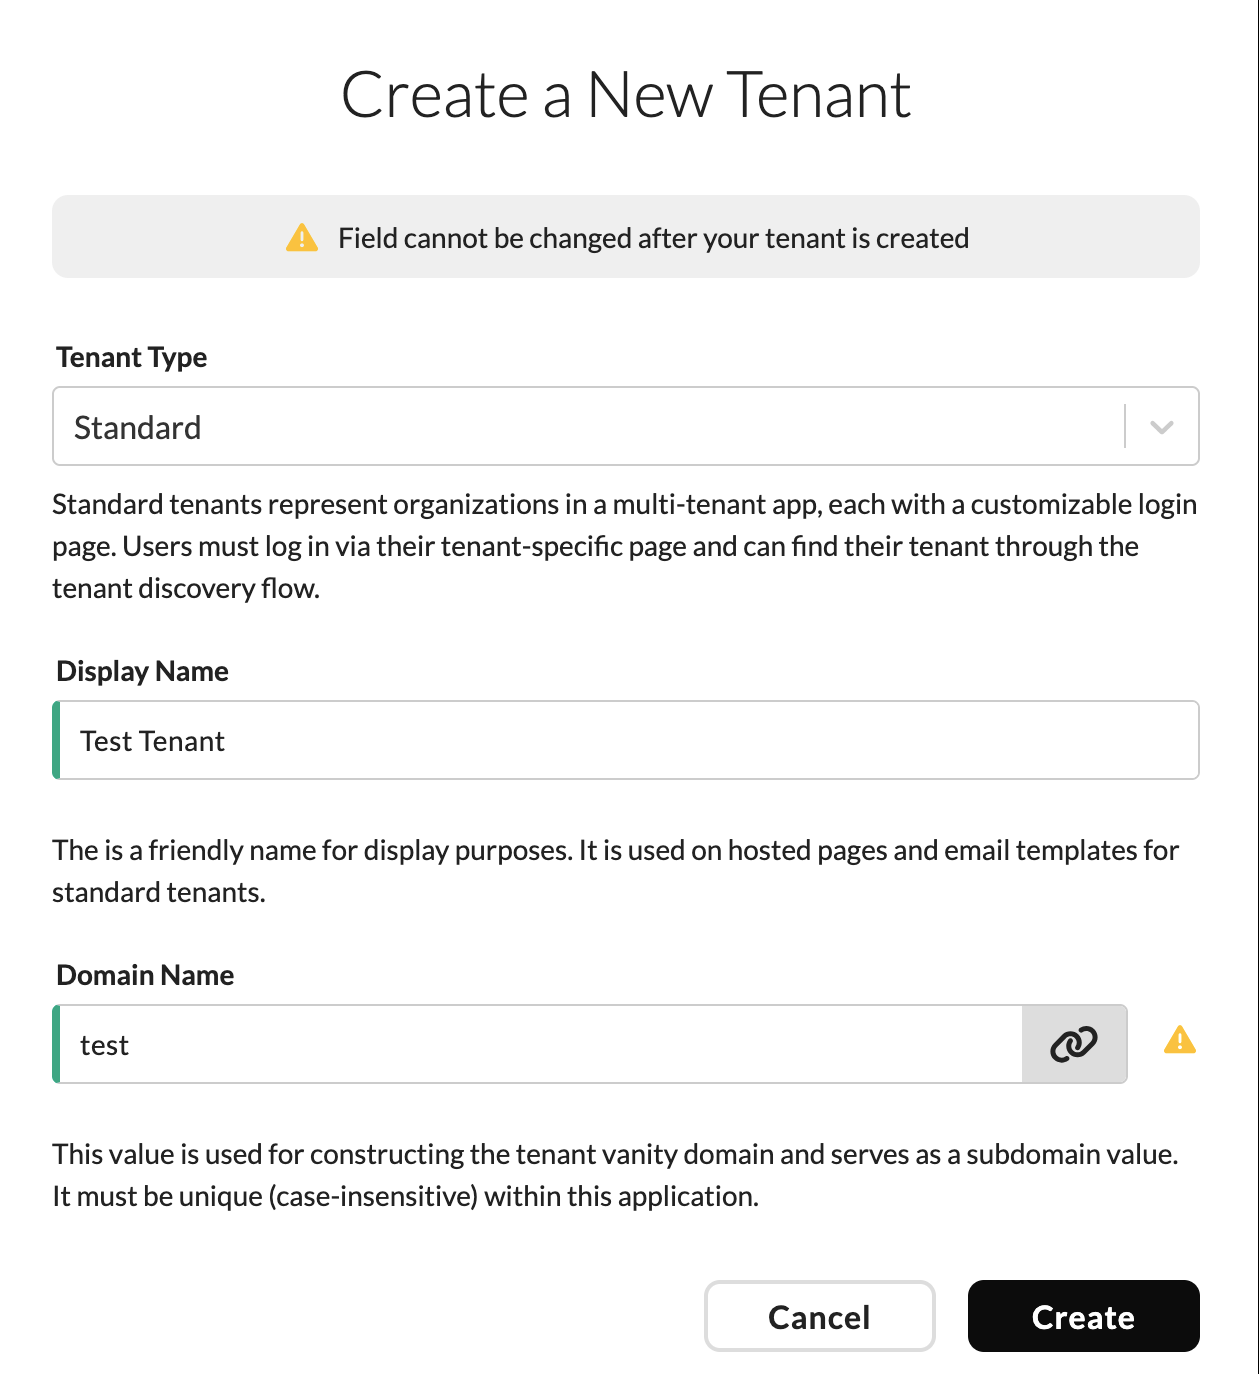
- Within the "Create a New Tenant" dialog, select "Standard" as the tenant type. To learn more about the different types of tenants that Wristband supports, see the "Tenants" section within our documentation.
- Provide a "Display Name". This will be the name that the UI uses to refer to your tenant.
- Provide a "Domain Name". Each tenant within your Wristband application must have a unique (case-insensitive) domain name. The domain name will be used to construct the tenant's vanity domain. Note: The domain name is immutable and can't be changed after the tenant is created
- Click the "Create" button.
Success! You've created a tenant for your application.
Updated 3 months ago