Apple (Sign In With Apple - SIWA)
This step-by-step guide details how to set up an Apple social login integration in Wristband.
Enhance your application by streamlining the onboarding process with Apple Social Login.
Tenant-Level Social Login
This guide outlines the process for implementing social login at the Application Level. The steps are consistent when configuring social login at the Tenant Level, with the only difference occurring in the Wristband dashboard. In this case, you would select a specific tenant for configuration and override purposes.
Setting Up Sign In With Apple Integration
This step-by-step guide details how to set up an Apple social login integration in Wristband.
Step 1: Locate Your External IDP Callback URL
- In the Wristband dashboard, enter Application View for the application you wish to establish an Apple integration.
- Navigate to the
Identity Providers > Socialmenu in the side navigation. - After landing on the Social Identity Providers page, select the Apple provider icon.

Copy the "Redirect URL" from the form.

Step 2: Sign Up/Login to Your Apple Developer Account
Create or log in to your Apple Developer account here. You will need to create and configure three entities:
- An App Identifier
- A Service Identifier
- A Sign In With Apple Key
Step 3: Register An App Identifier
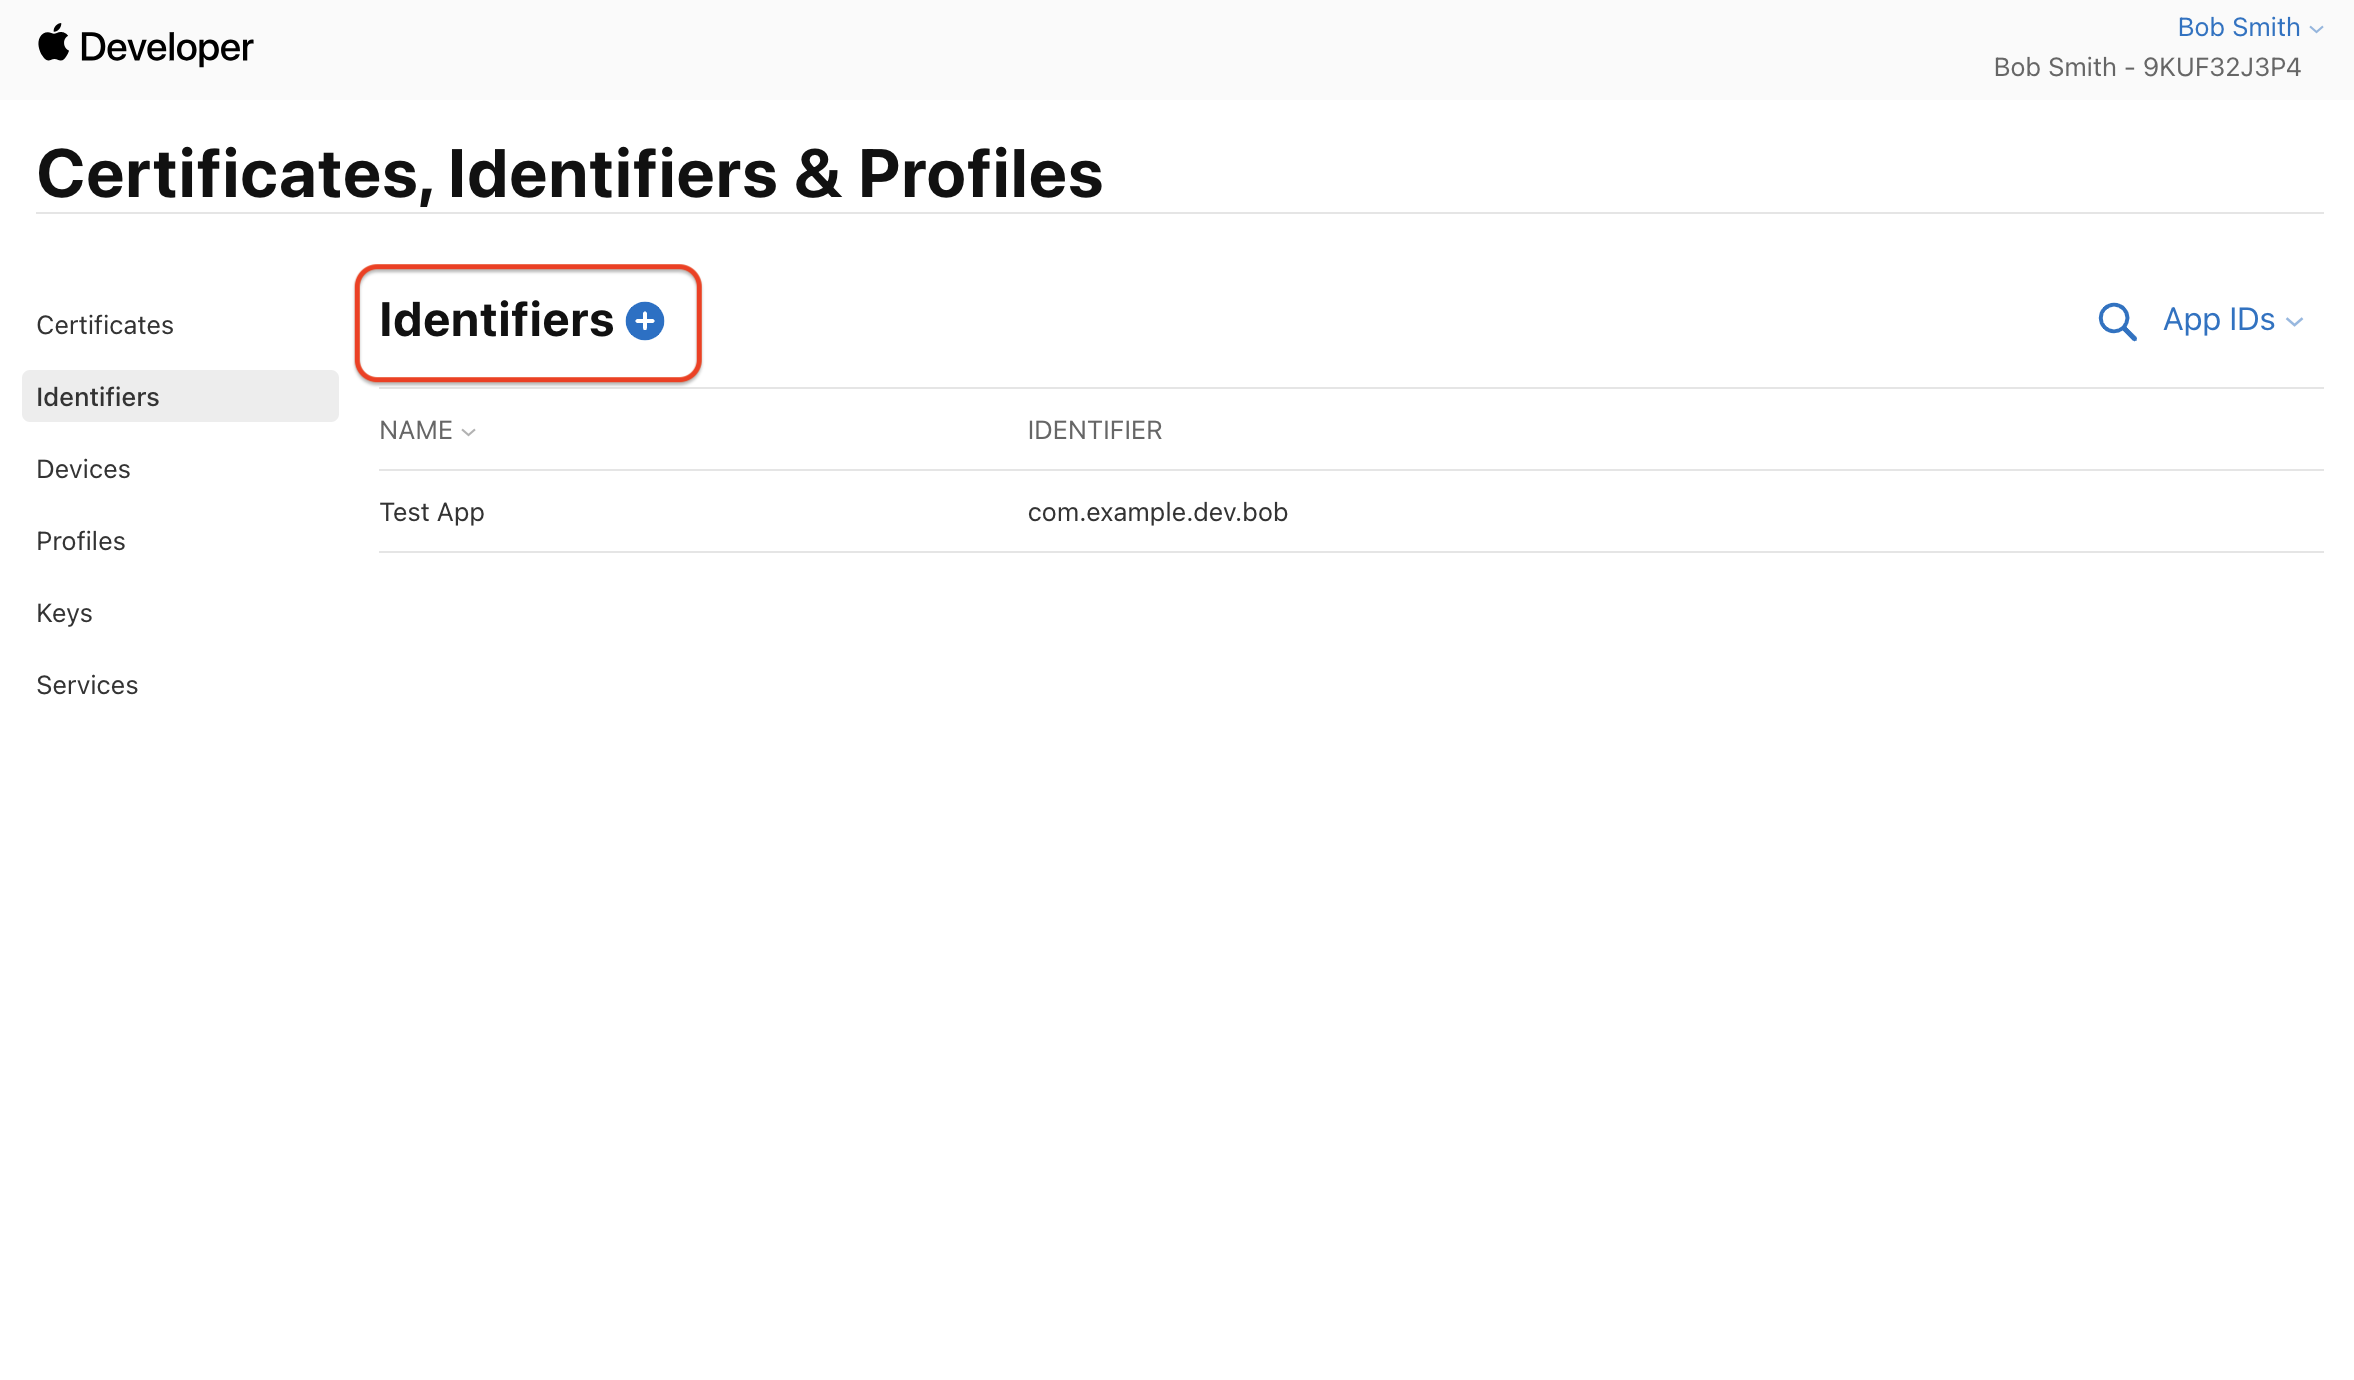
From the Developer Console home page, click on "Identifiers."

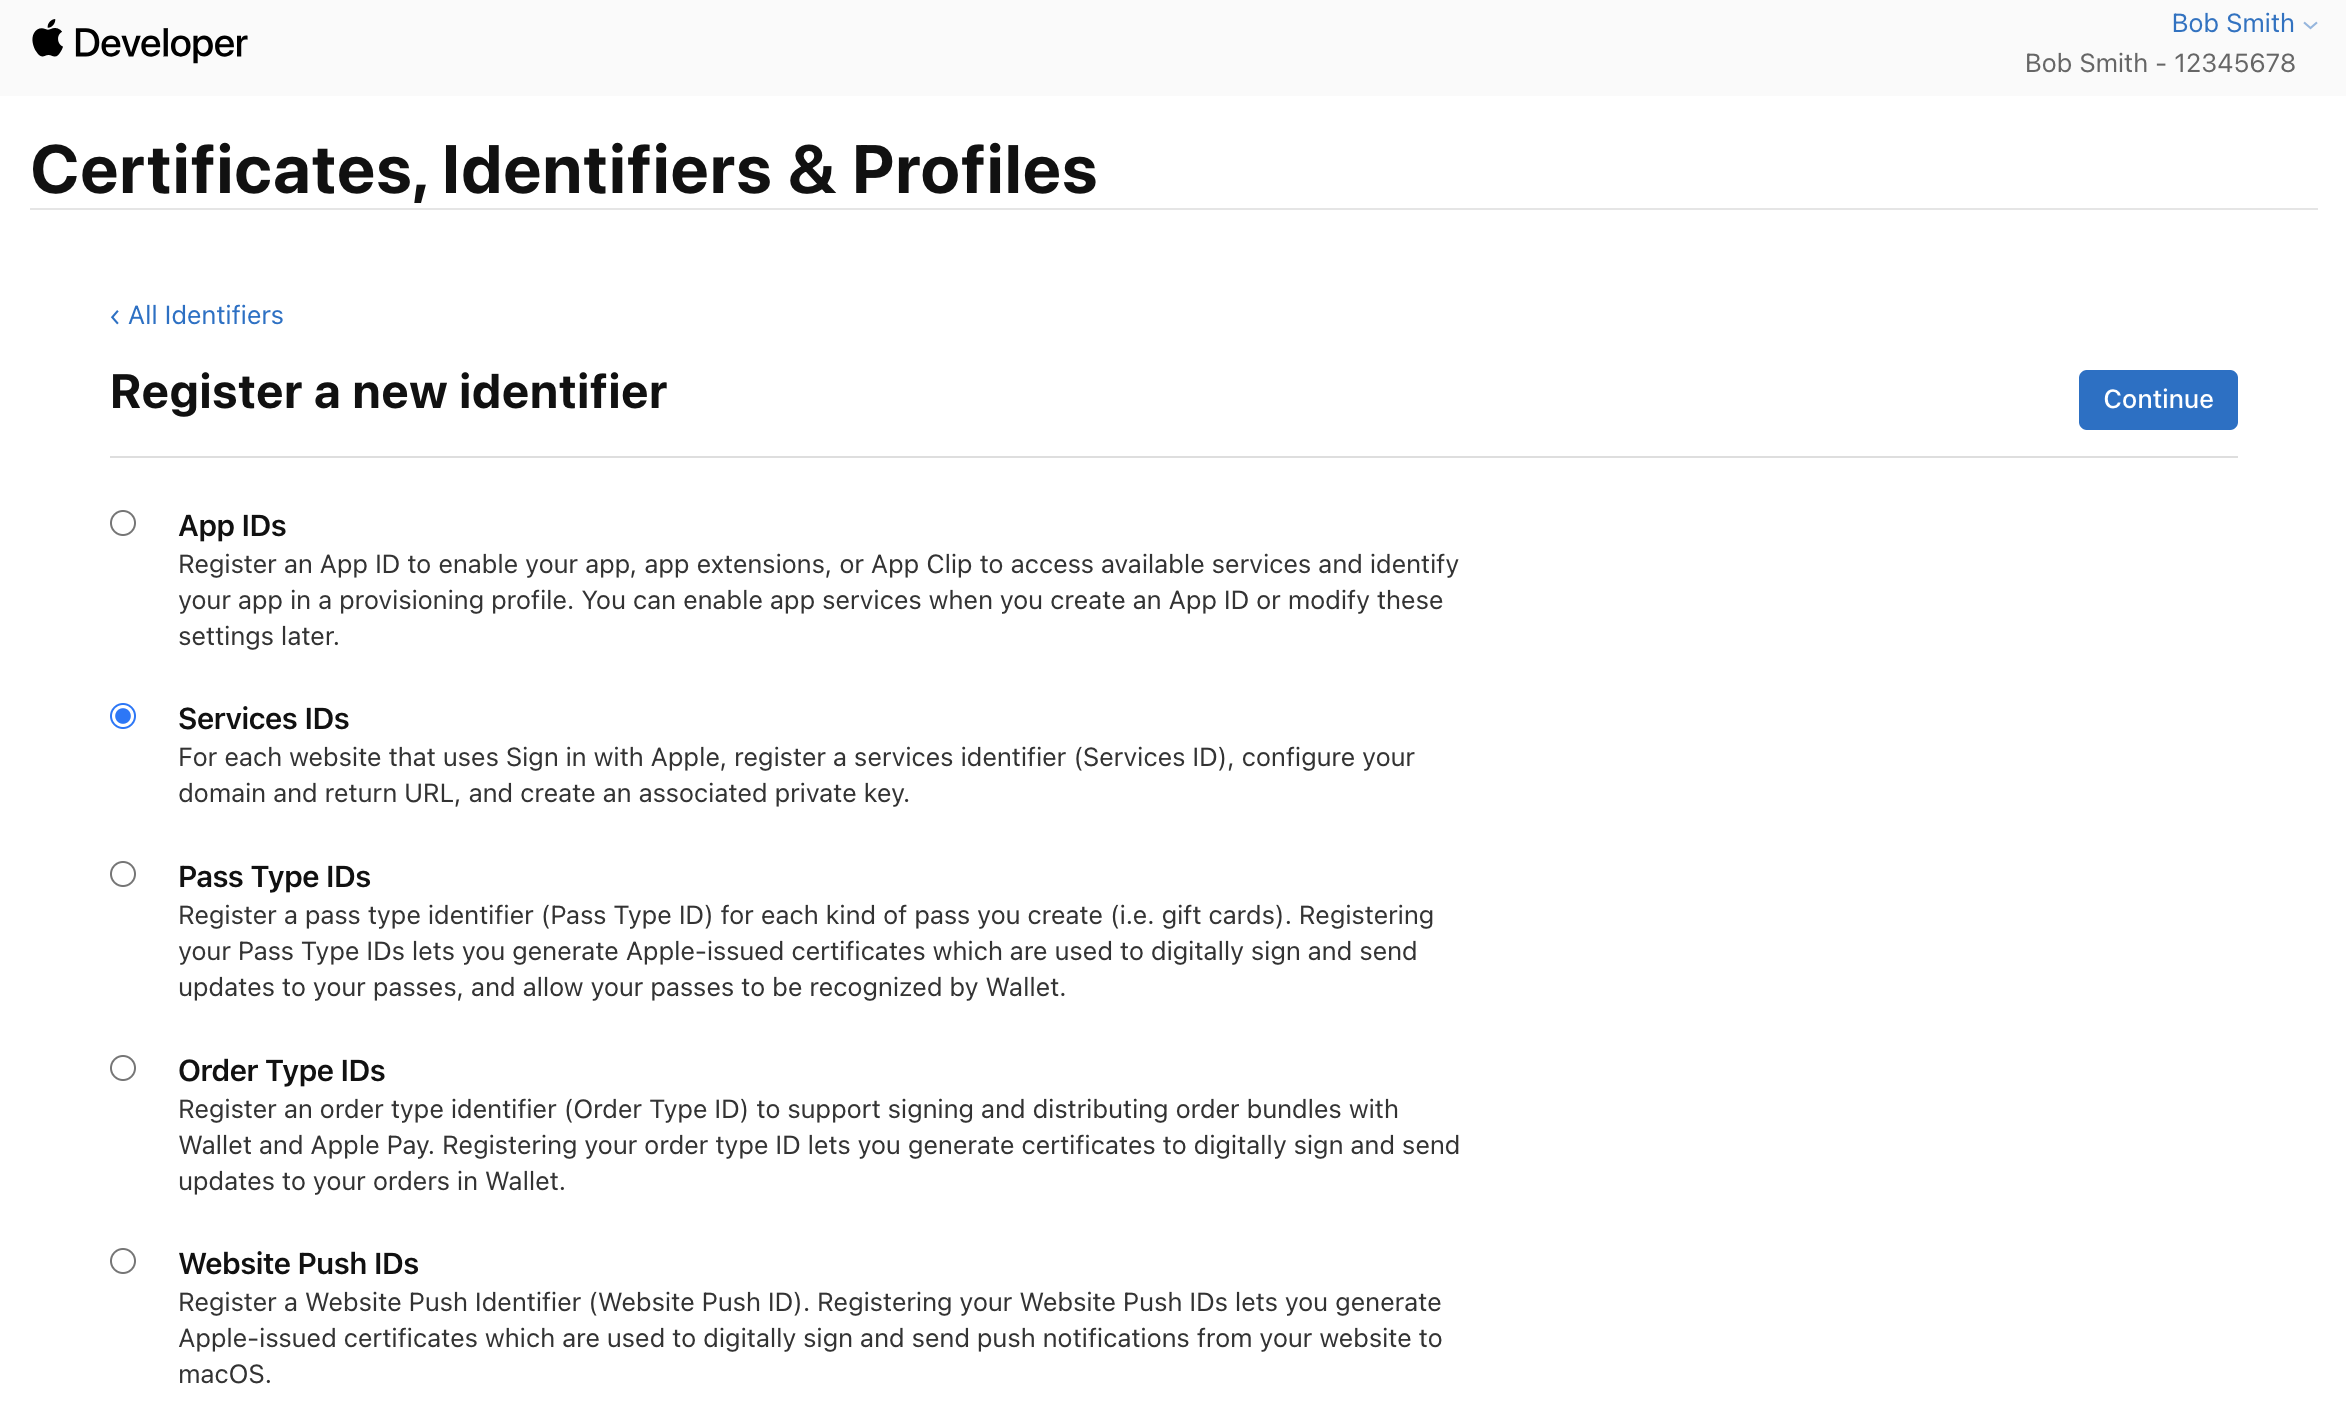
Click the "+" button to start the registration process.
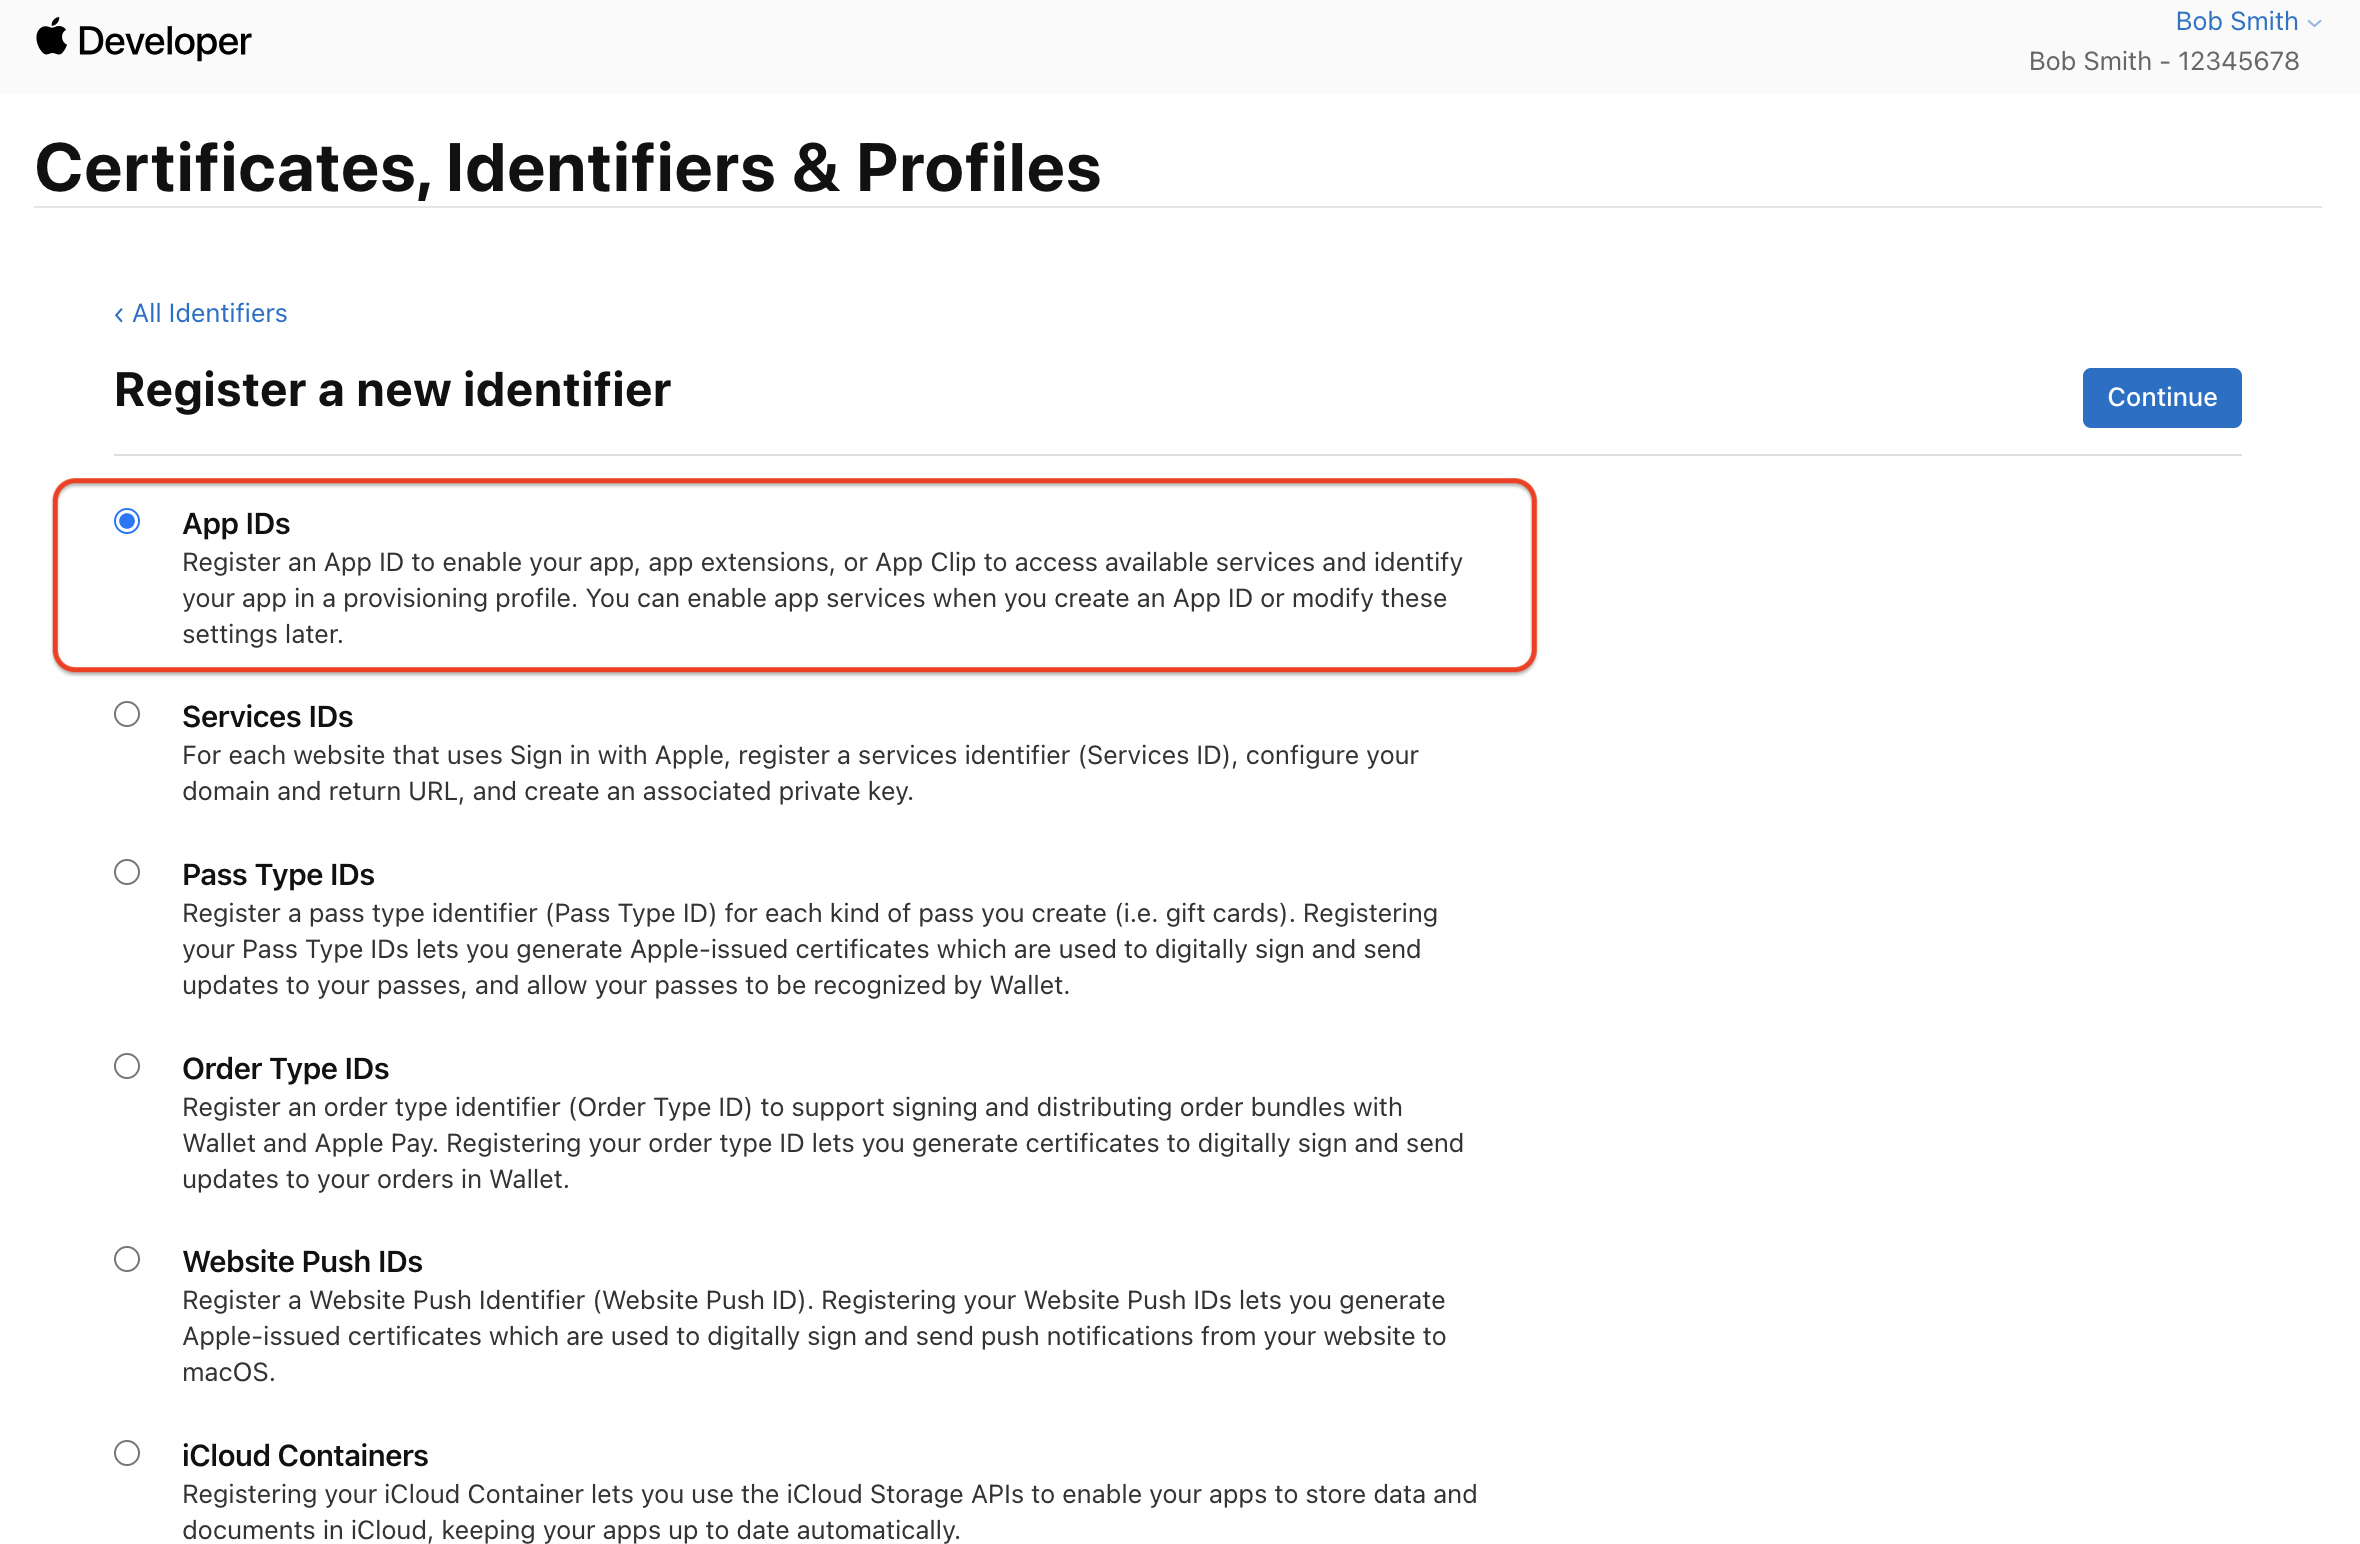
Select "App IDs" and click "Continue."
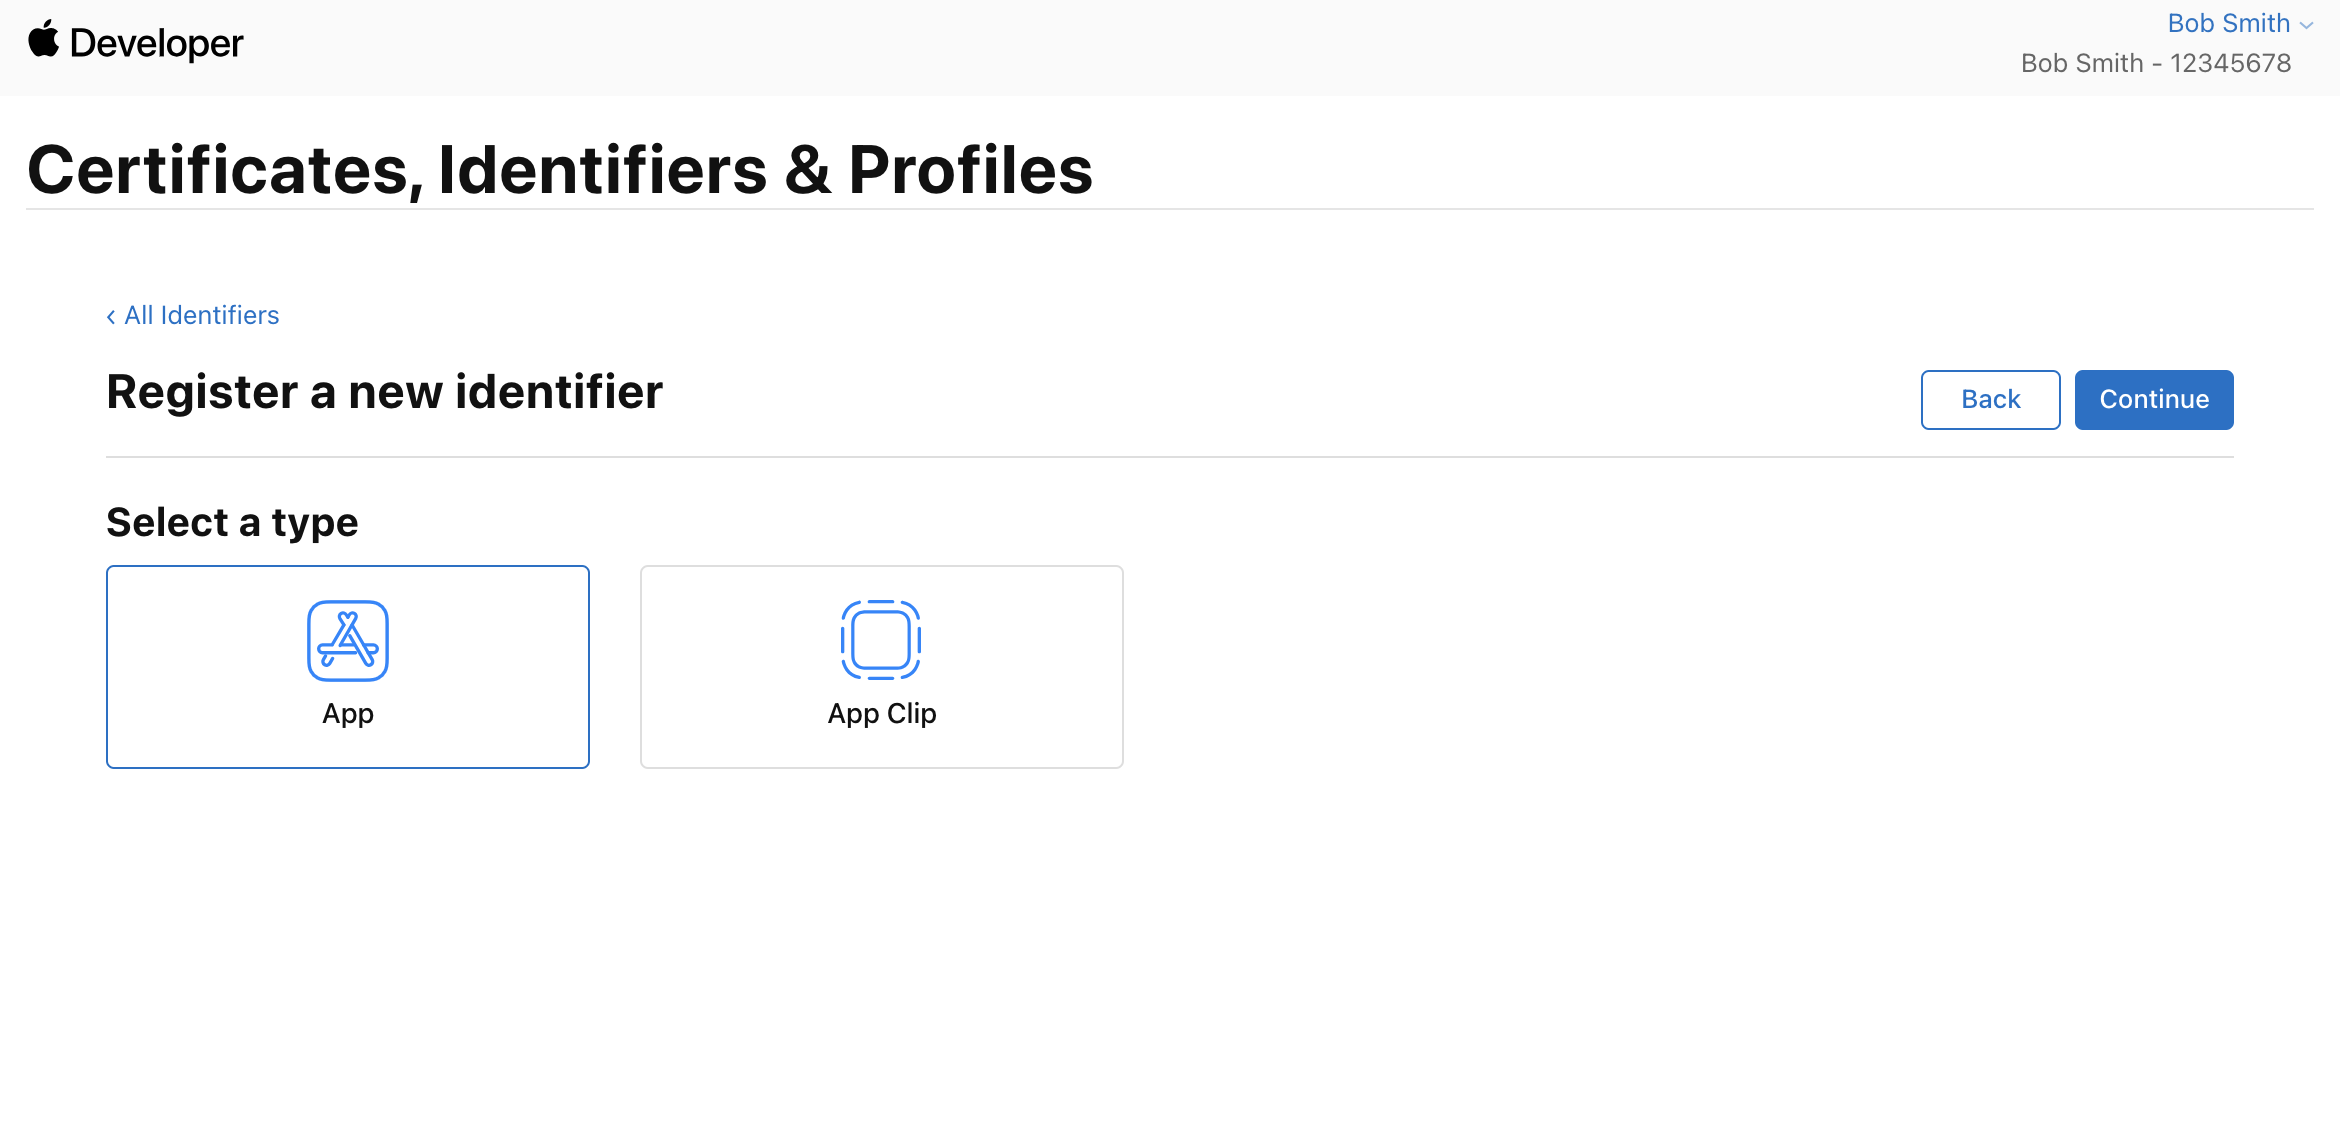
Select "App" for the type of identifier.
Fill out the form:
- Description: Any appropriate value.
- Bundle ID: Choose "Explicit." Any appropriate value, usually the reverse domain of your application.
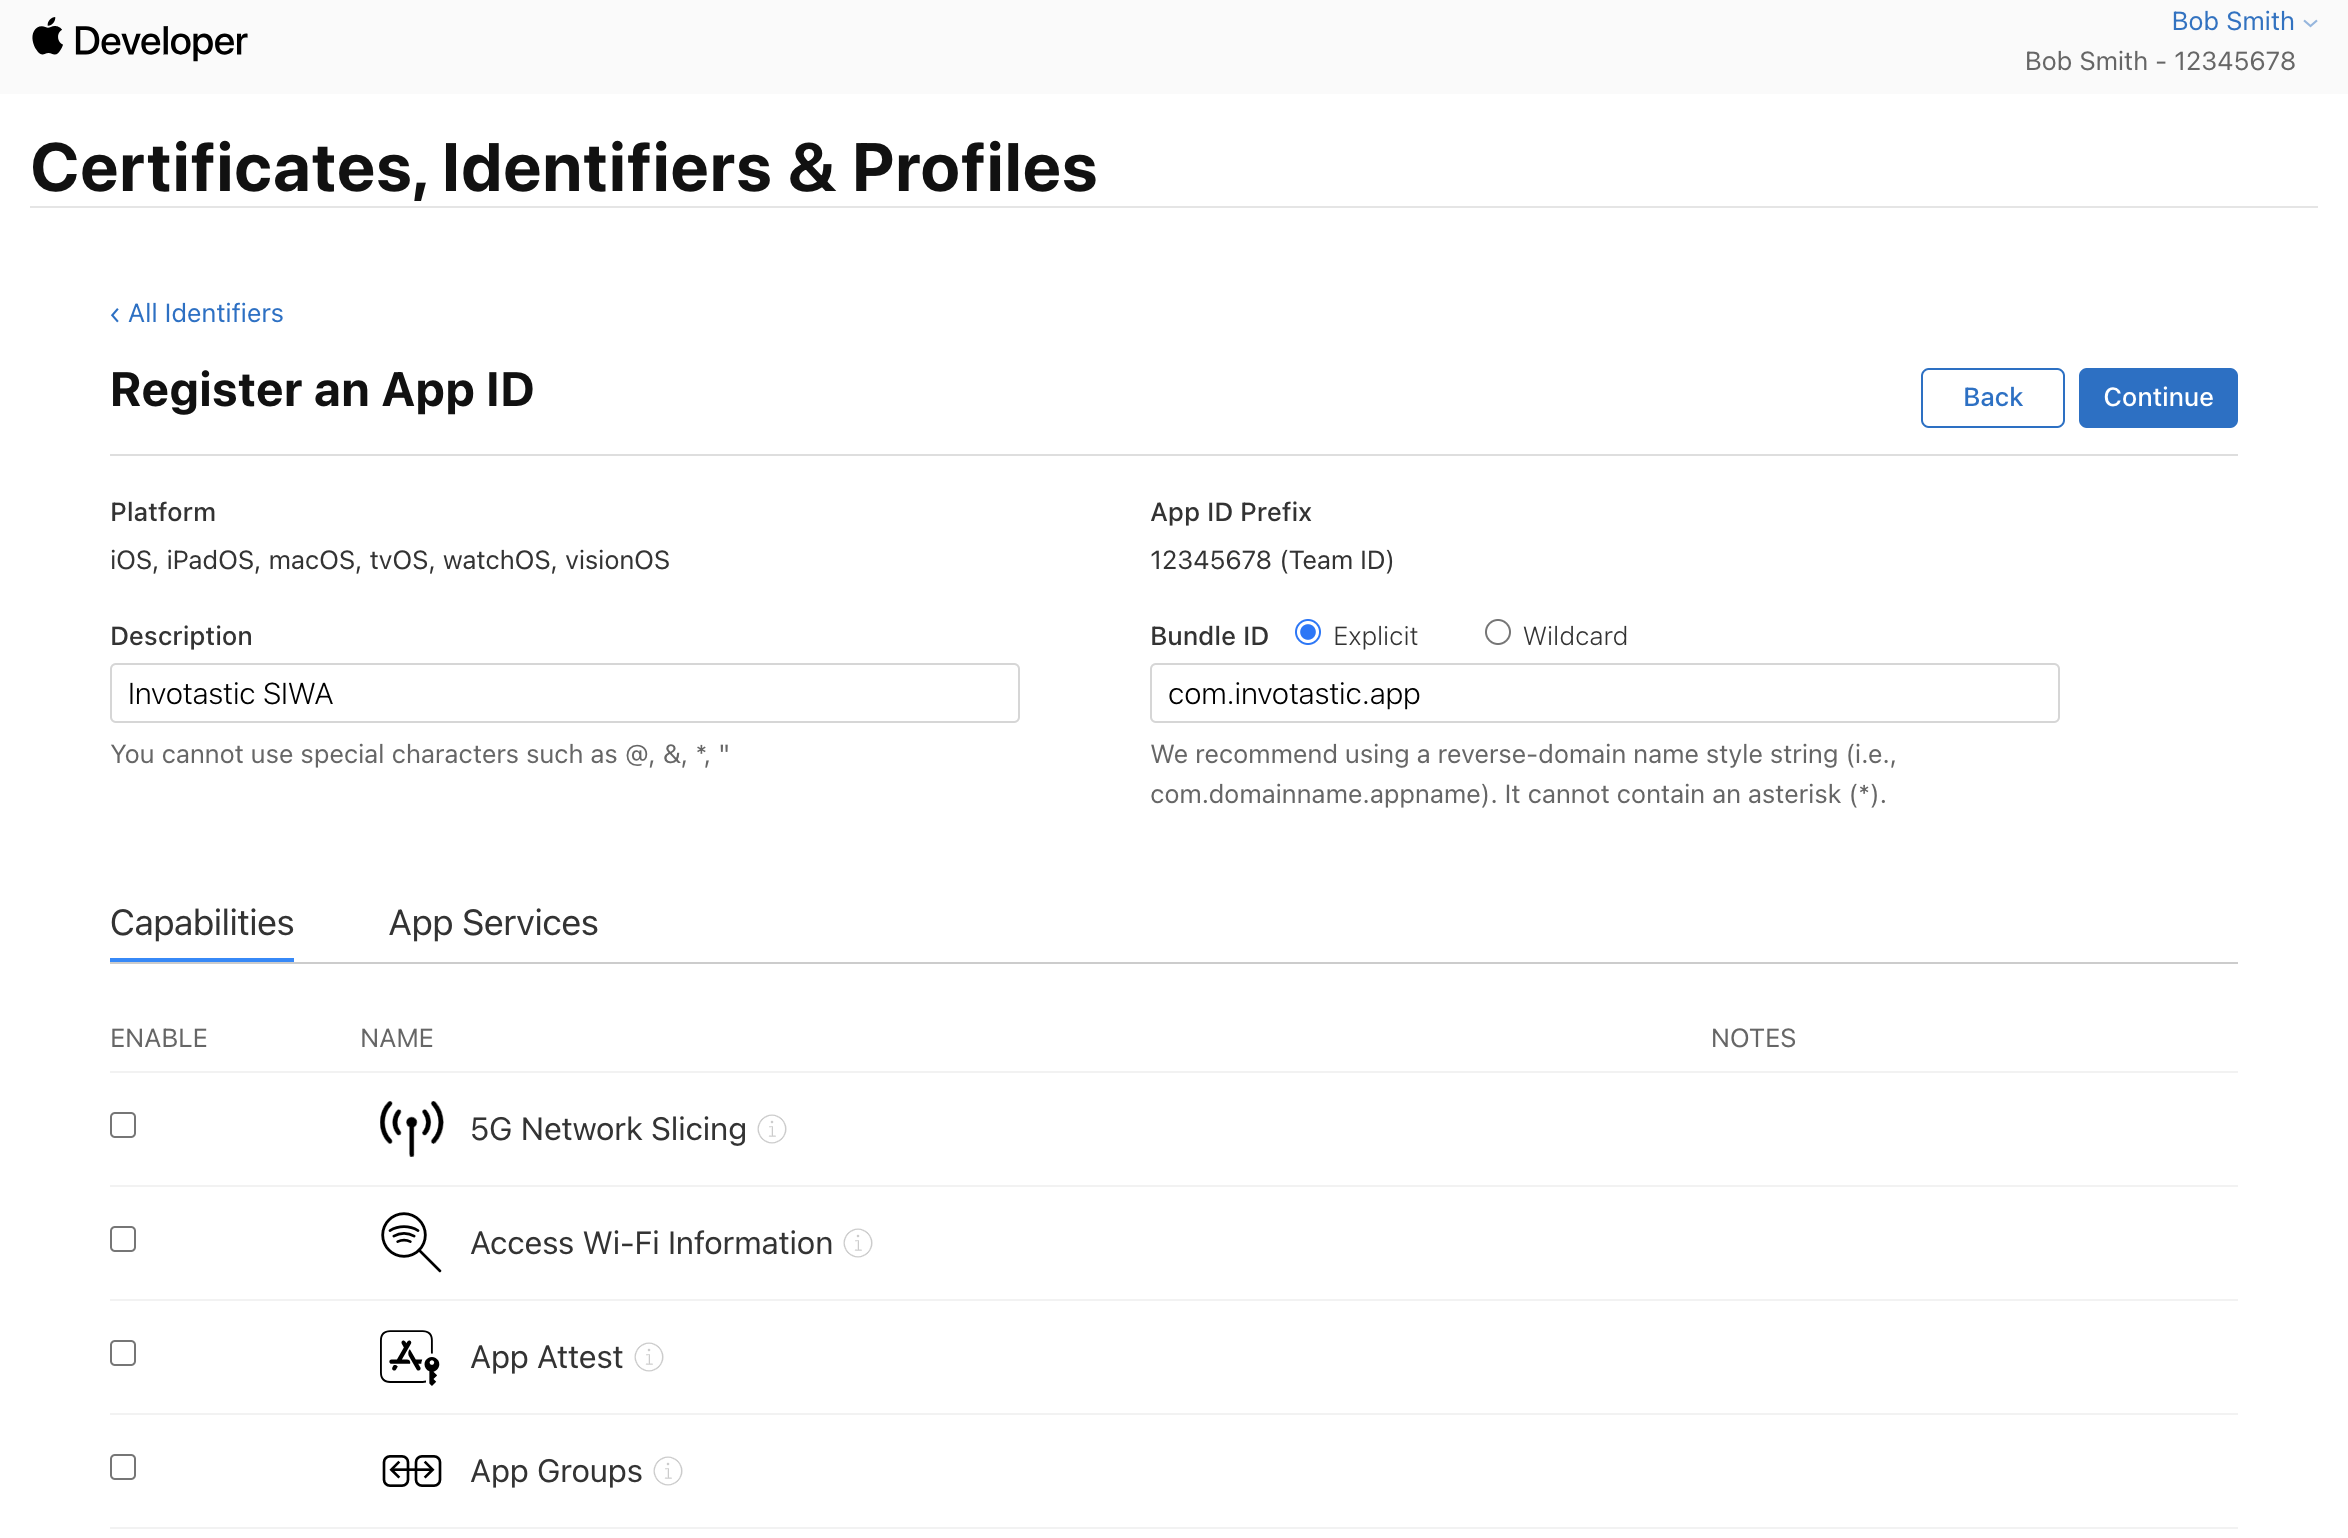
Select the "Sign In with Apple" checkbox. Additional configuration is optional.
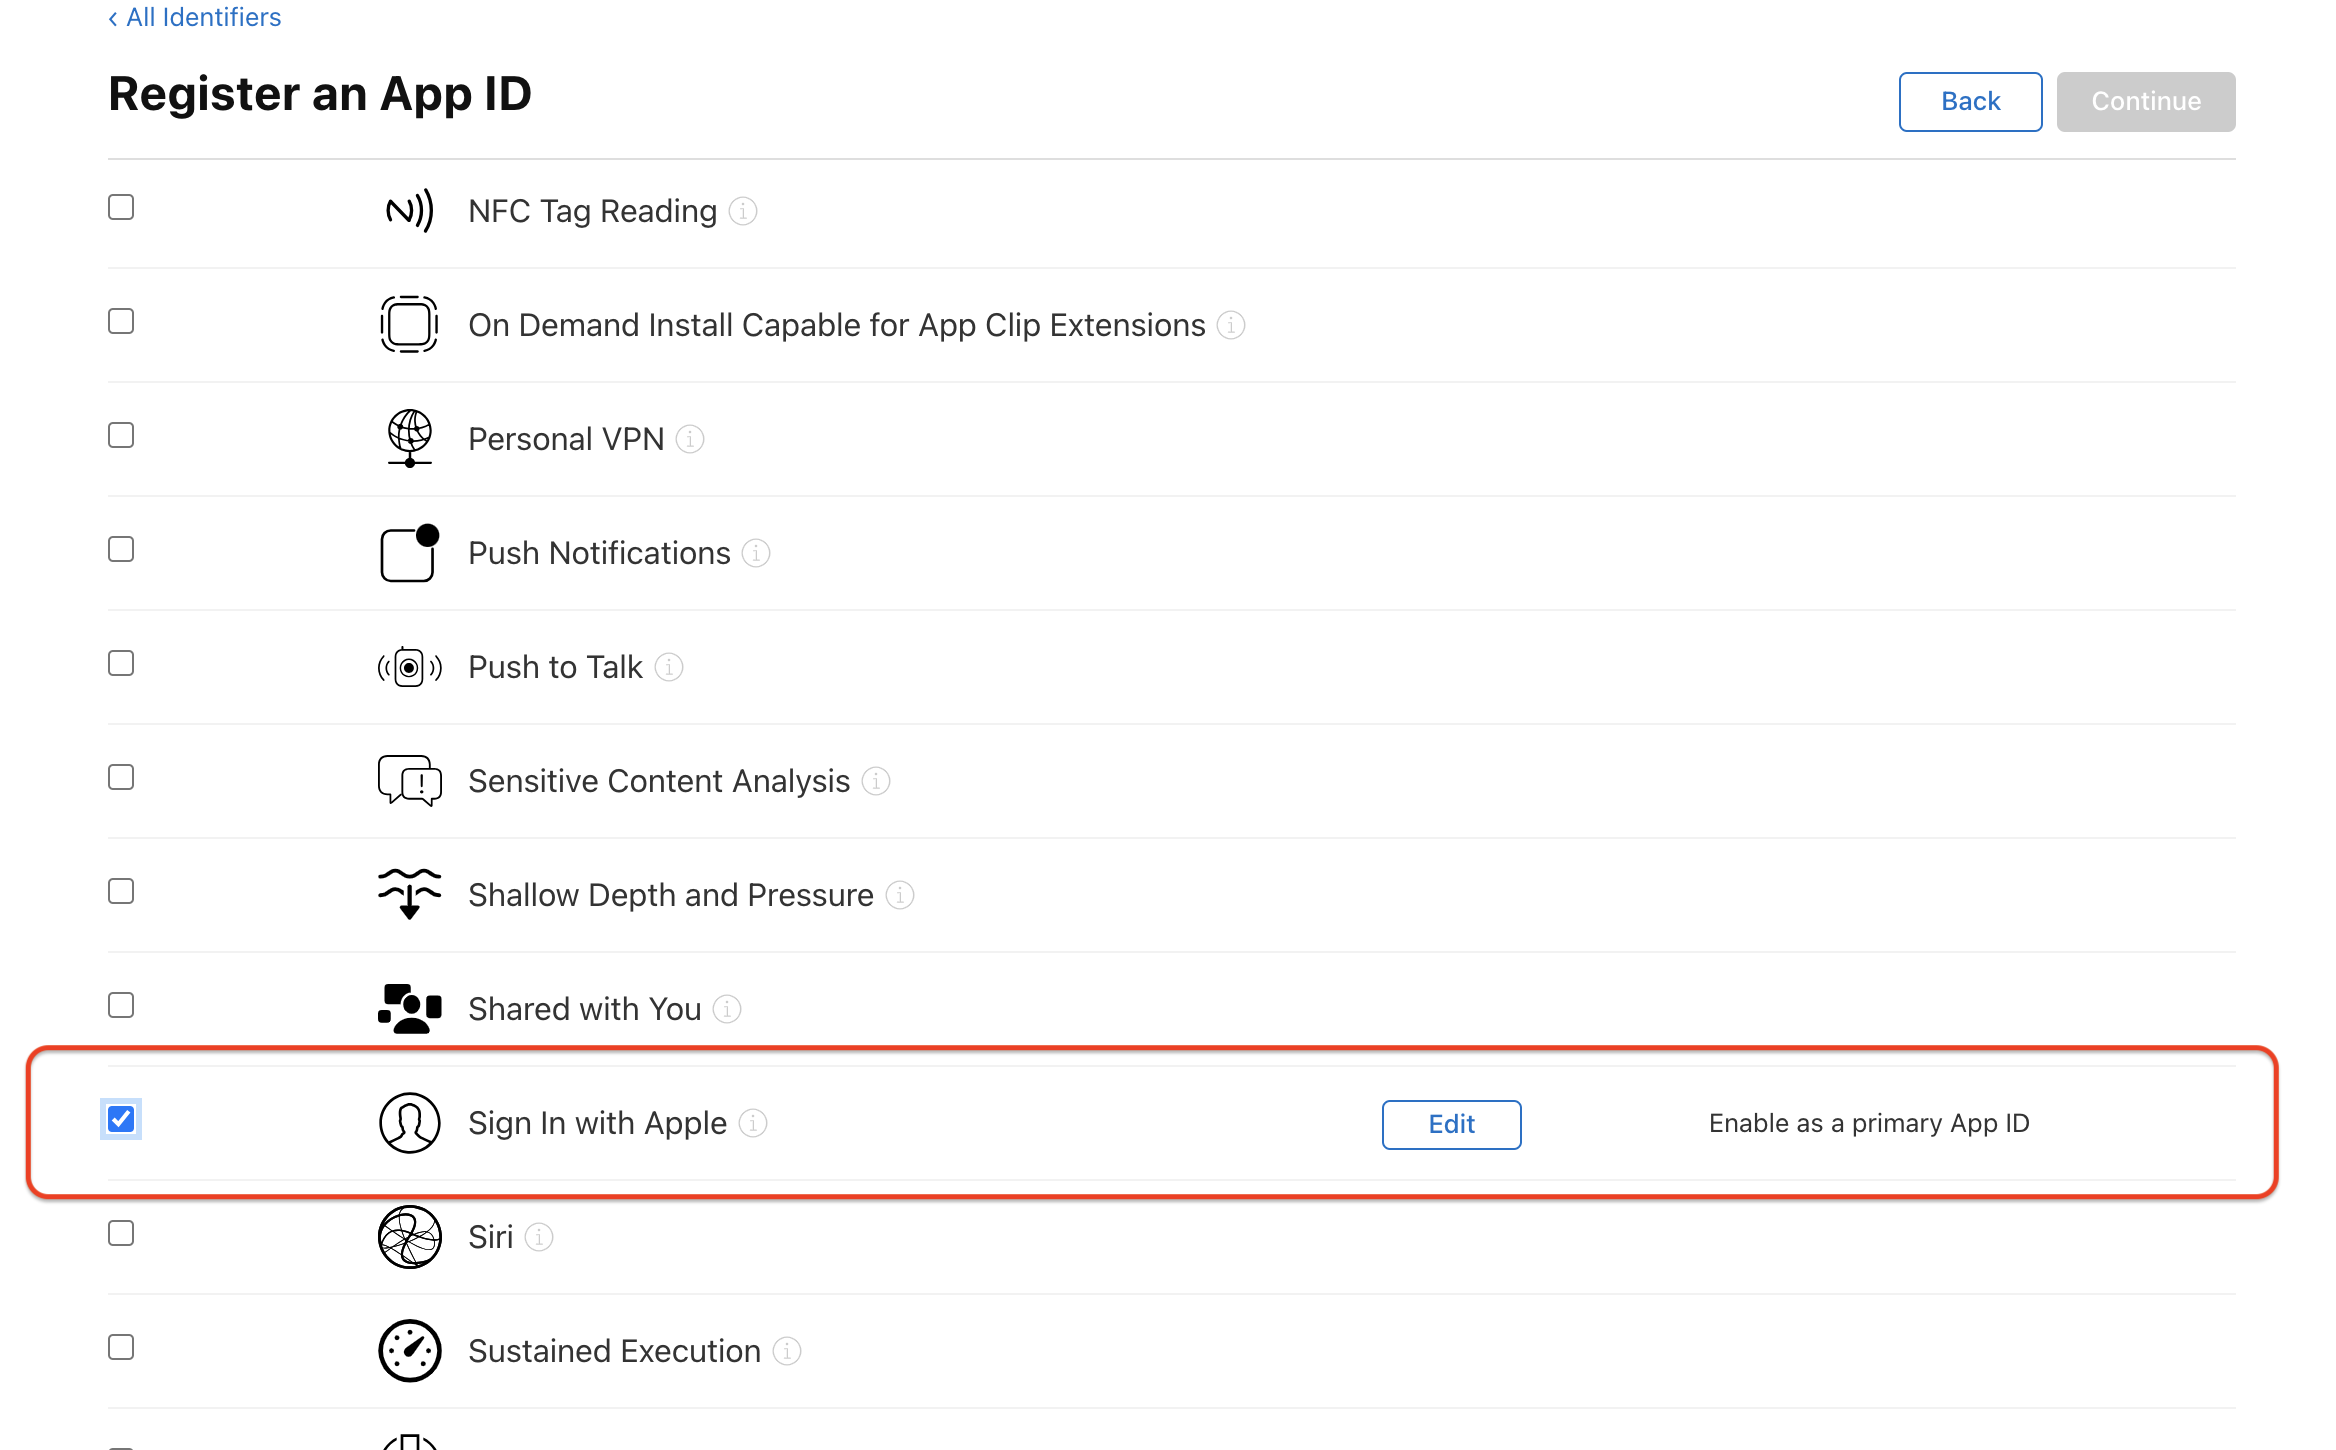
Click "Continue." Copy the "App ID Prefix" (Team ID) value.
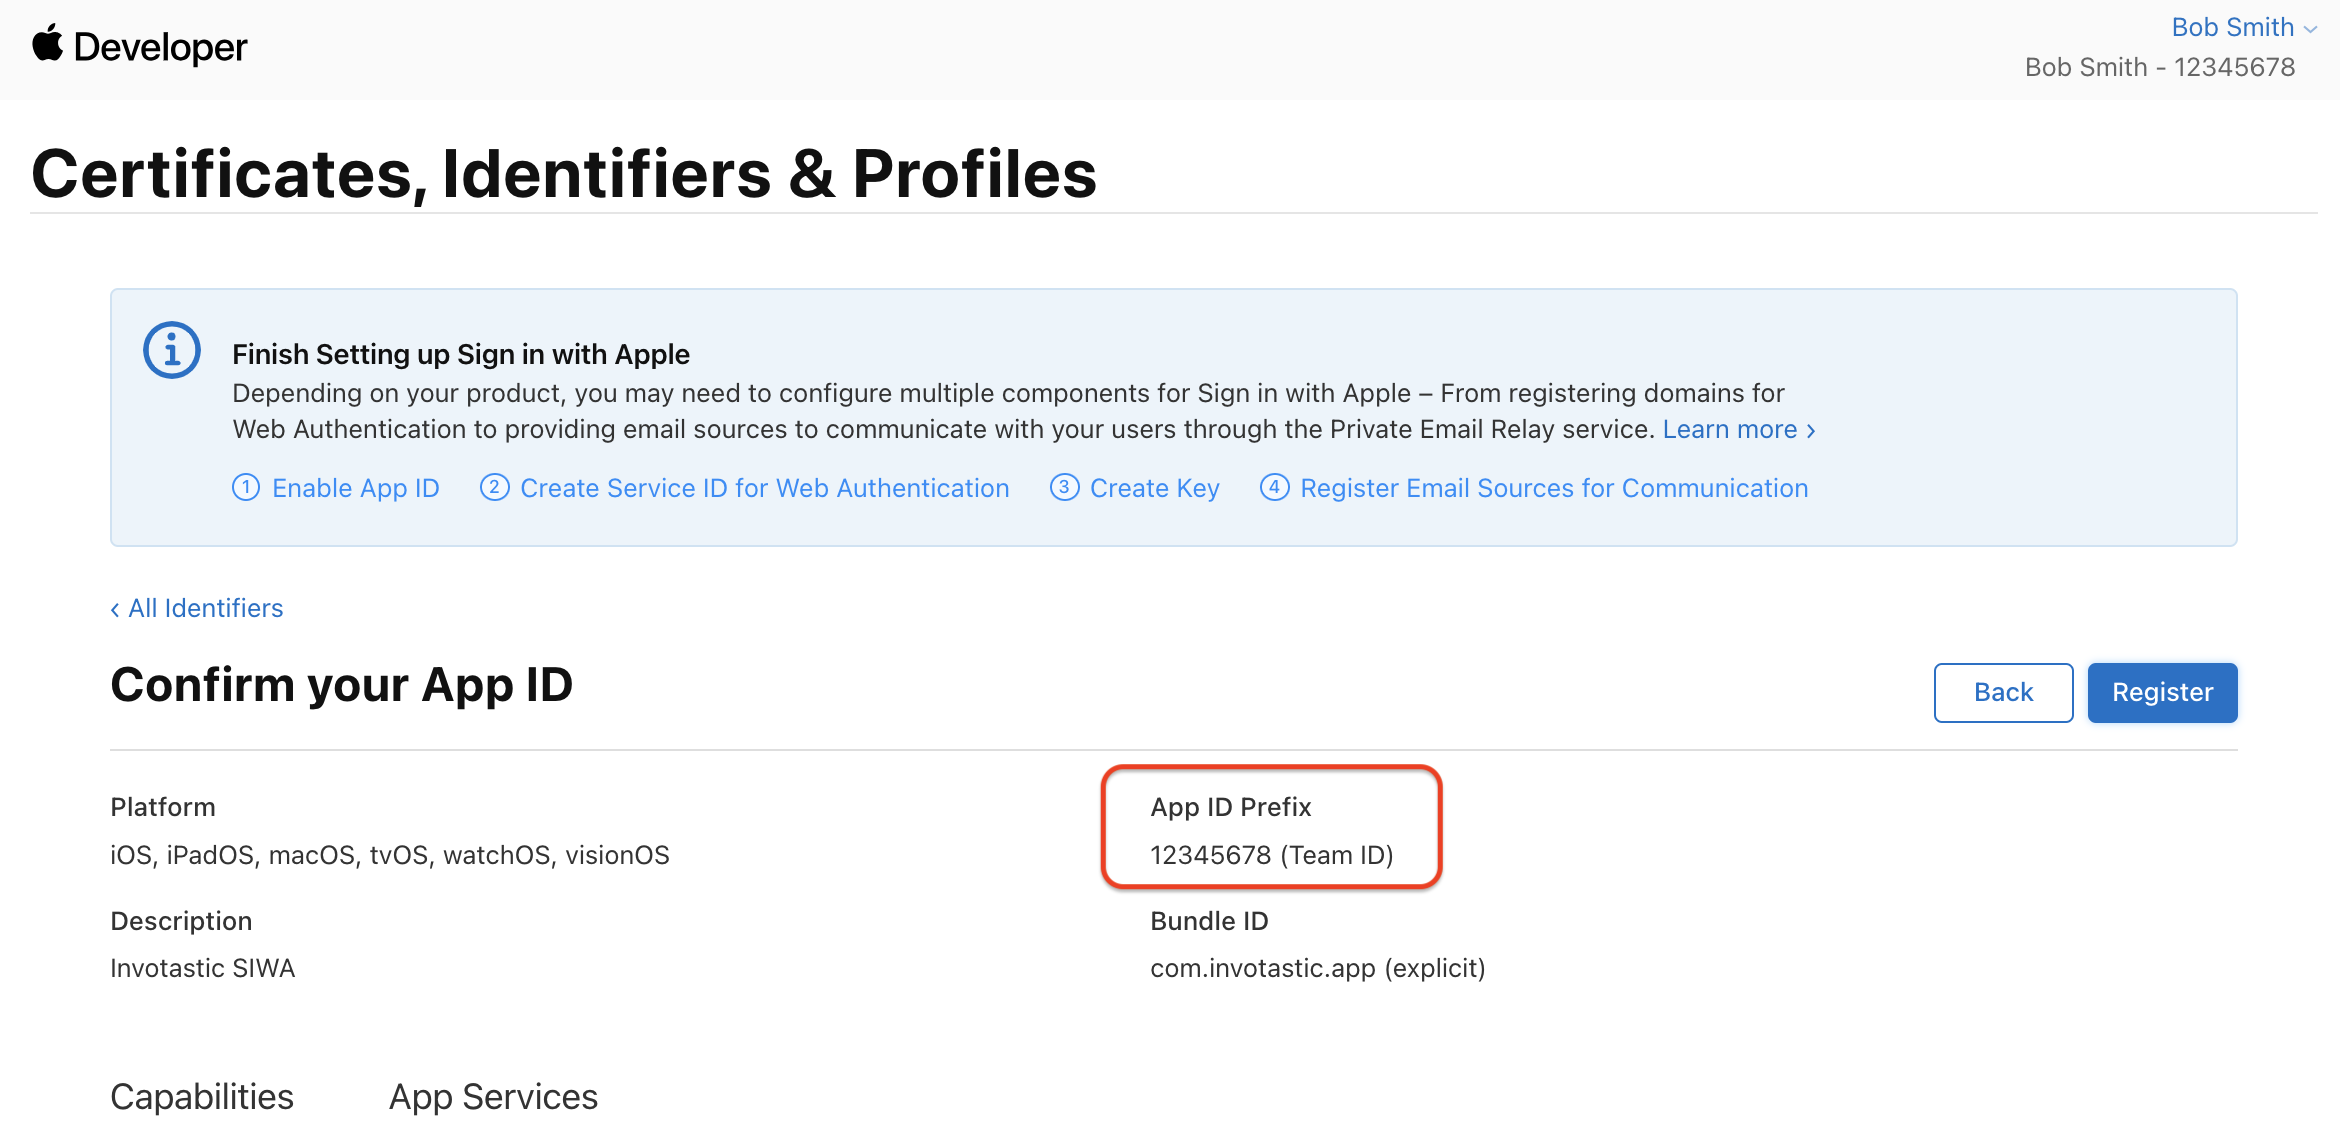
Click "Register" to complete the App Identifier registration.
Step 4: Register A Service Identifier
Click the "+" button on the Certificates, Identifiers, & Profiles page.
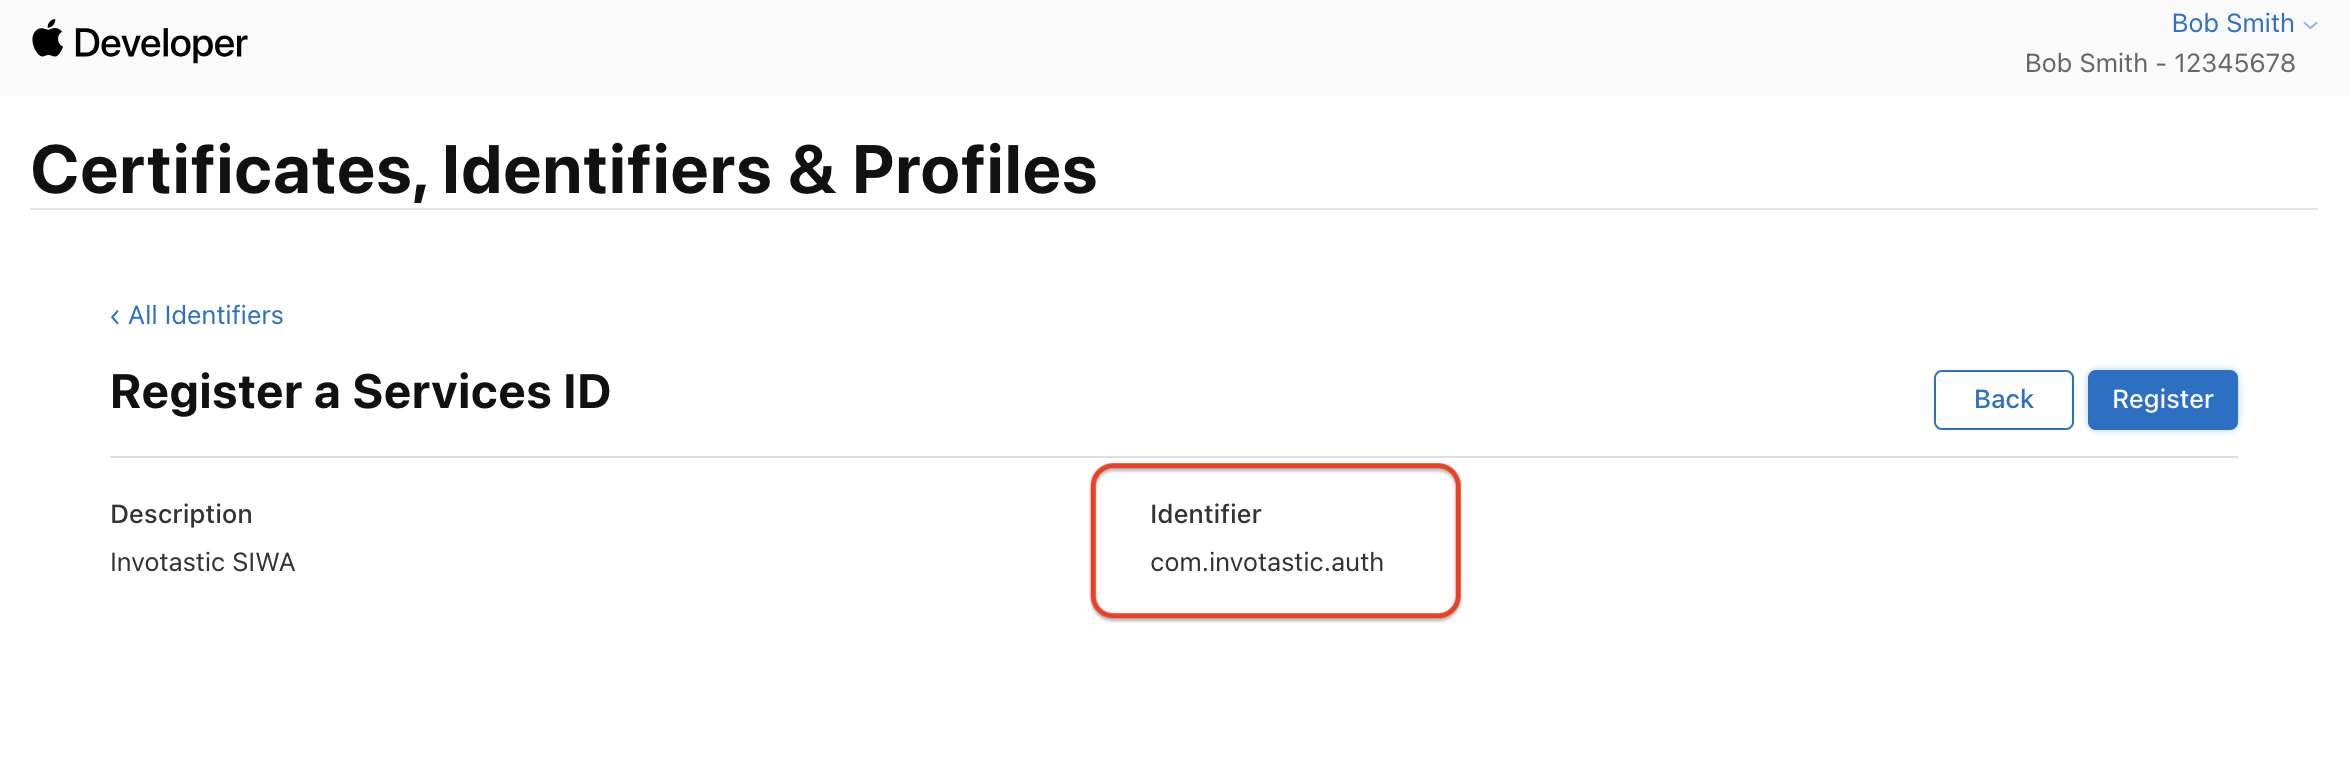
Fill out the form:
- Description: Any appropriate value.
- Identifier: Any appropriate value, usually the reverse domain of your application.
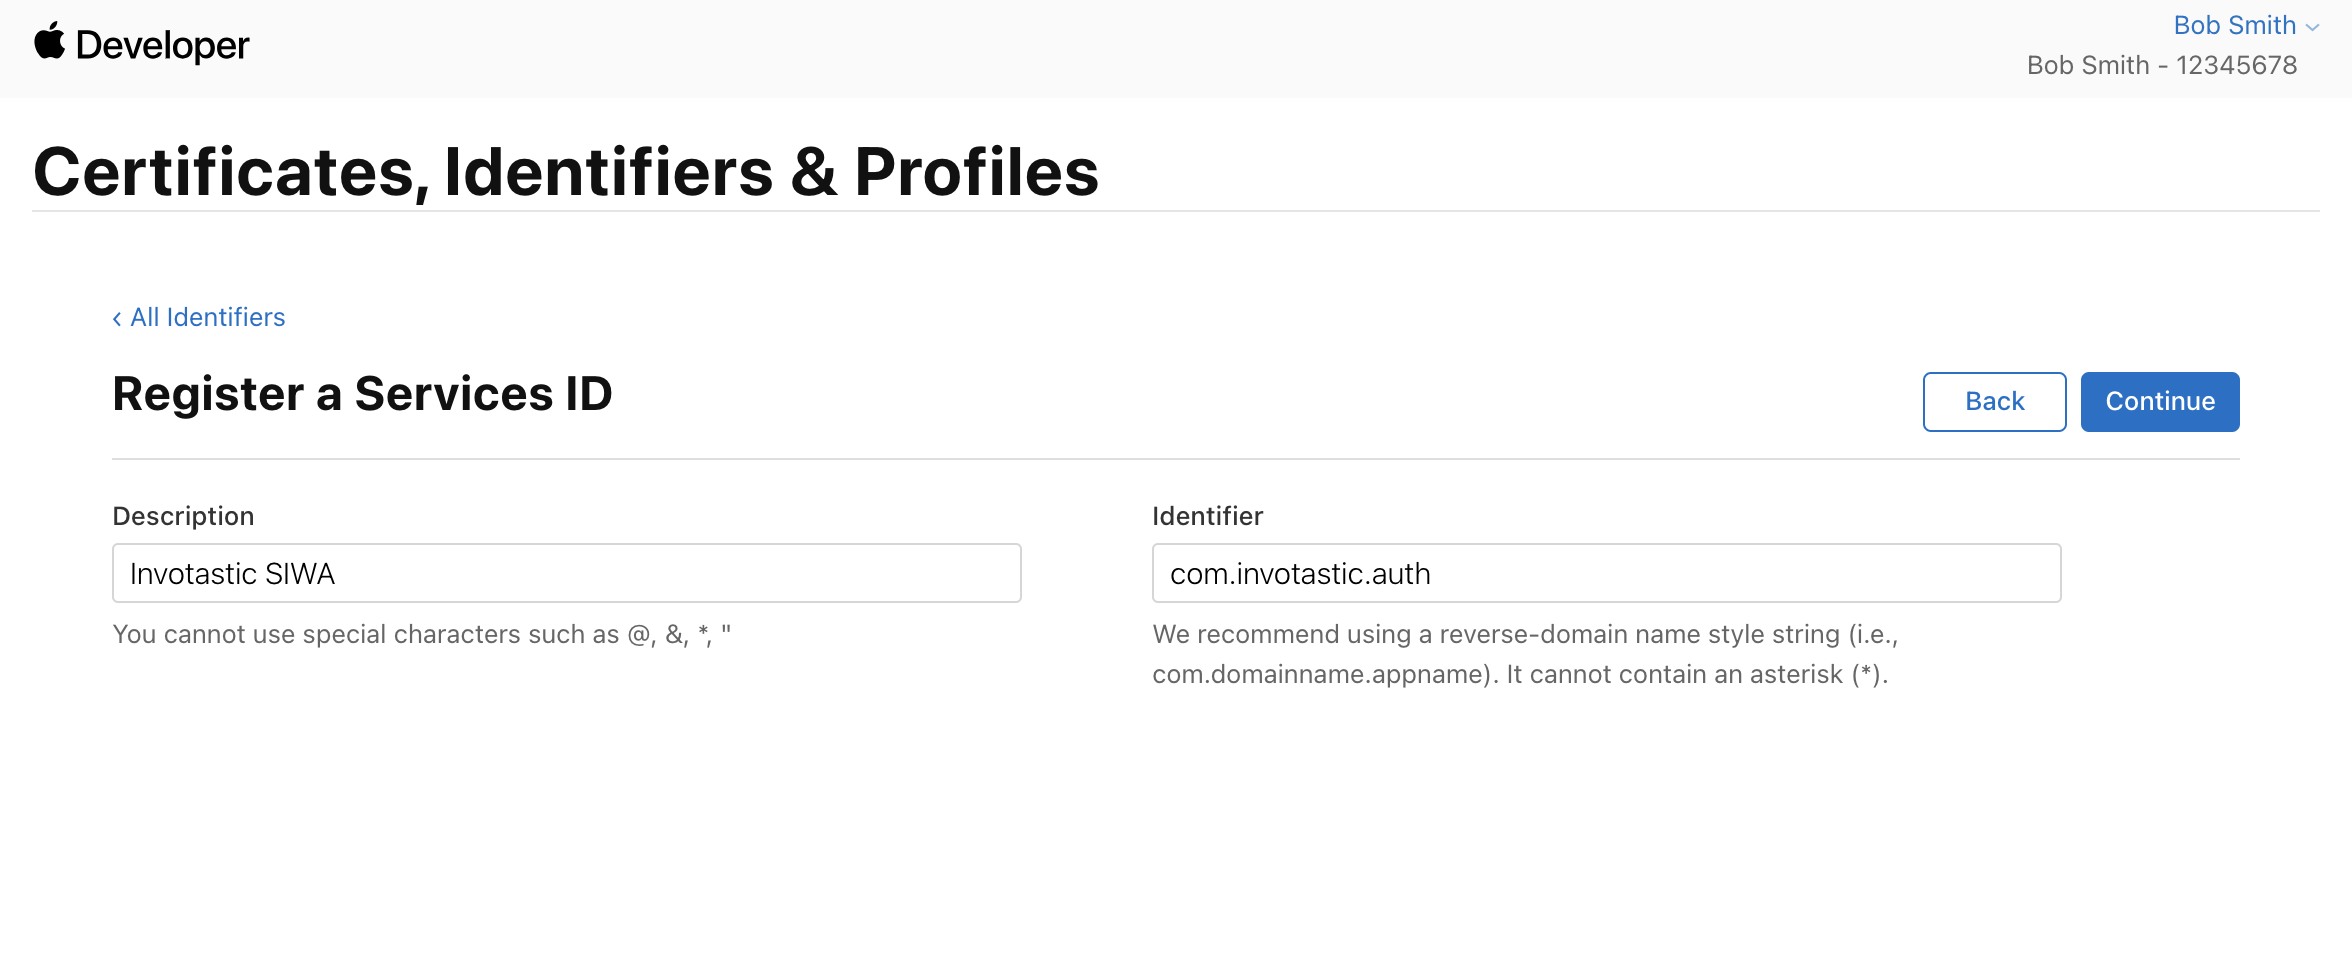
Click "Continue." Copy the "Identifier" (Service ID) value.
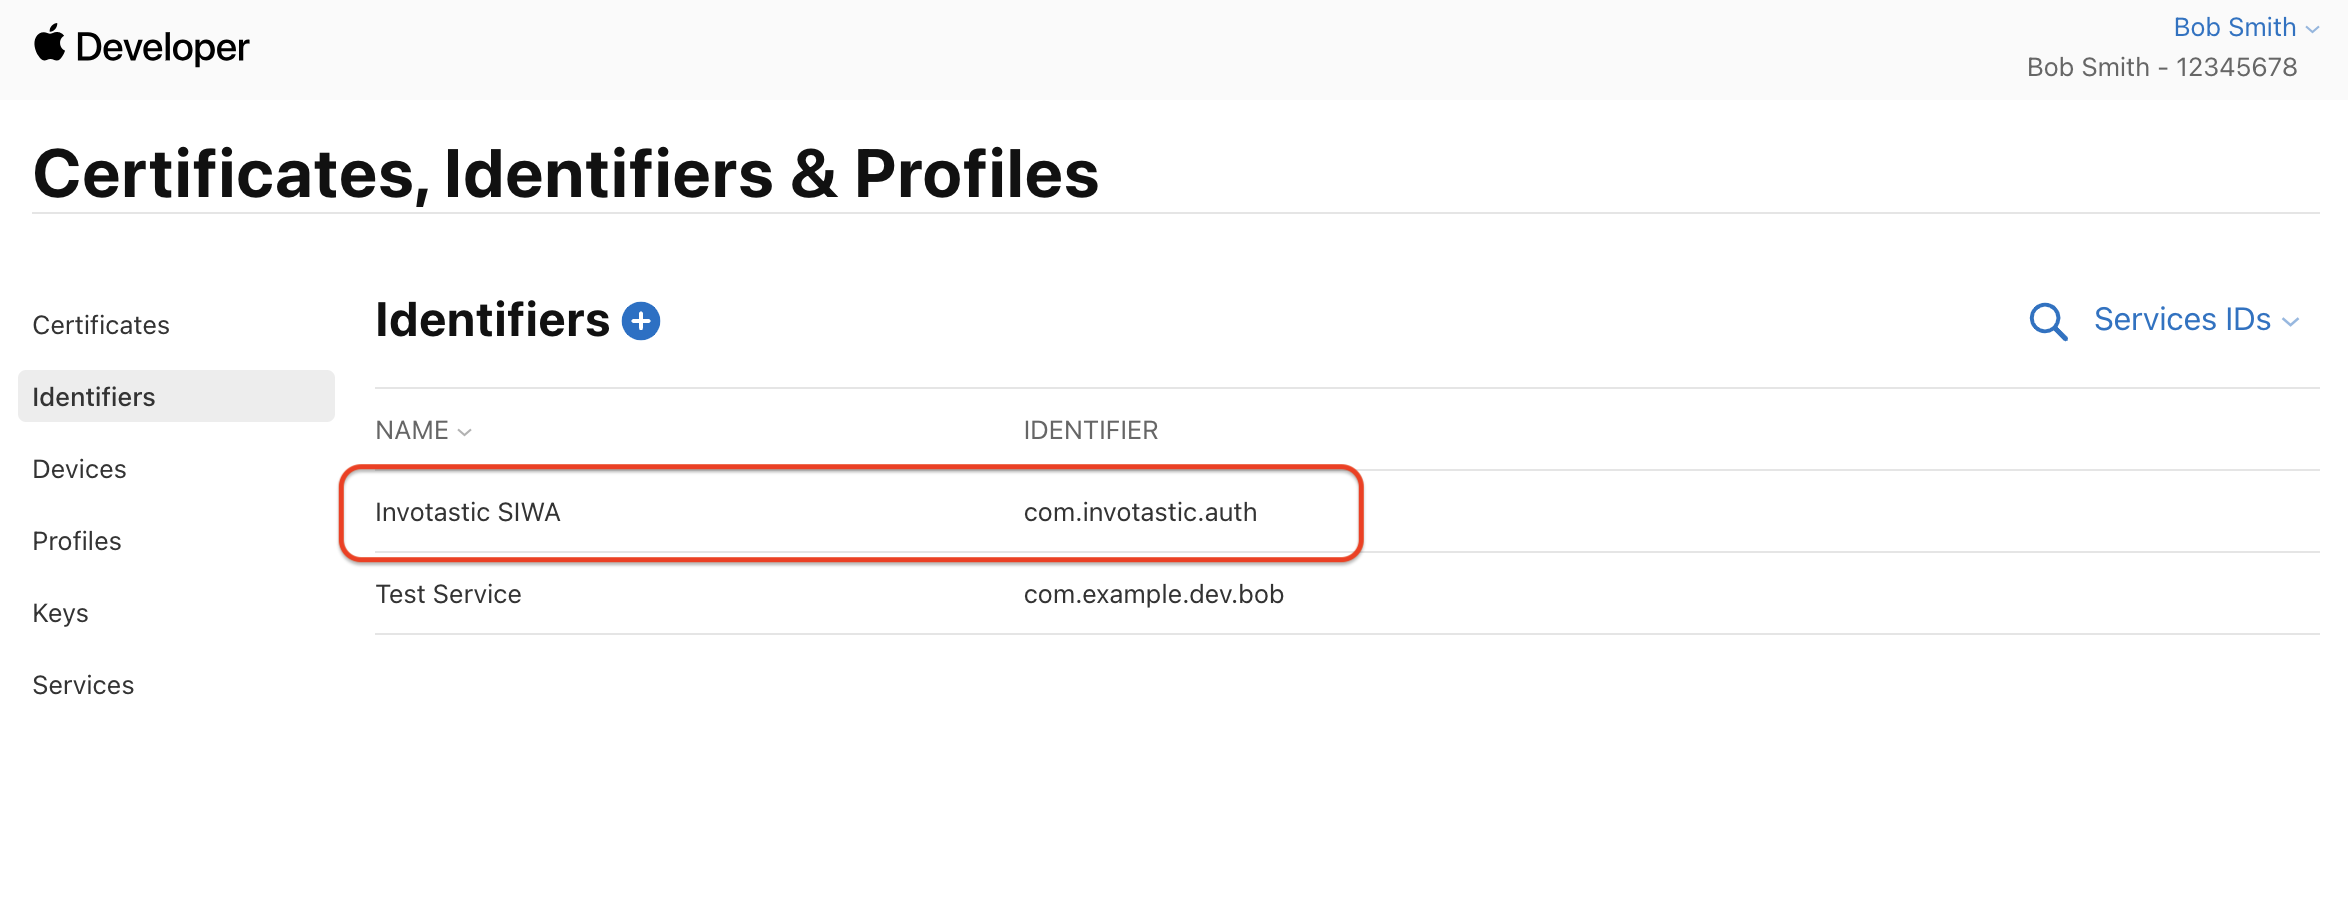
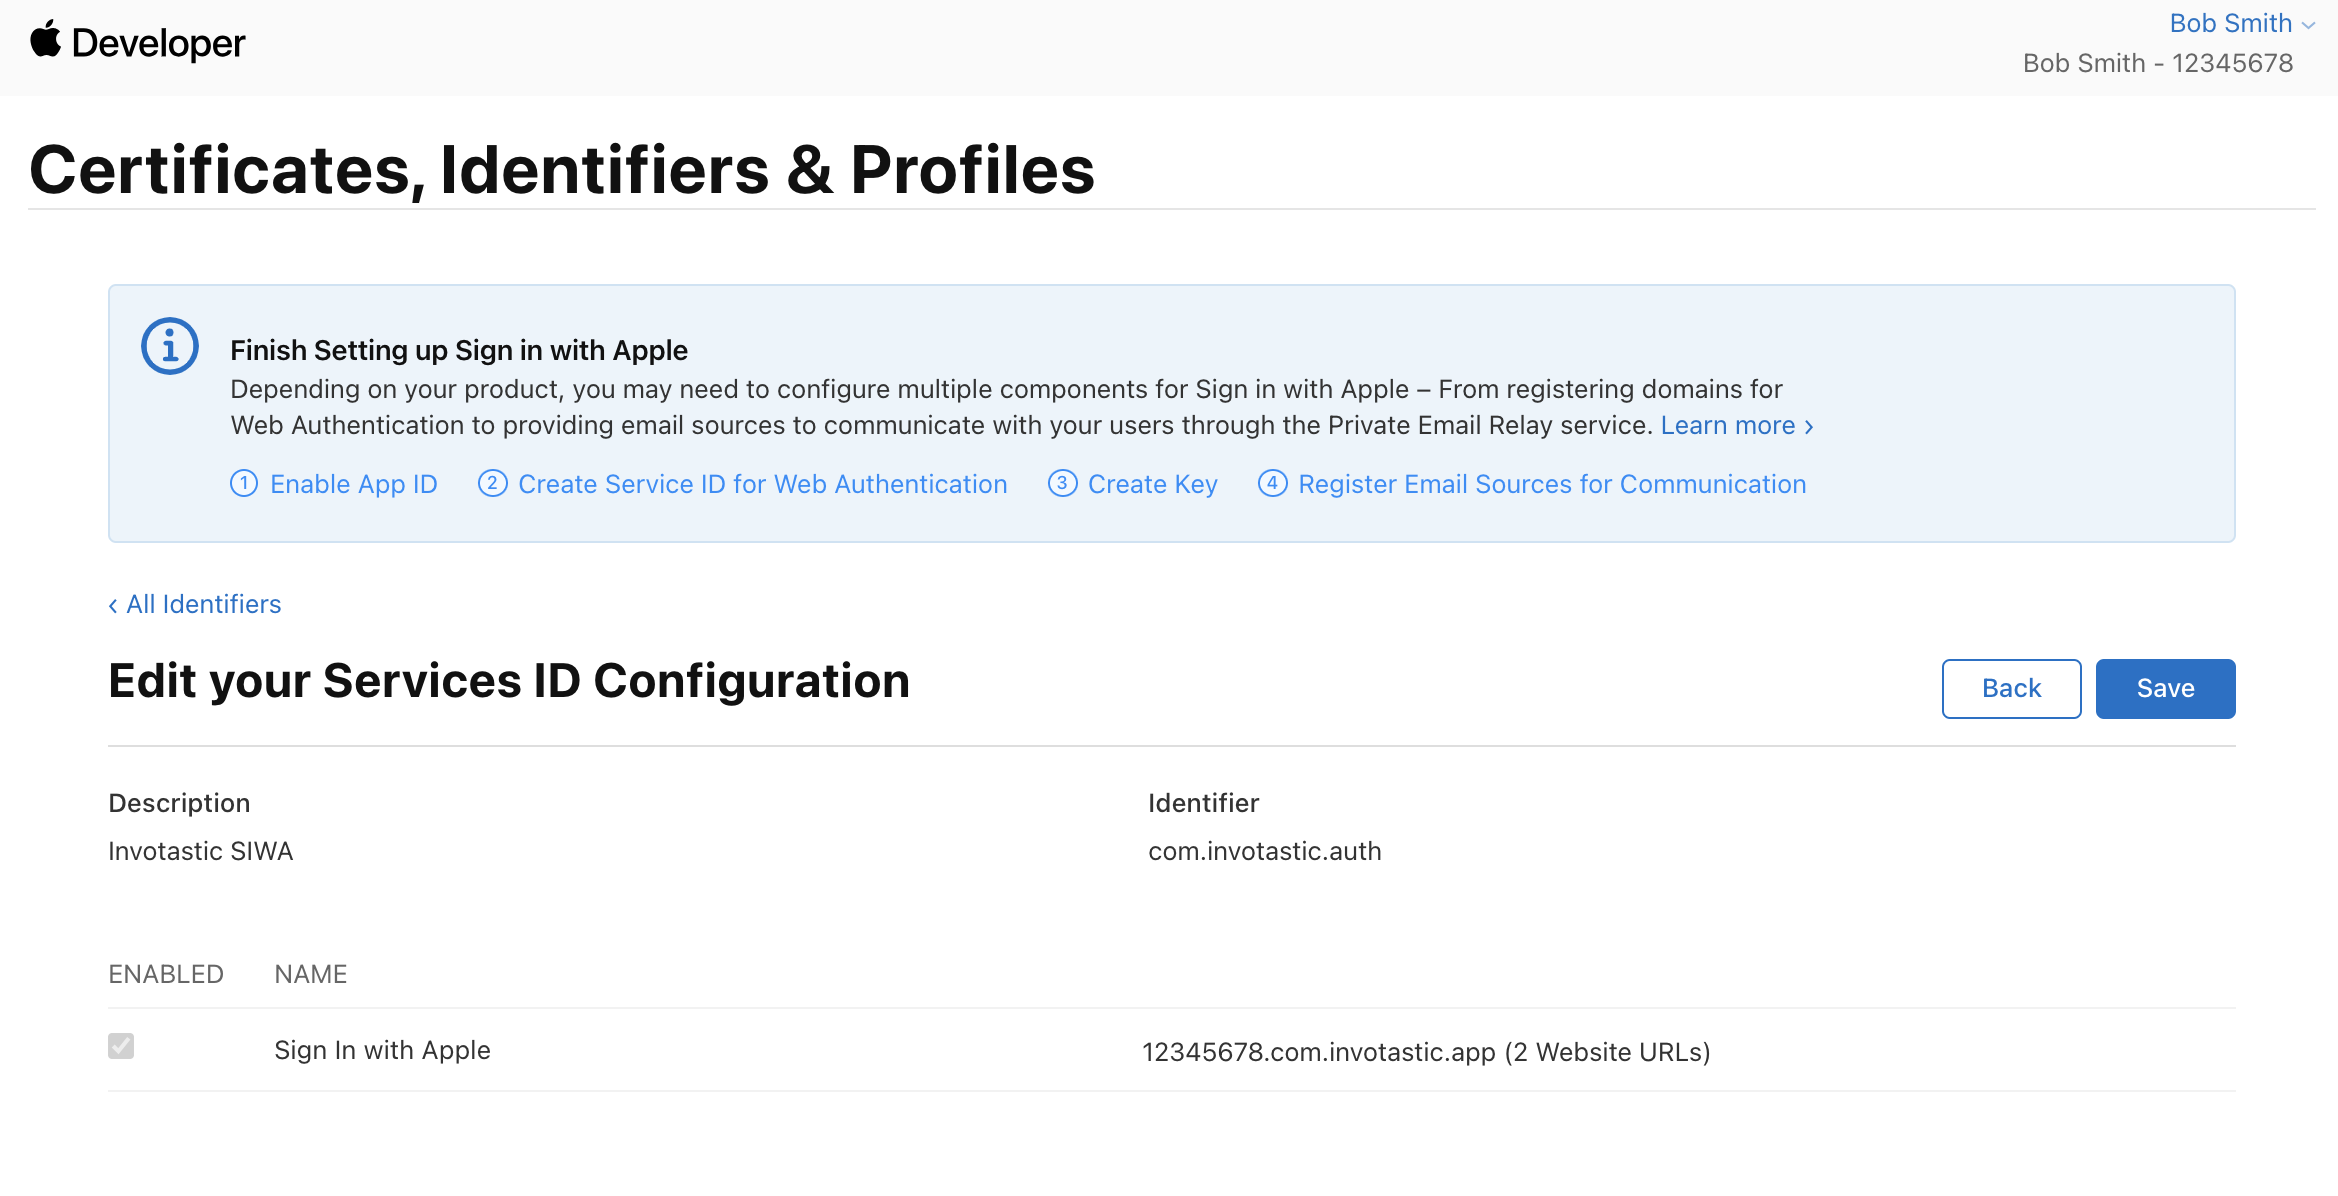
Click "Register." Click the row for the Service Identifier you just created to edit its configurations.
Enable "Sign In with Apple" and click "Configure."

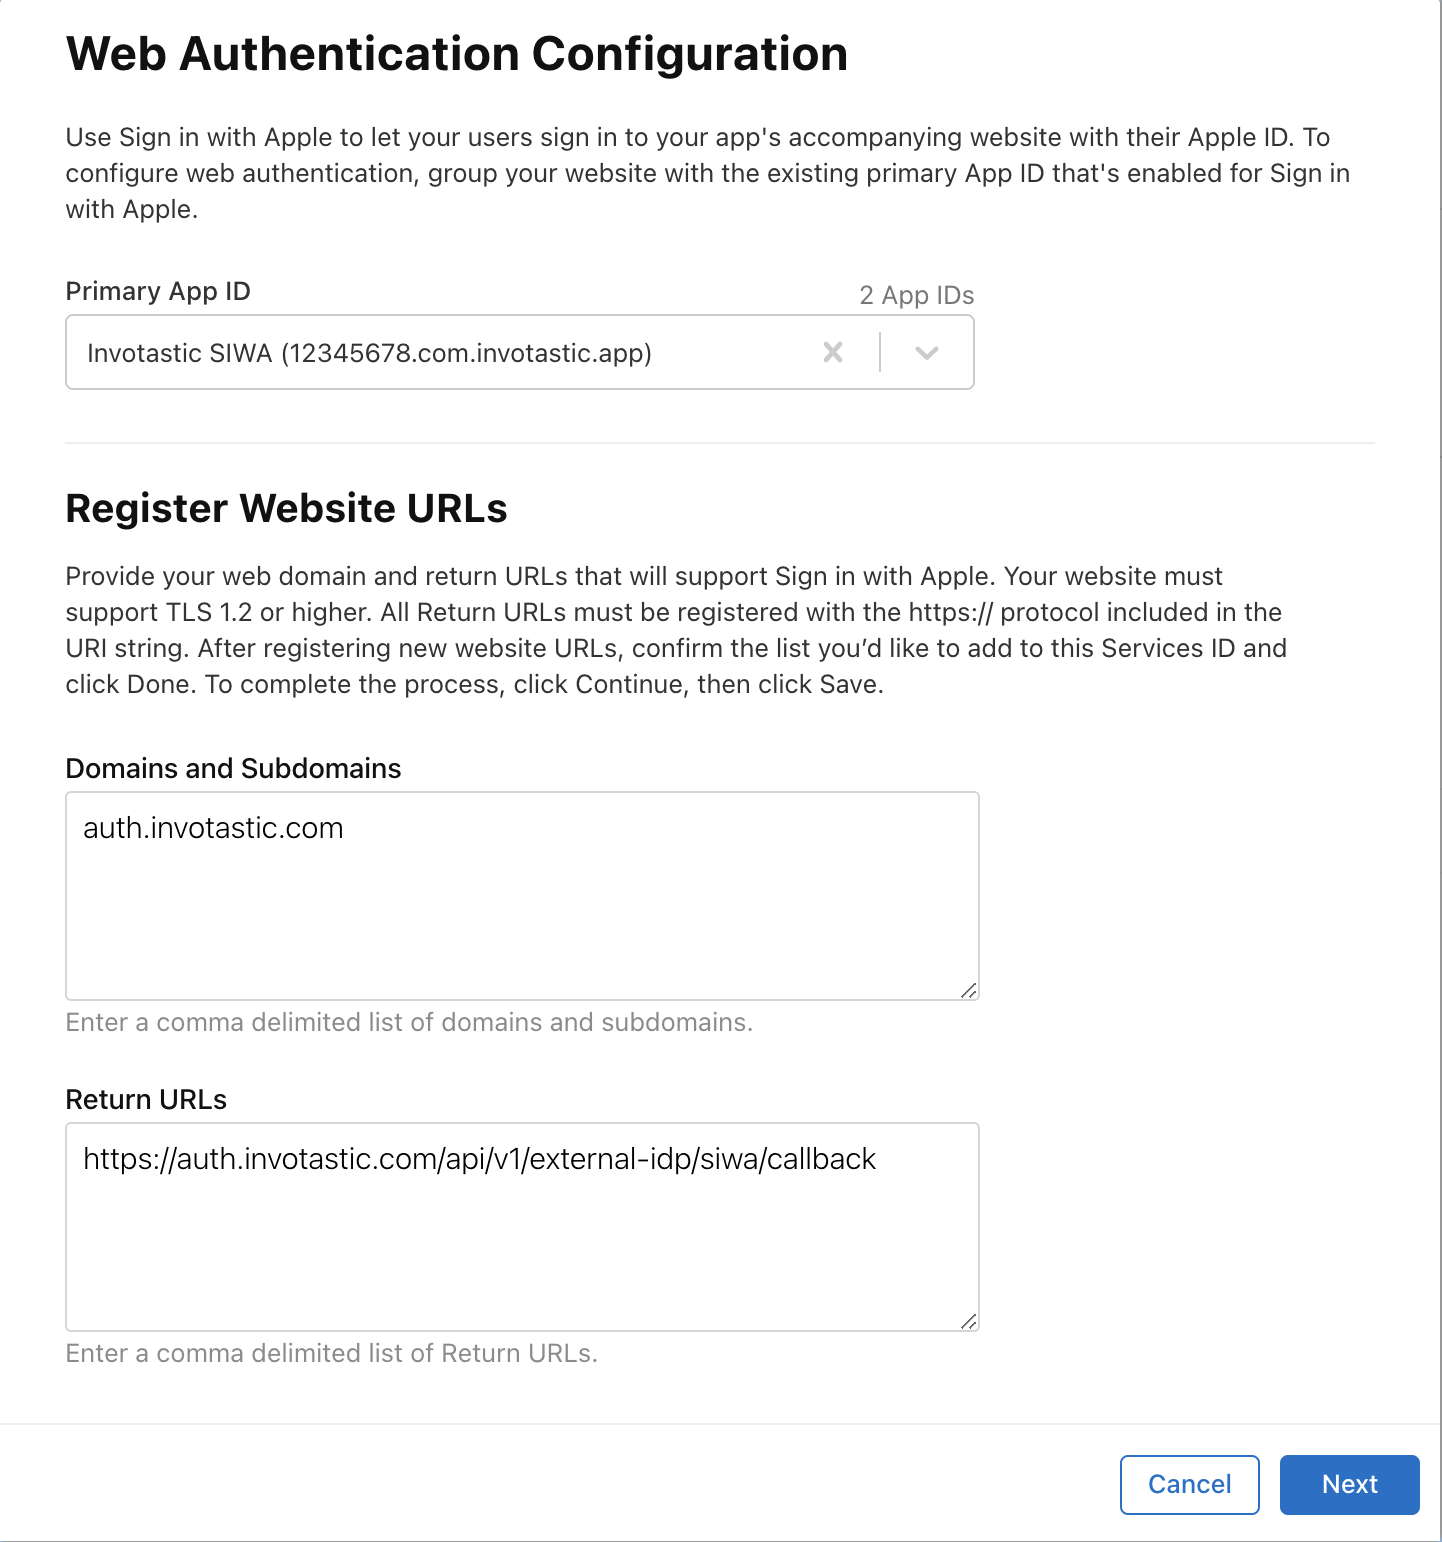
Fill out the Web Authentication Configuration form:
- Primary App ID: The App Identifier from step 3.
- Domains and Subdomains: Your Application Vanity Domain or custom domain.
- Return URLs: Paste the External IDP Callback URL from step 1.
Confirm the configurations and click "Done."
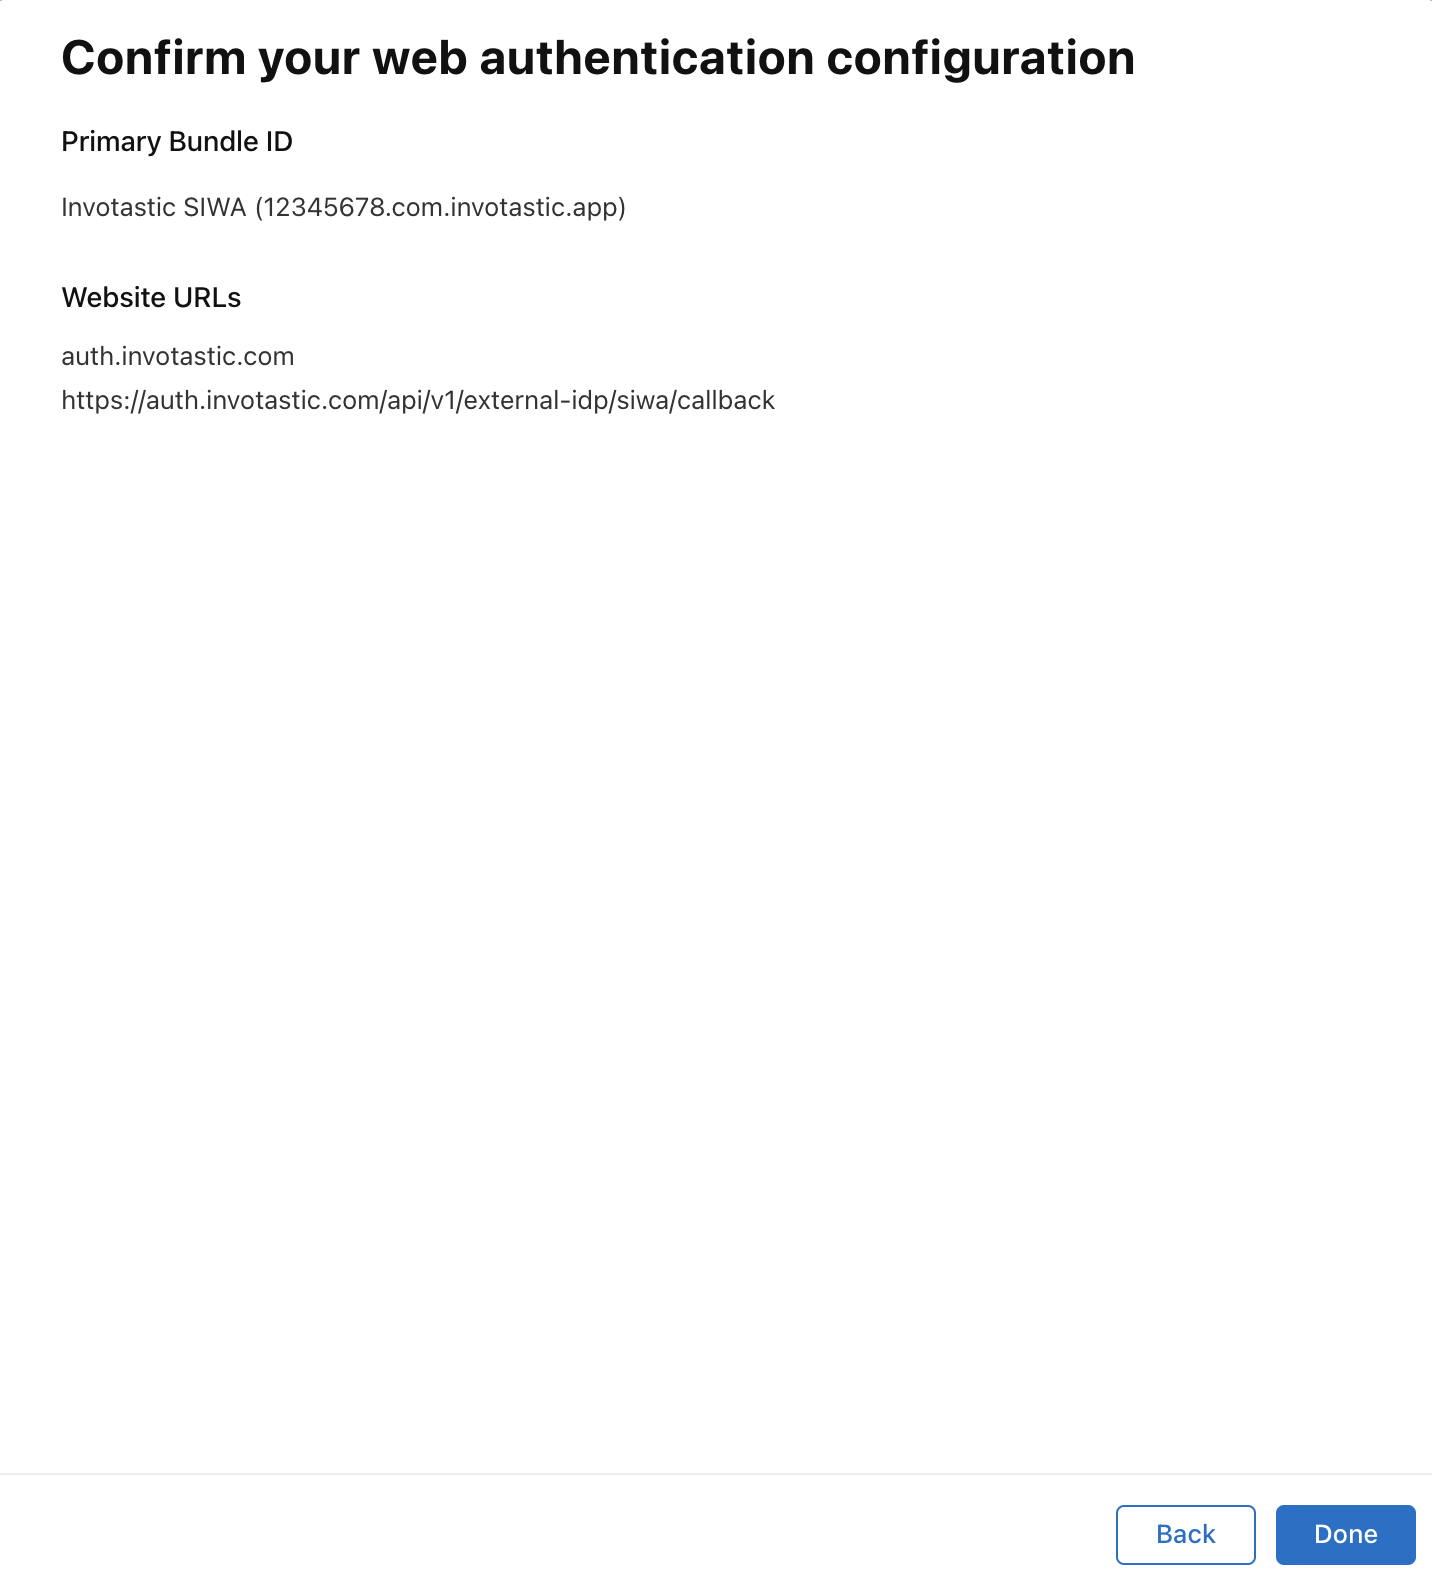
Click "Save" to persist the changes.
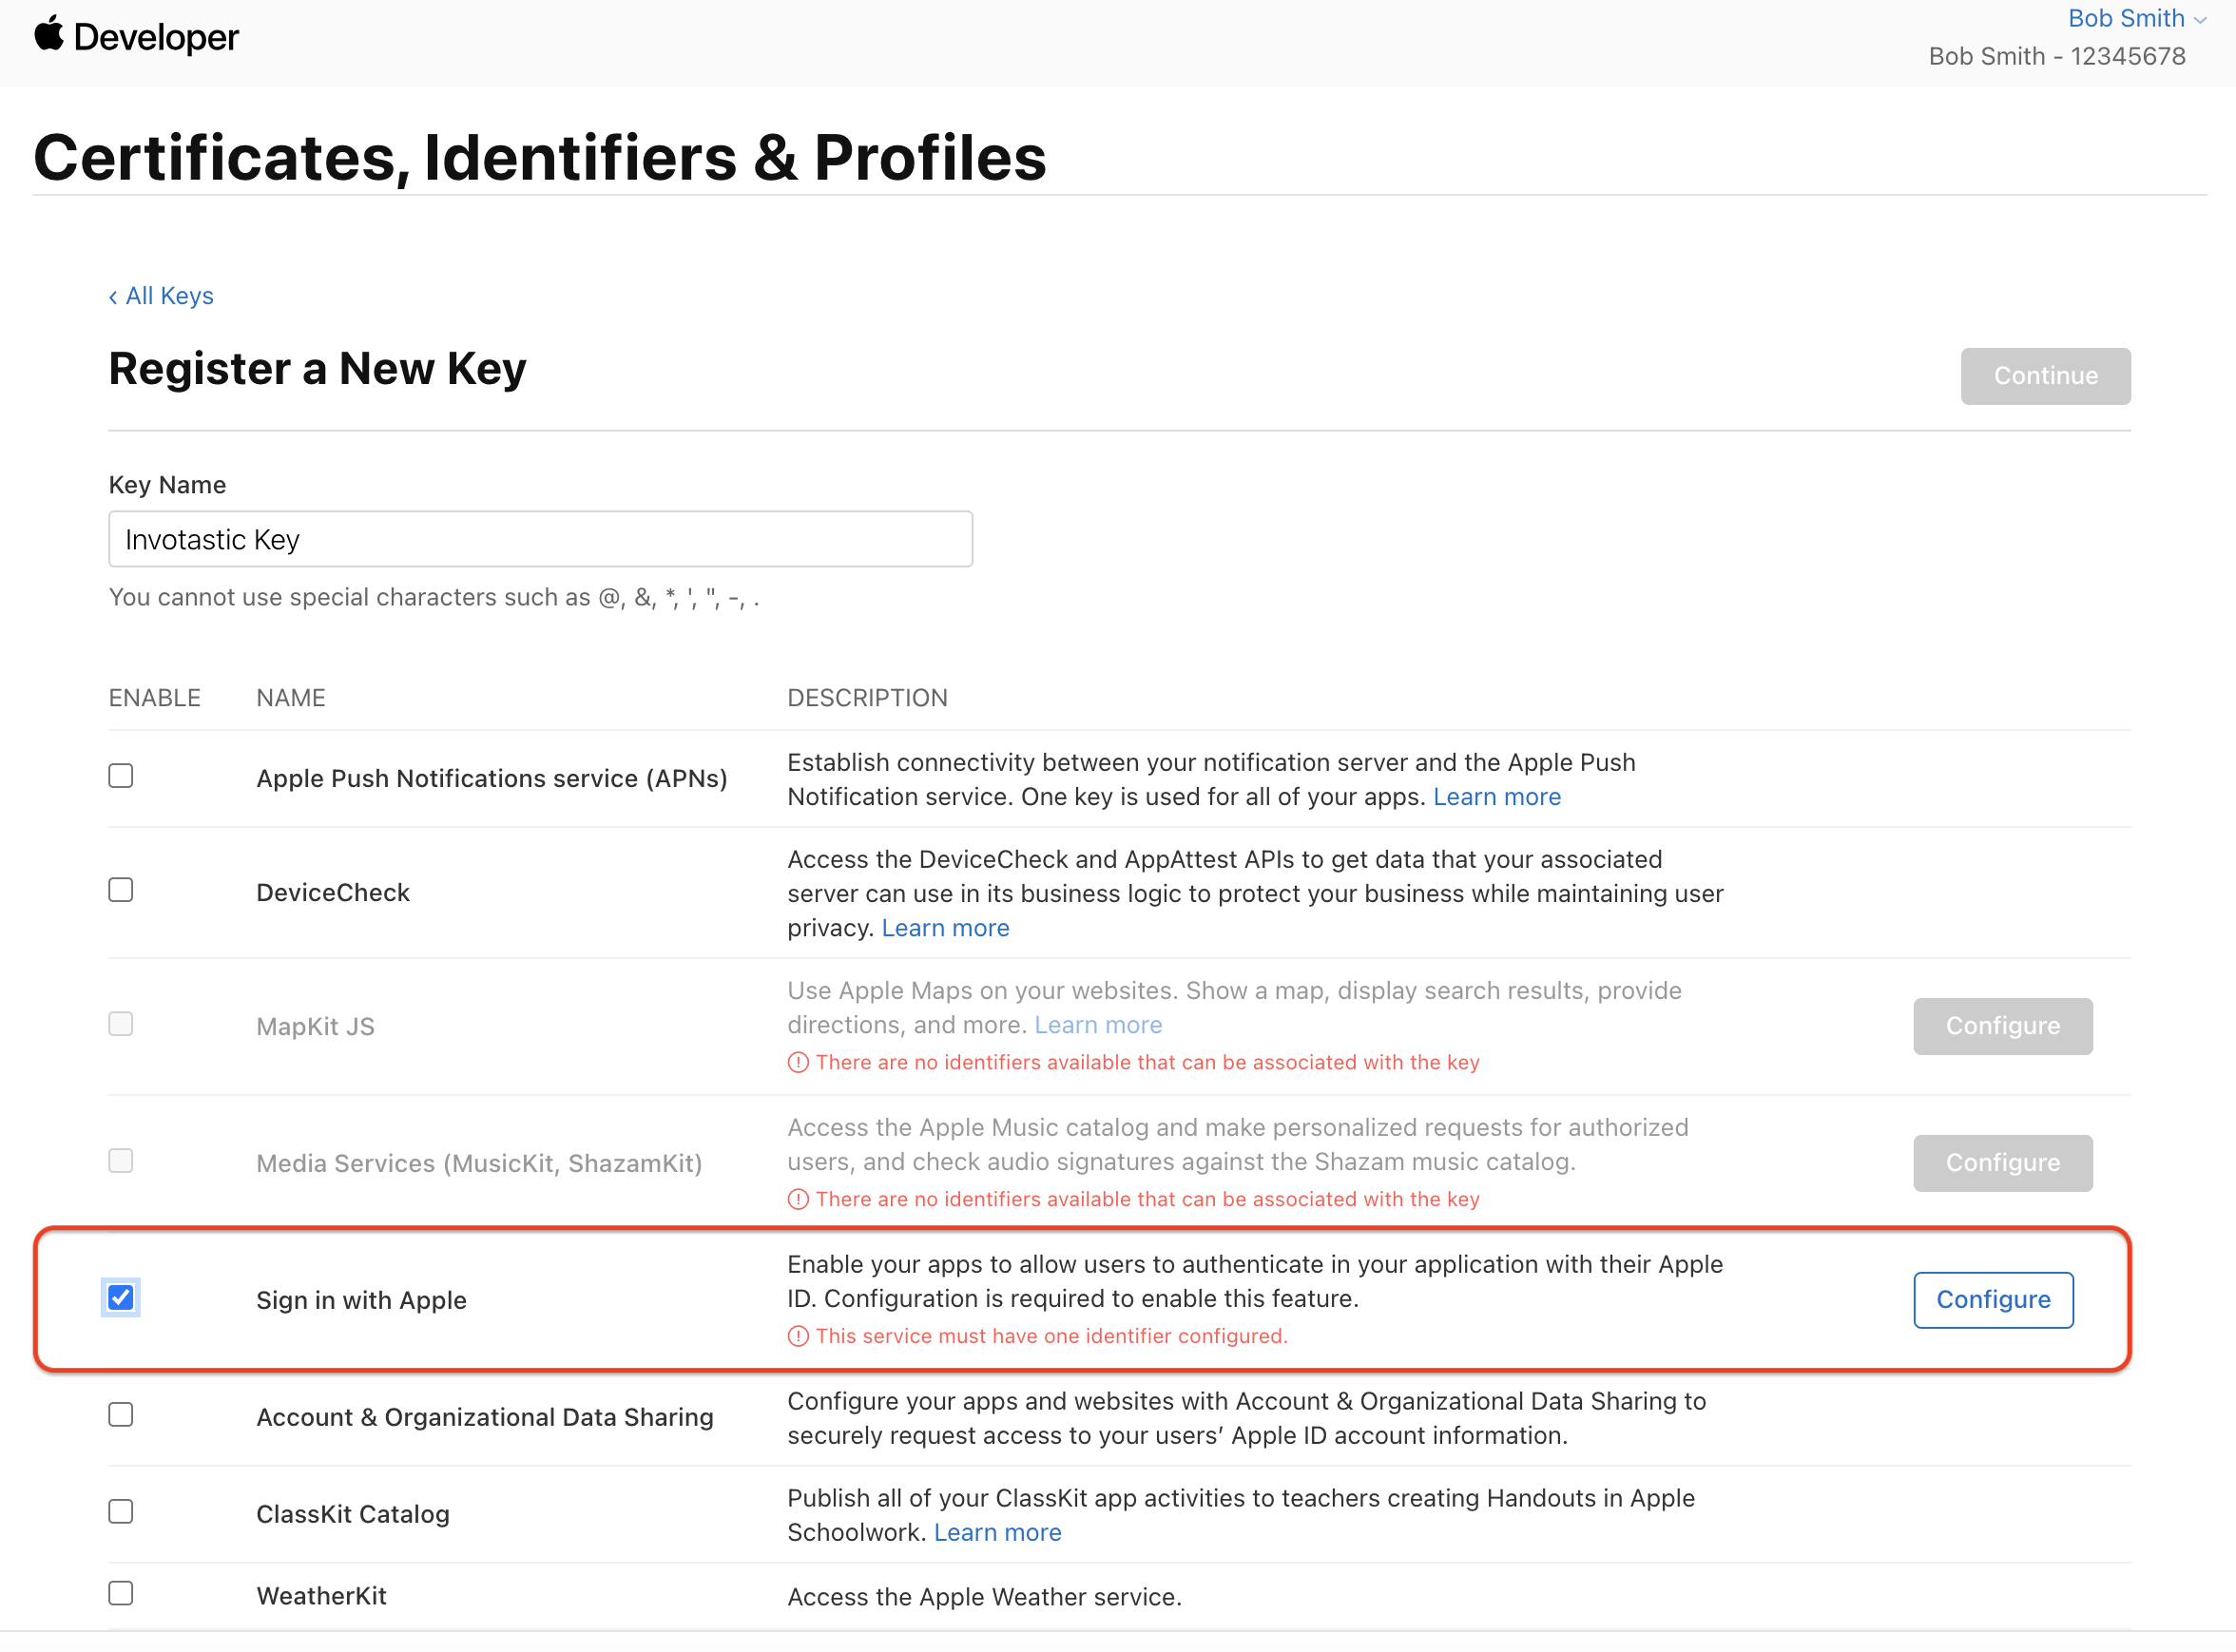
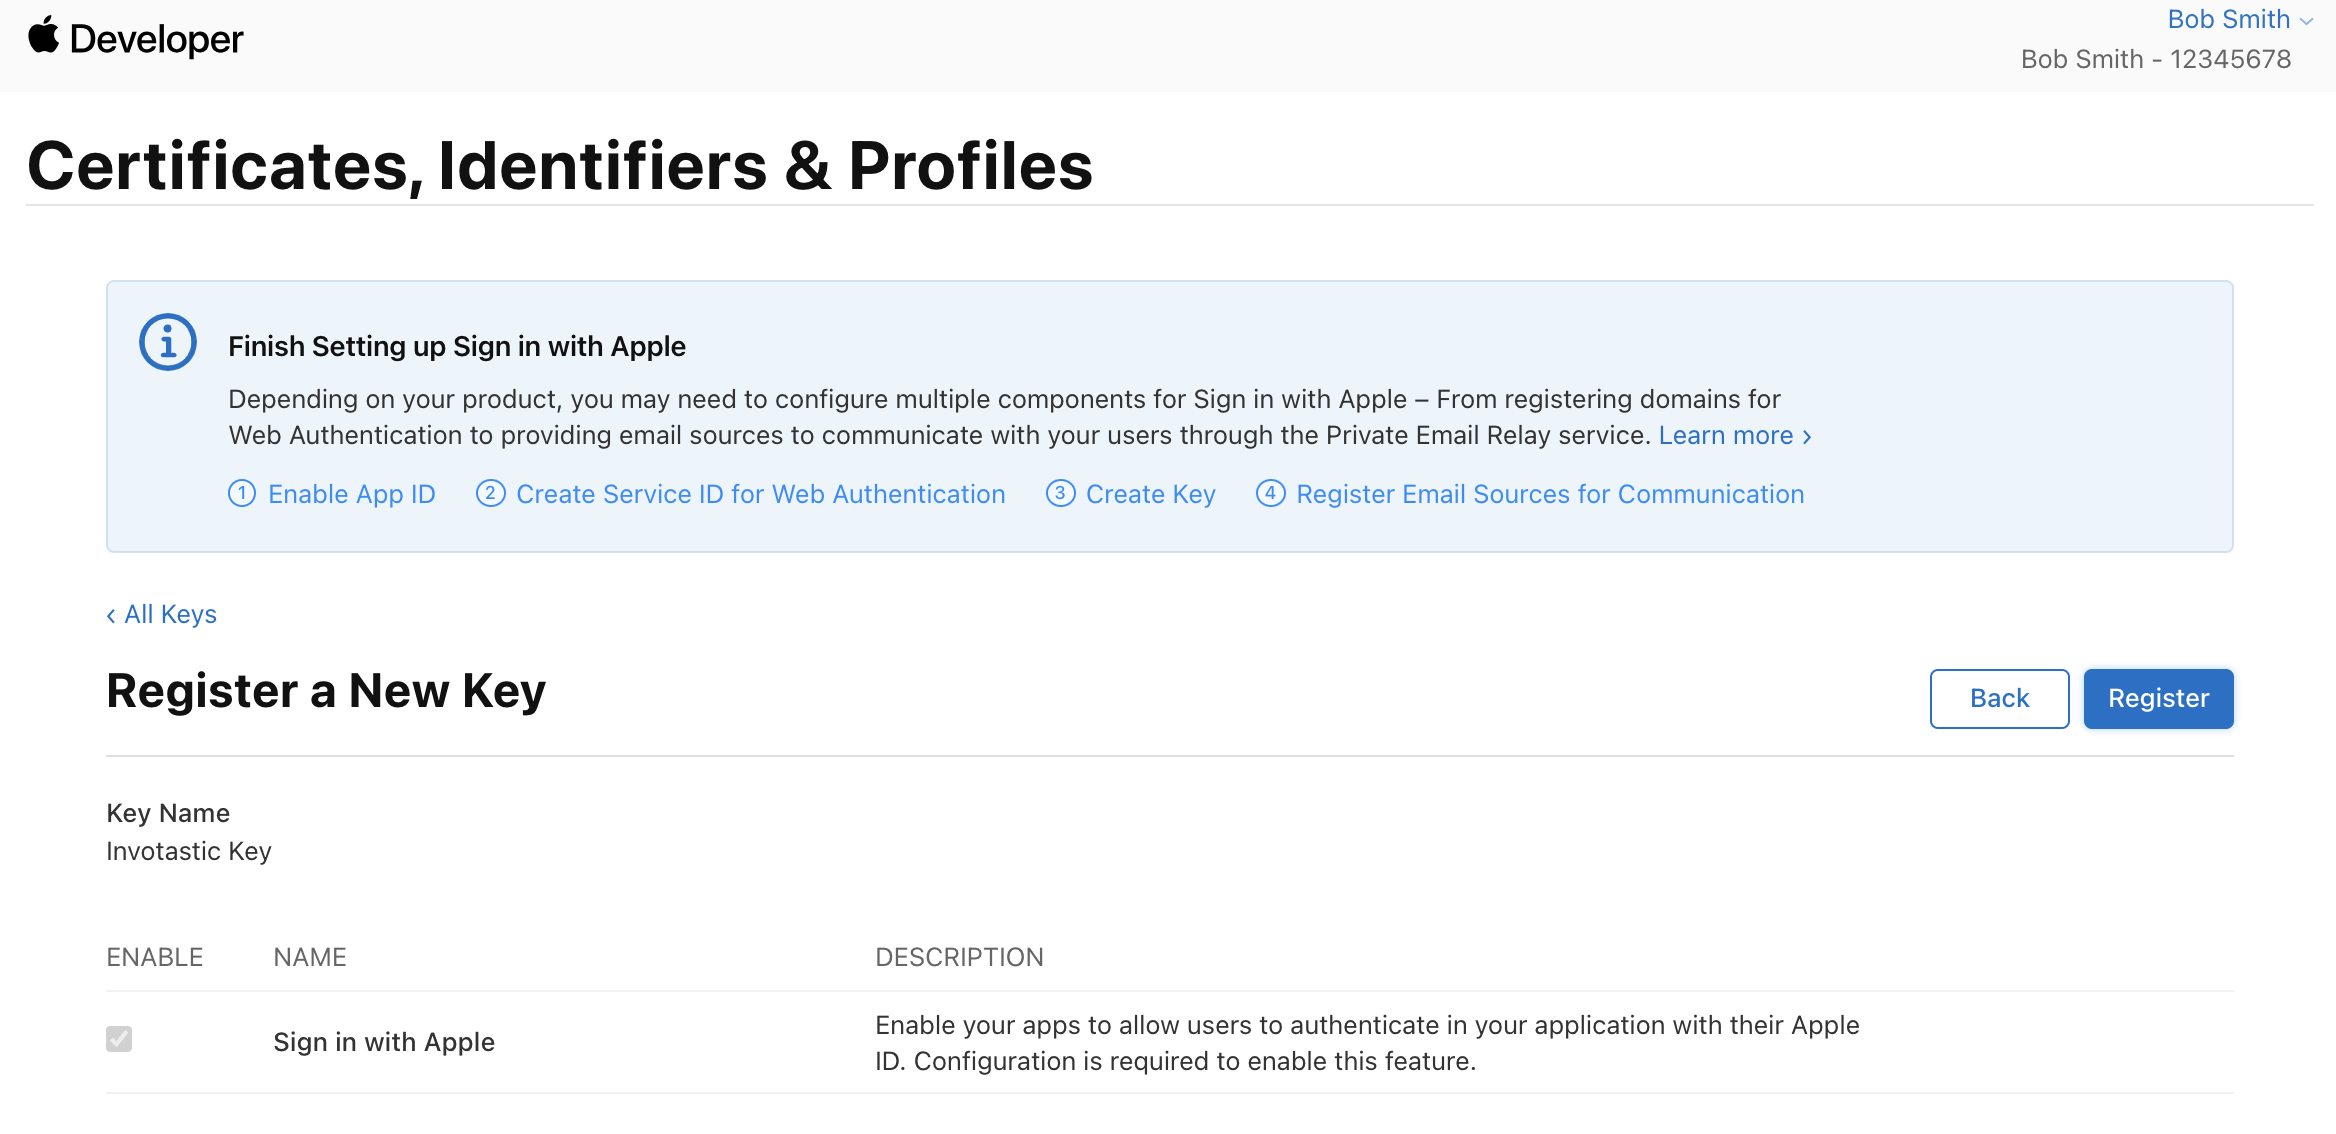
Step 5: Register A Sign In With Apple Key
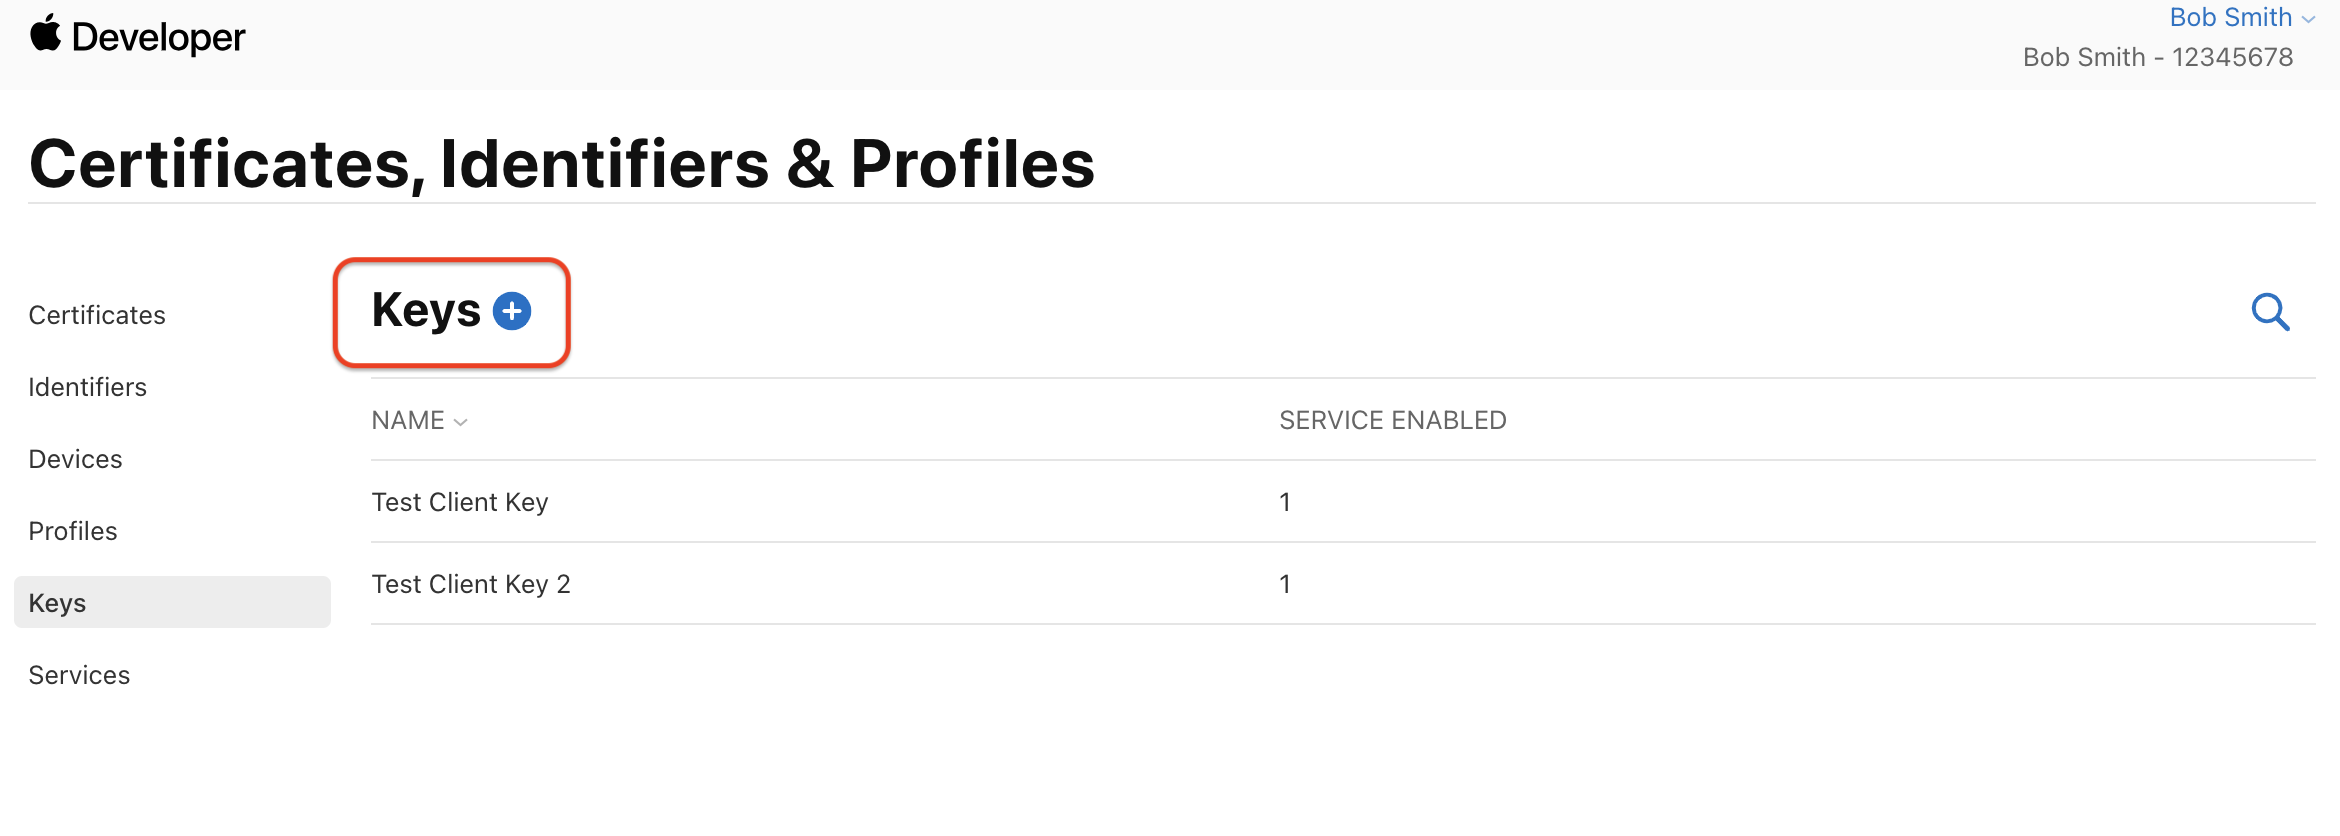
Navigate to the Keys menu. Click the "+" button to start the key registration process.
Check the "Sign in with Apple" option. Click "Configure."
Select the App ID you created in step 3 from the "Primary App ID" dropdown. Click "Save."
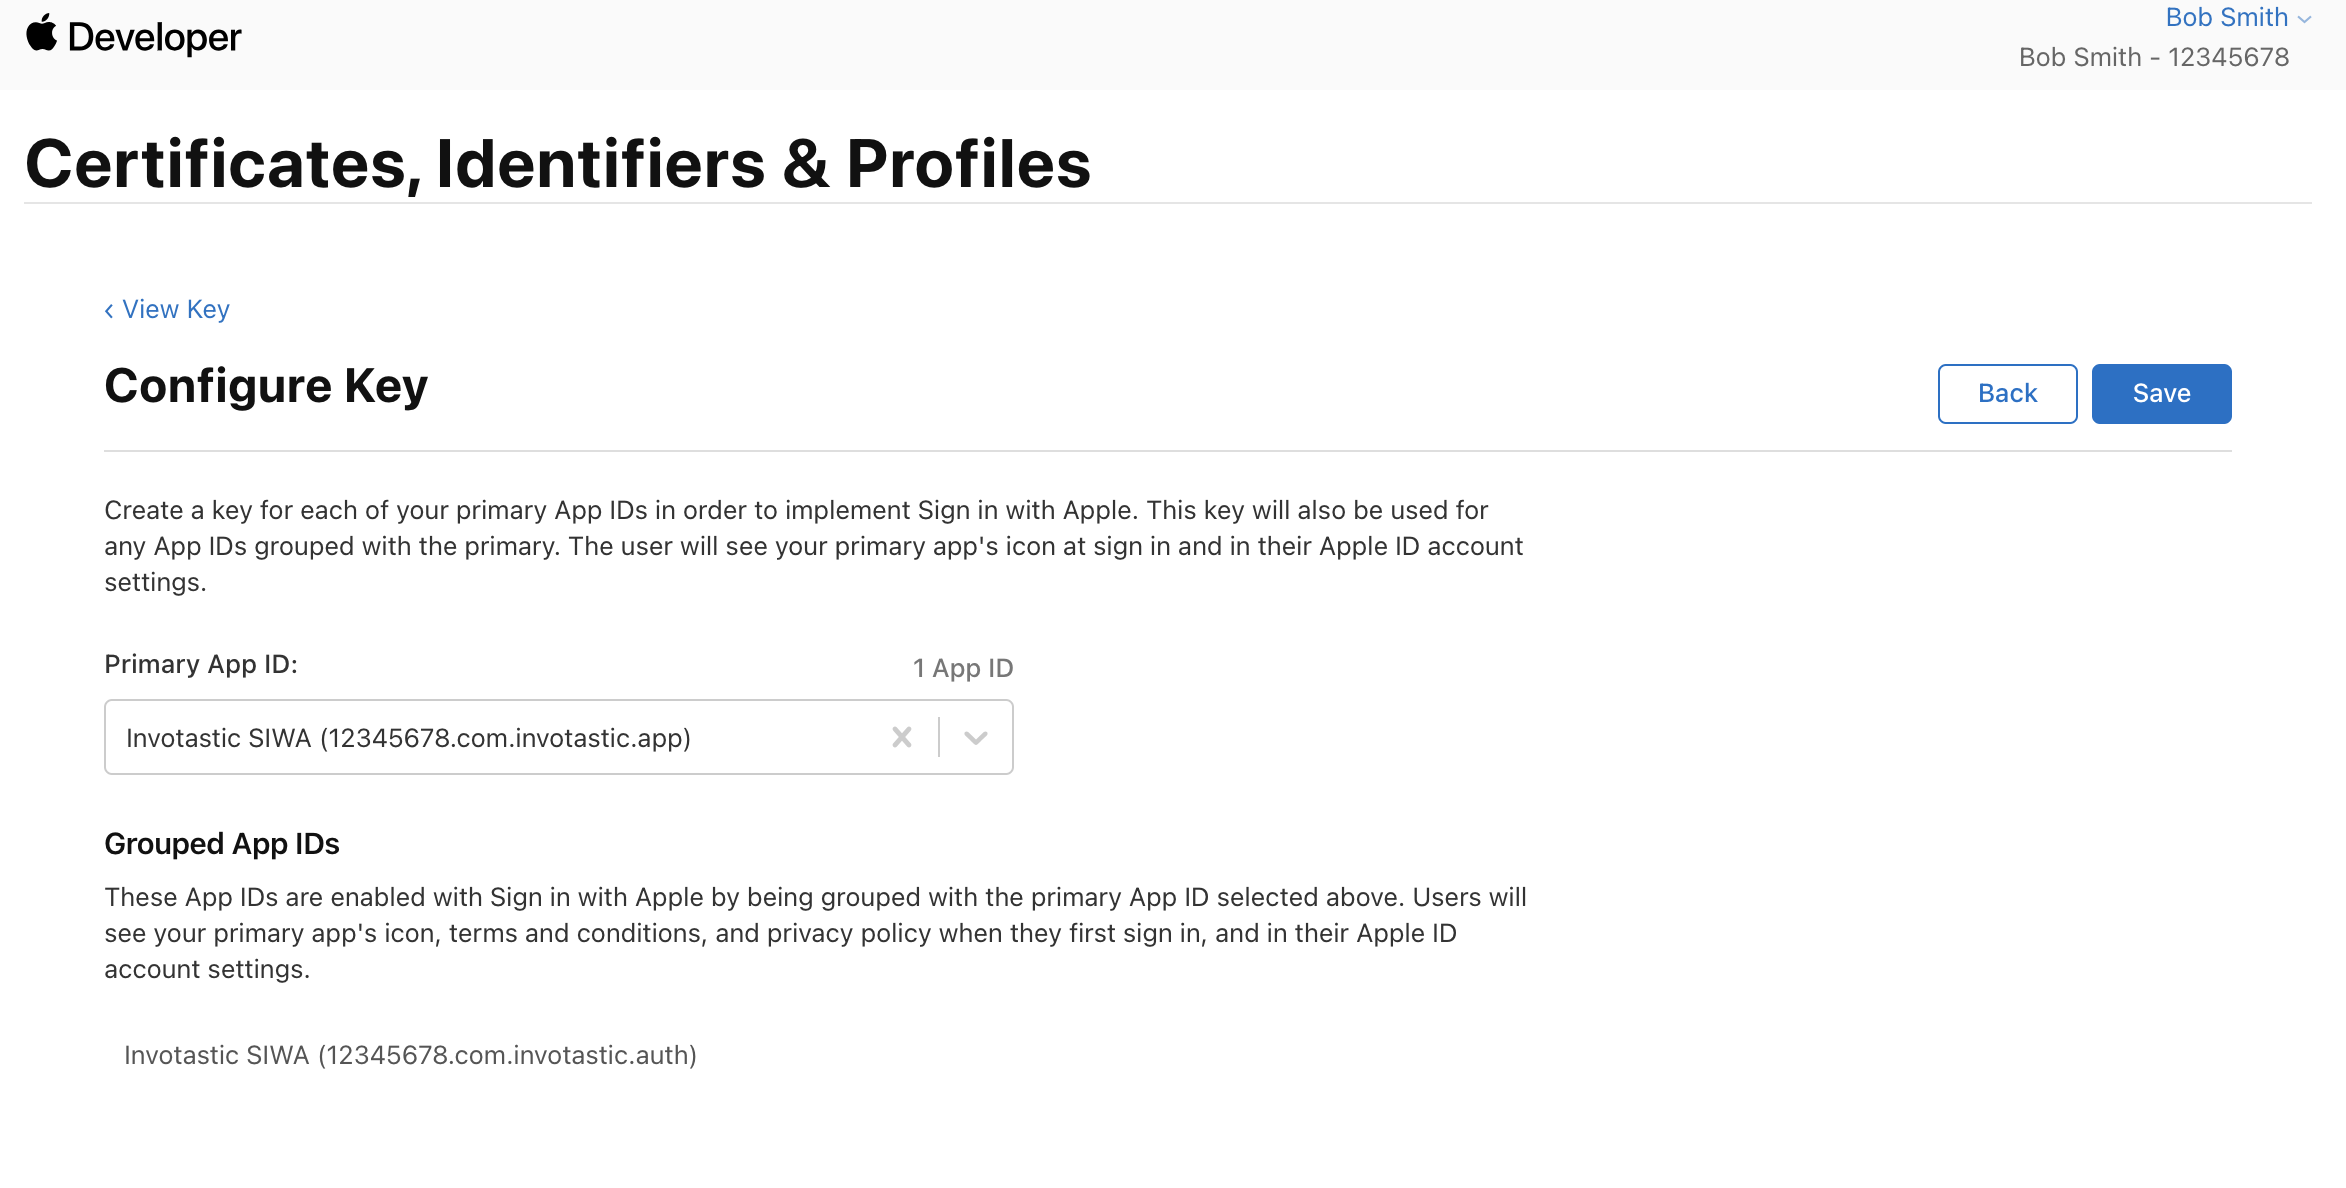
Click "Register" on the preview screen.
Download your key.
Copy the "Key ID" value and download the PEM key file.
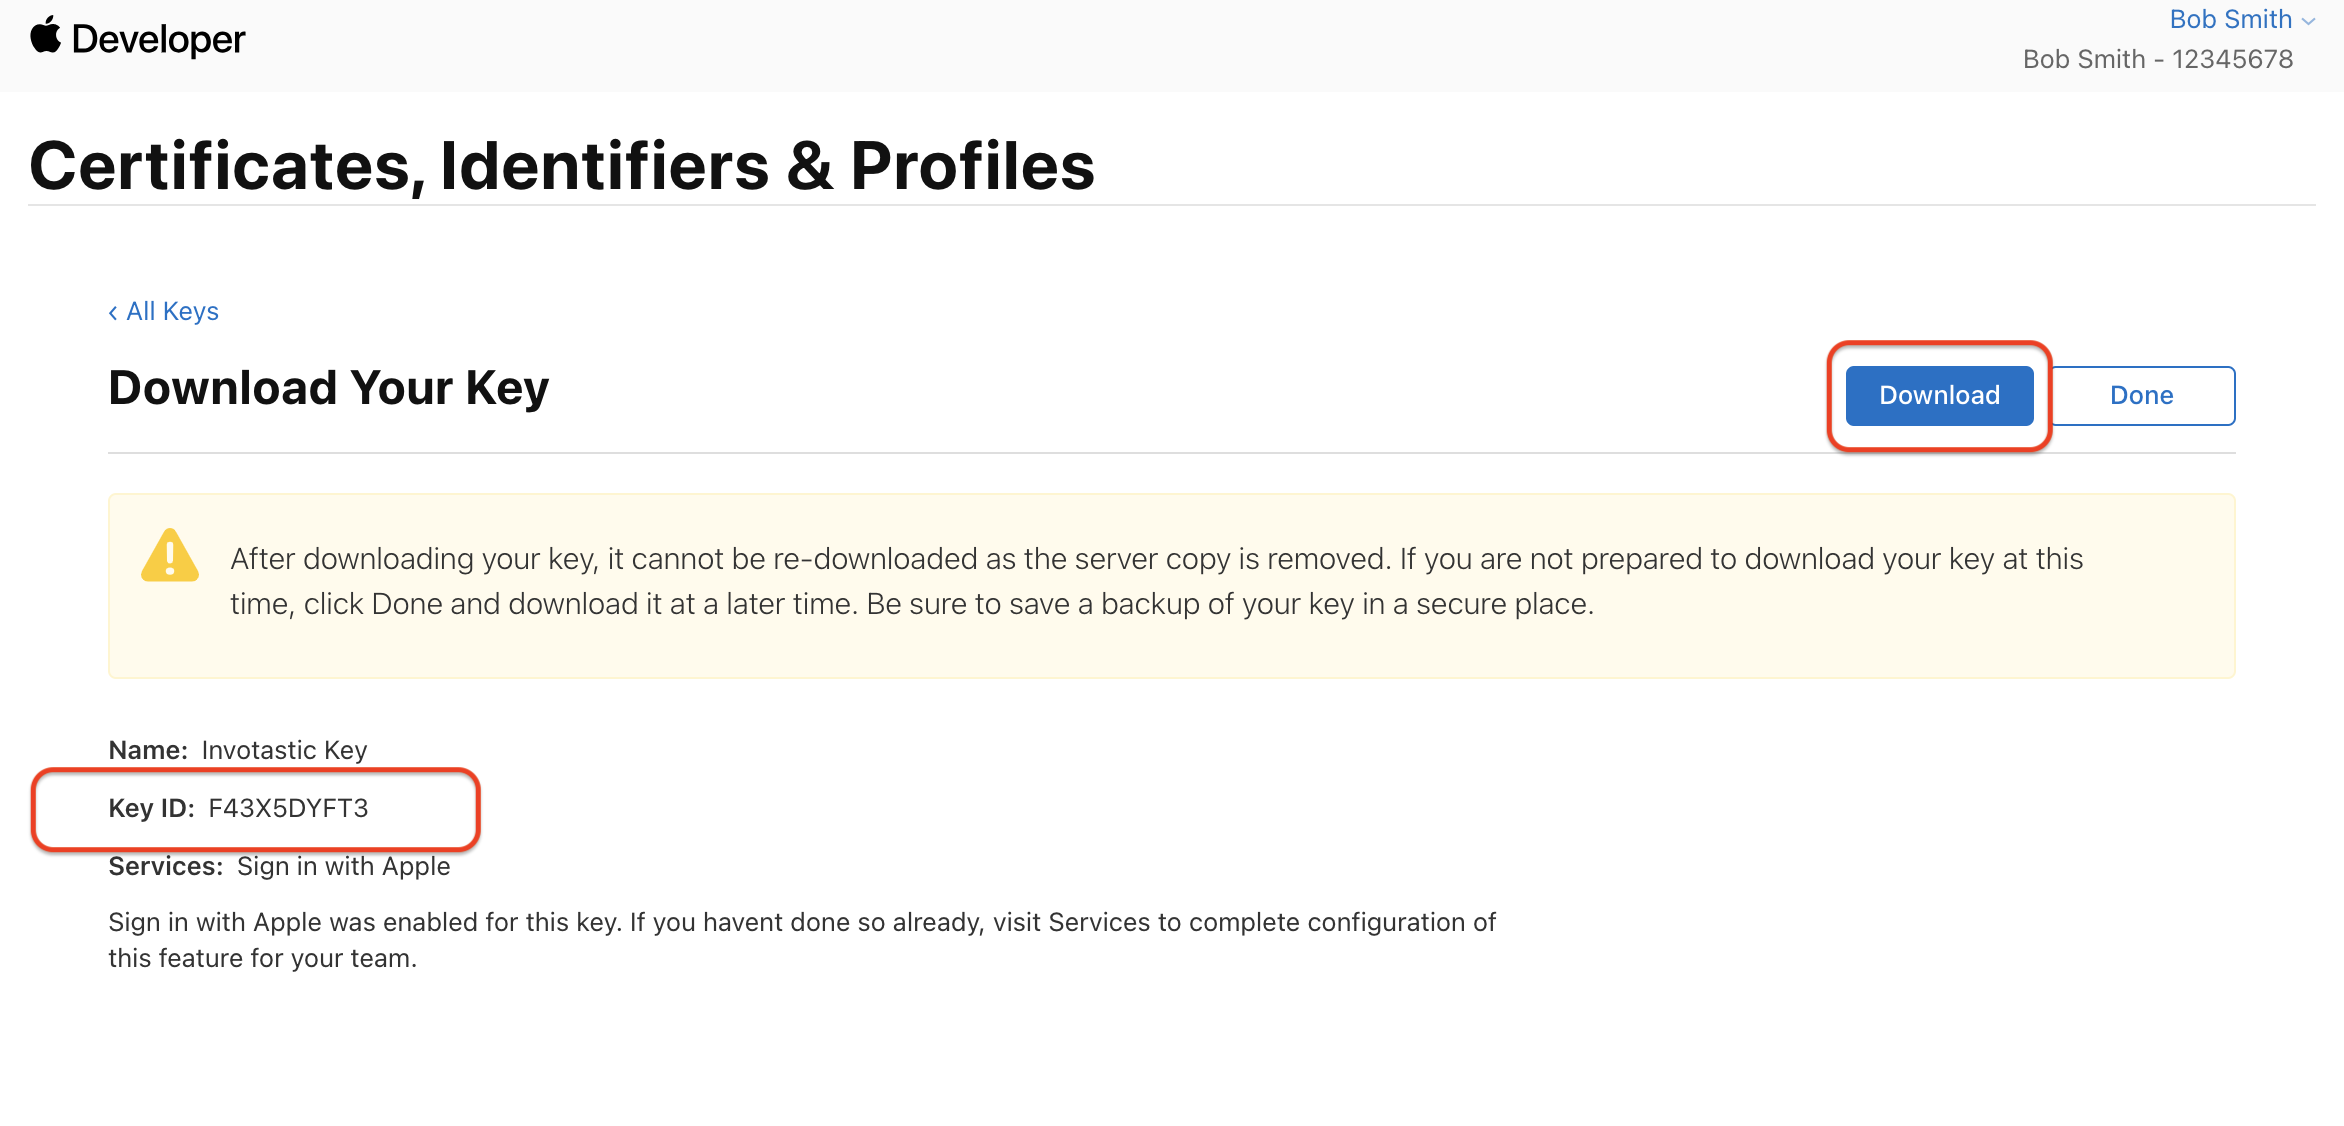
Click "Done." You have now configured everything necessary on Apple's side for social login integration.
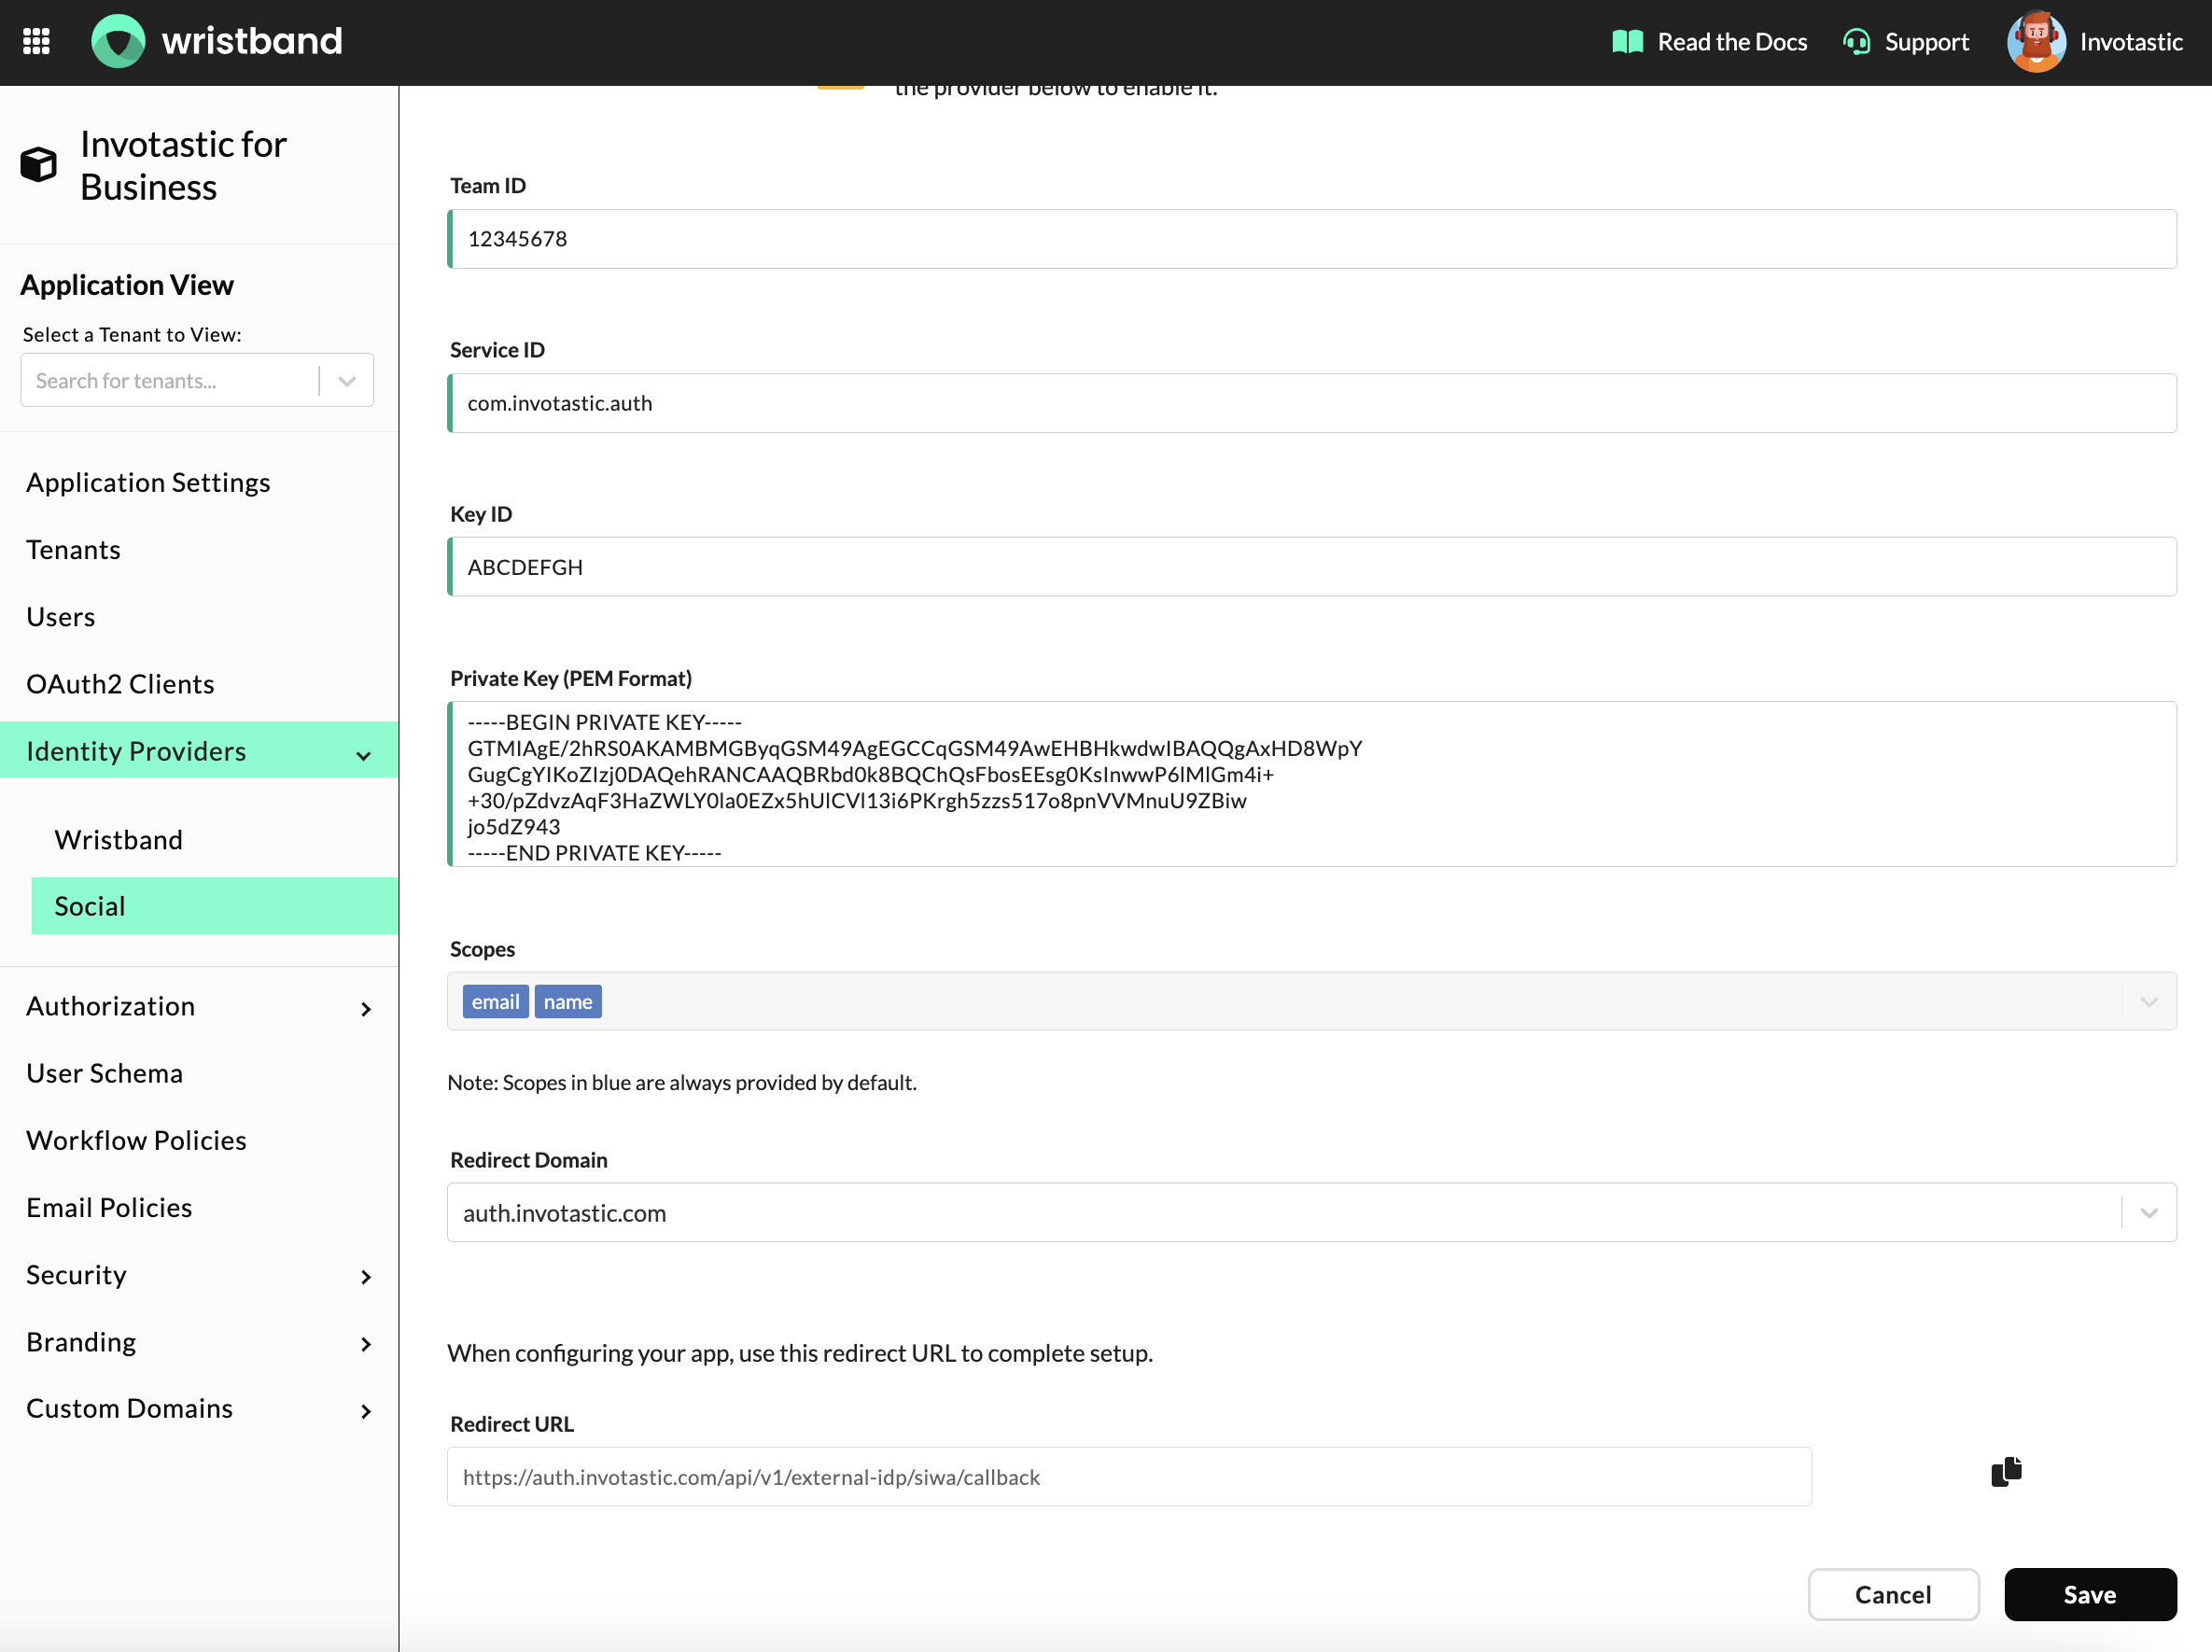
Step 6: Configure the Apple IDP in Wristband
Return to the Wristband dashboard to the Social Identity Provider Page from step 1. Fill out the form with the following values:
- Team ID: The App ID Prefix value from step 3.
- Service ID: The Identifier value from step 4.
- Key ID: The Key ID value from step 5.
- Private Key: The Key PEM file from step 5. Open the file and copy the contents into the form.
By default, the following scopes will always be requested during authorization with Apple (additional scopes are optional):
- name
Click "Save" to finish. The Apple External IDP will be in an ENABLED status.
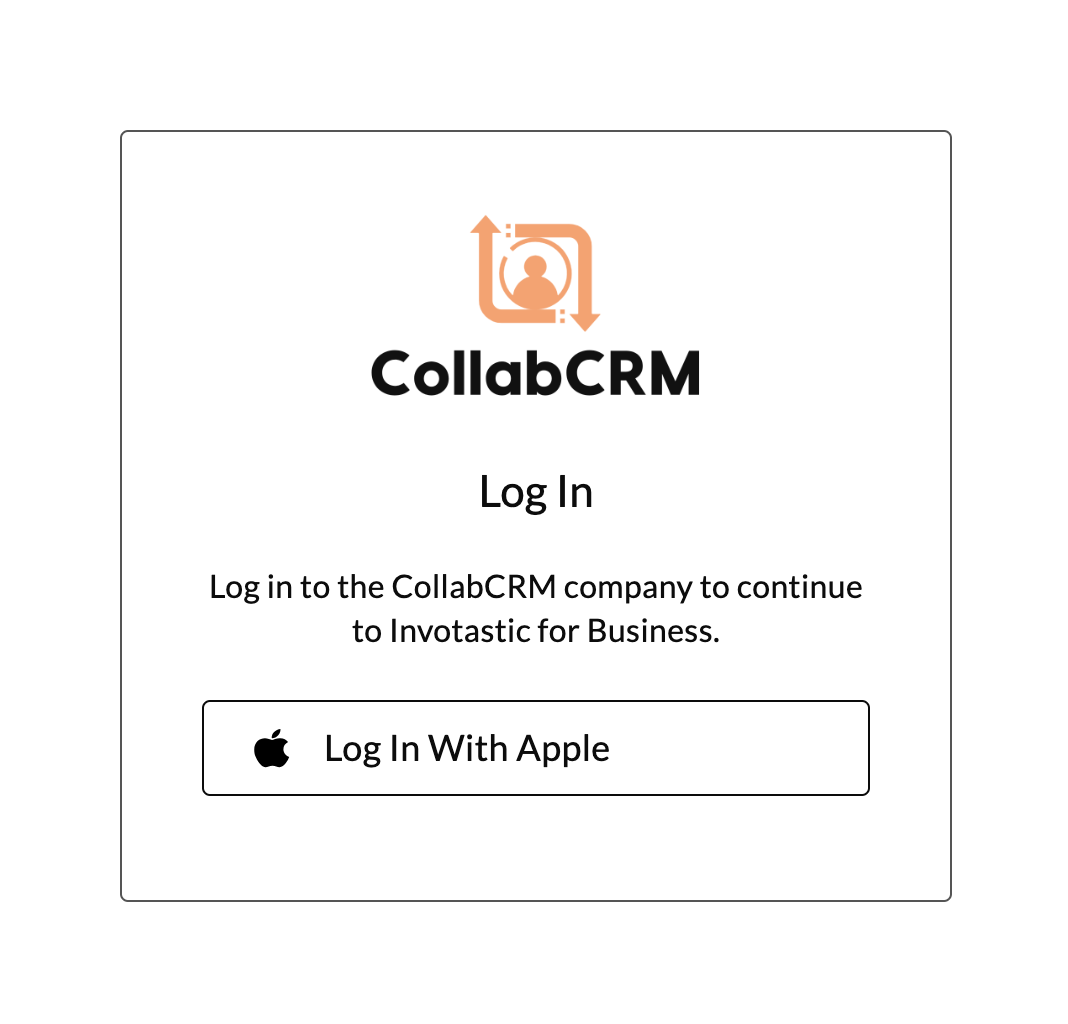
At this point, the application has successfully completed an Apple social login integration. The next time users in this application reach the Tenant-level Login Page, they should see an Apple login button (unless Tenant Overrides are enabled for a particular tenant).
Updated 27 days ago