Setting up your Wristband account
This guide provides an overview of setting up your Wristband account, covering the key steps to get started quickly and efficiently.
Welcome to Wristband! Follow this guide to quickly set up your Wristband account and get started with our powerful authentication platform.
Step 1: Create Your Wristband Account
- Visit the Wristband sign-up page.
- Fill in the required information and complete the sign-up process.
- Verify your email address by clicking on the verification link sent to your inbox.
Step 2: Dashboard Overview
Upon your initial login to Wristband, you'll arrive at the home page. The primary goal at this stage is to create applications.
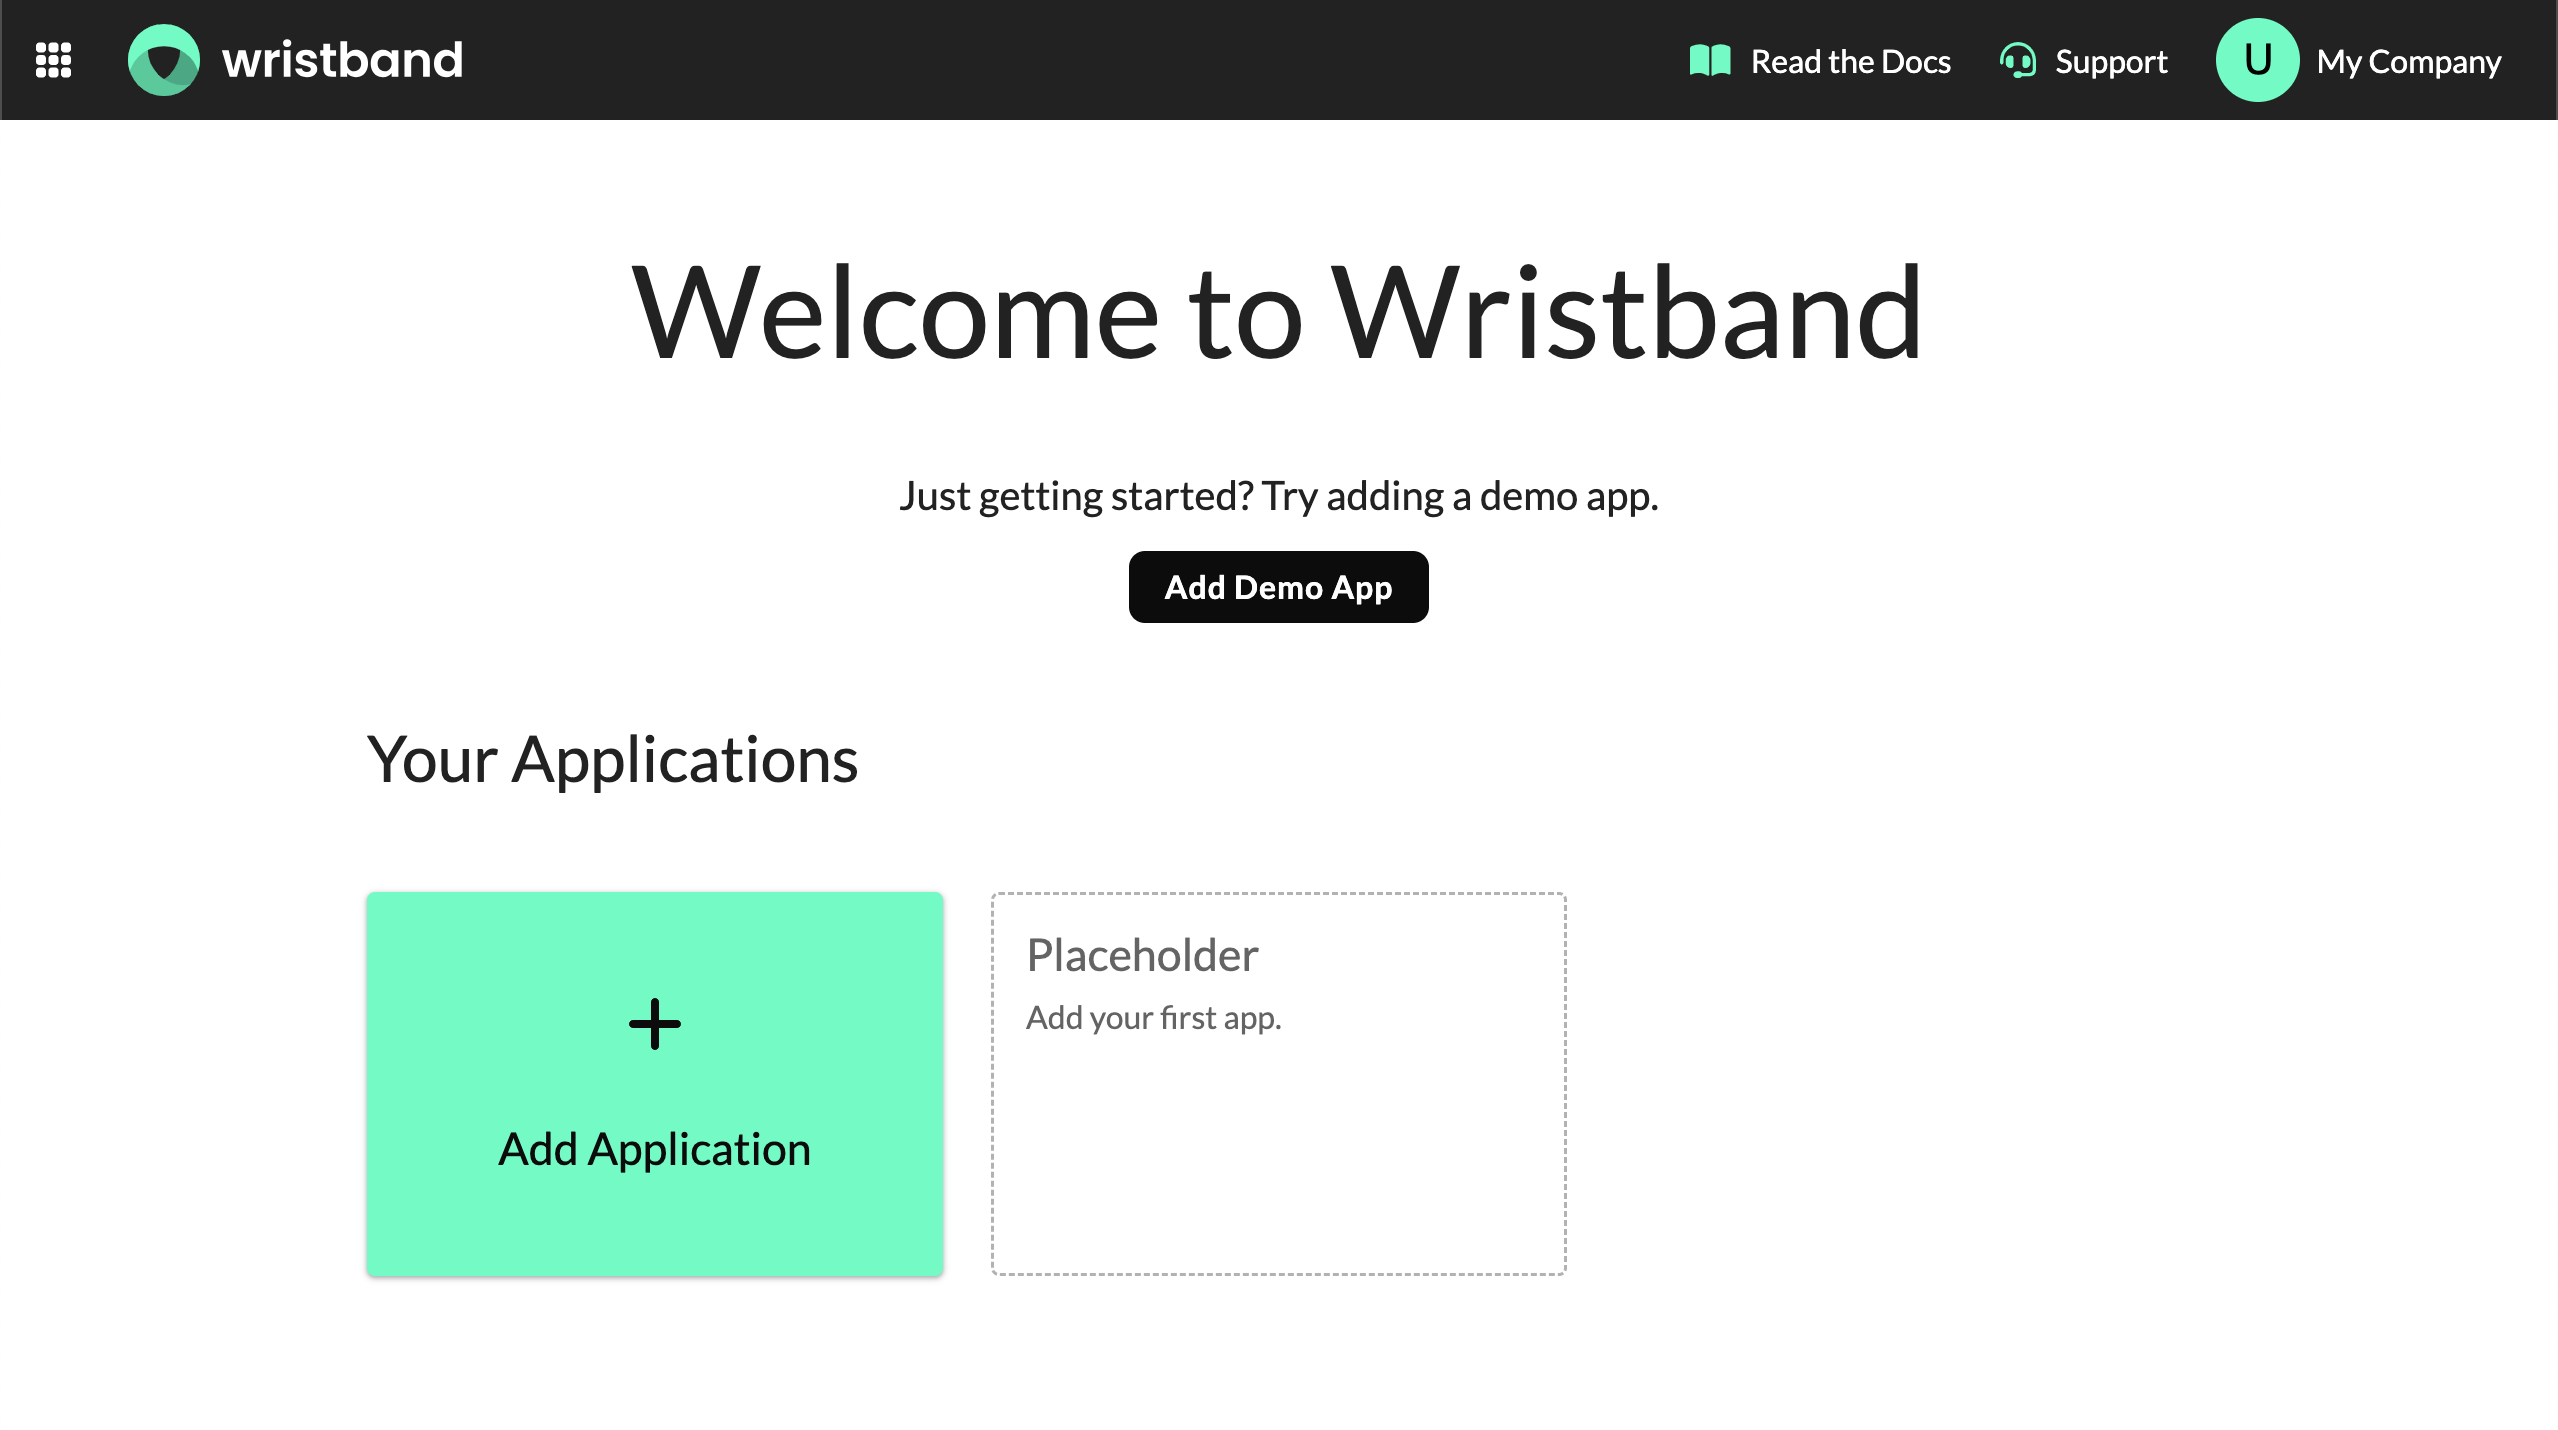
Adding Demo AppsIf you are new to Wristband, it is highly recommended to start with the Setting Up a Demo App tutorial. Creating a demo app on your local machine is one of the fastest ways to familiarize yourself with our platform. Simply click the "Add Demo App" button to navigate through the walkthrough for provisioning a Wristband demo app.
Creating New Applications
Upon your initial entry into the Wristband dashboard, your account will display no applications. To create a new application, click on the "Add Application" tile button. This will guide you through a walkthrough for provisioning your own application.
Step 3: Create Application Modal
Upon clicking the "Add Application" button, a modal will open with a walkthrough on creating an application. The first screen will ask you for two fields: an application display name and an application domain name.
Immutable FieldsCertain fields within an application are immutable after the application is created in Wristband. Any immutable fields will be marked with a warning symbol for your awareness.
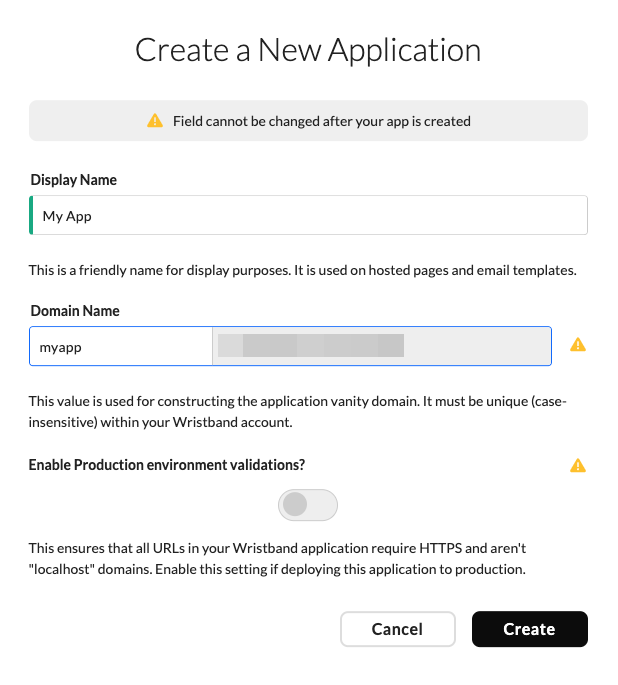
The display name is a friendly name given to the application for display purposes. The domain name is the immutable value that will be used when constructing the Wristband vanity domain for the application. Application domain names must be unique (case-insensitive) within your Wristband account. Validations for the domain name field include:
- Minimum character length: 3 characters
- Maximum character length: 20 characters
- Format: Lowercase alphanumeric characters only; special characters are not allowed.
Production environment validations ensure that all URLs registered in Wristband must use HTTPS and prohibit the use of "localhost" domains. If you are conducting tests in a local development or non-staging QA environment, you can leave this validation disabled. However, it is highly advised to enable this setting for production environments.
HTTPS Production RequirementIt is imperative that your application enables production validations upon deployment. Leaving this setting disabled in the production environment implies assuming the risk associated with keeping it turned off.
After successfully creating the application, you can stay on the Home page or navigate to the "Application View" to create and configure additional entities under your new application.
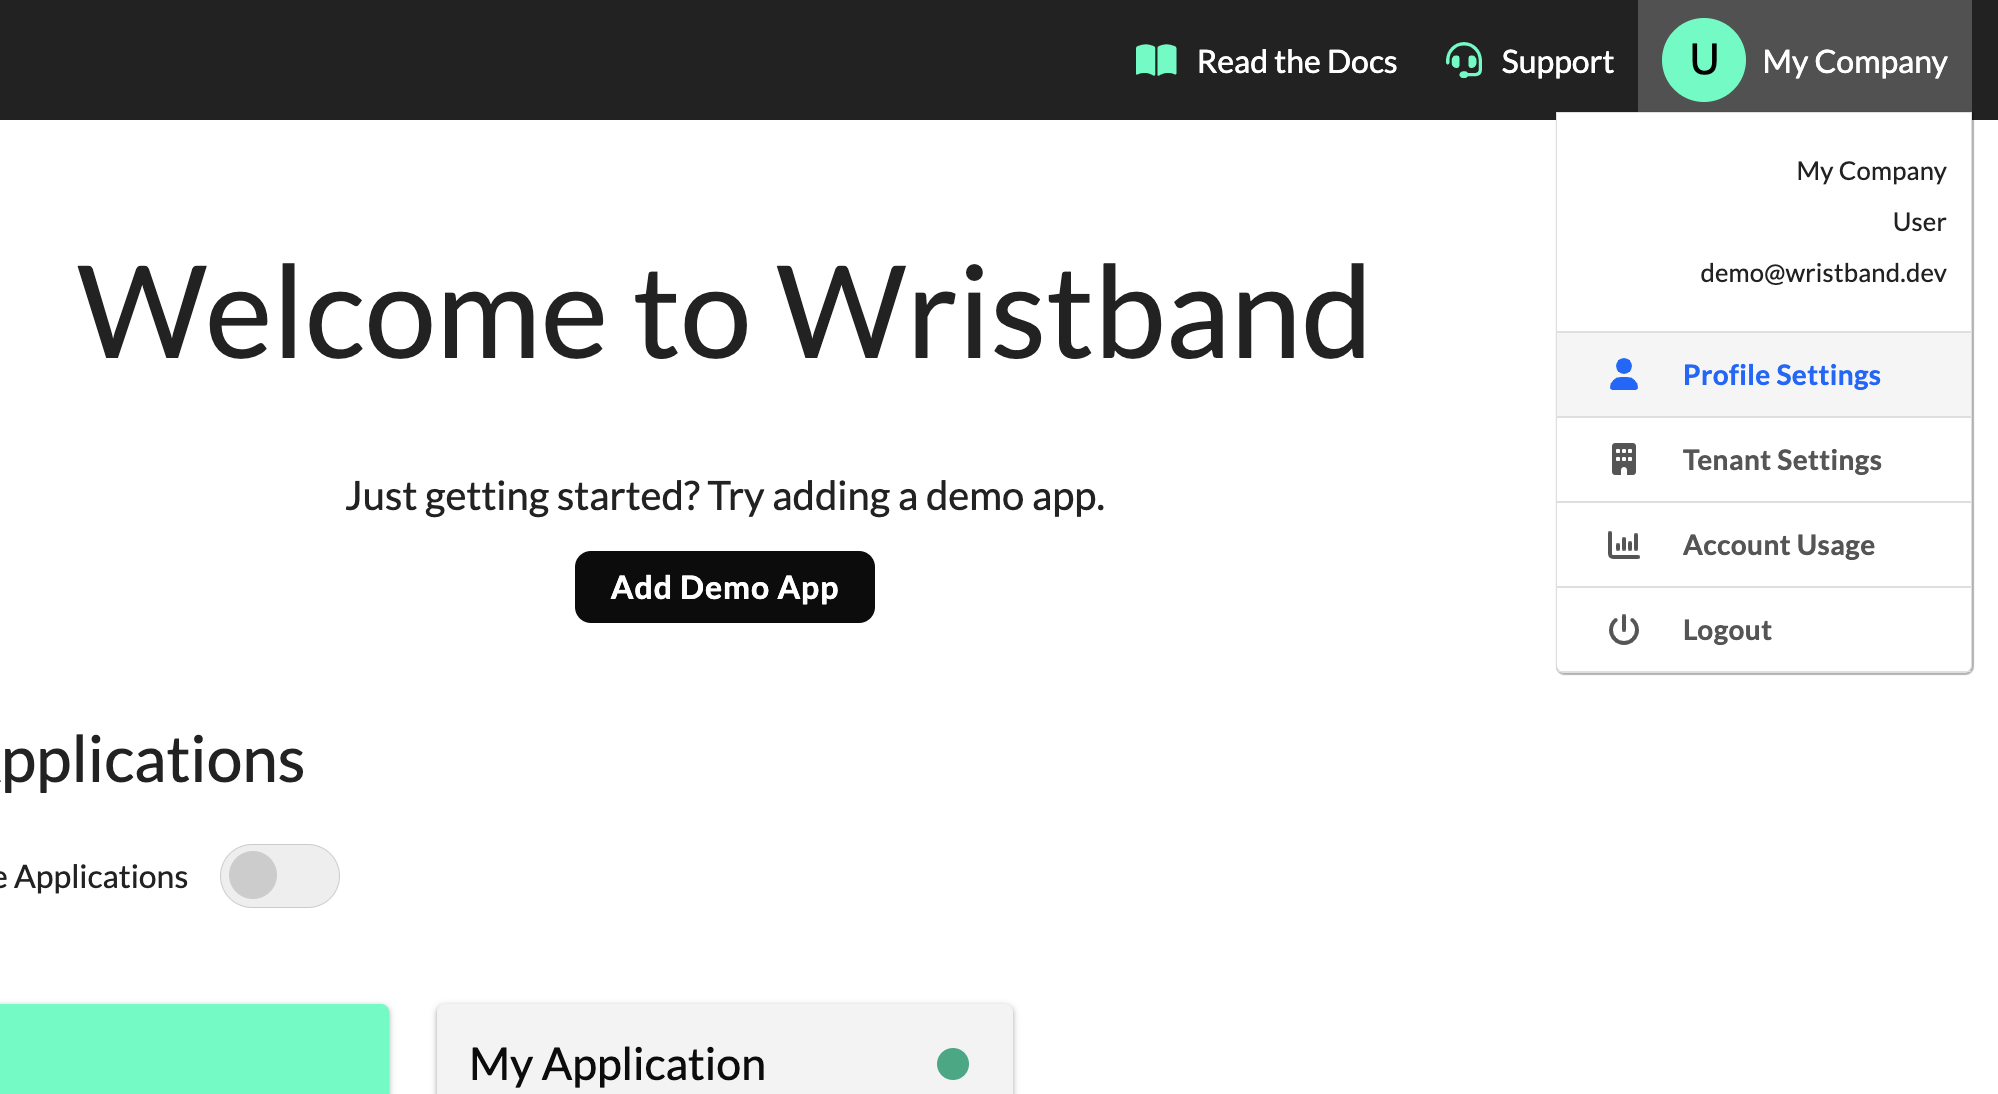
Step 4: Account Settings
To manage anything related to your company's Wristband account, click on the Avatar icon in the top-right corner of the Navbar to access links that will take you to various Account Settings for your Wristband account.
Need Help?
If you have any questions or need assistance, check out our Support Information for more details.
Updated about 22 hours ago